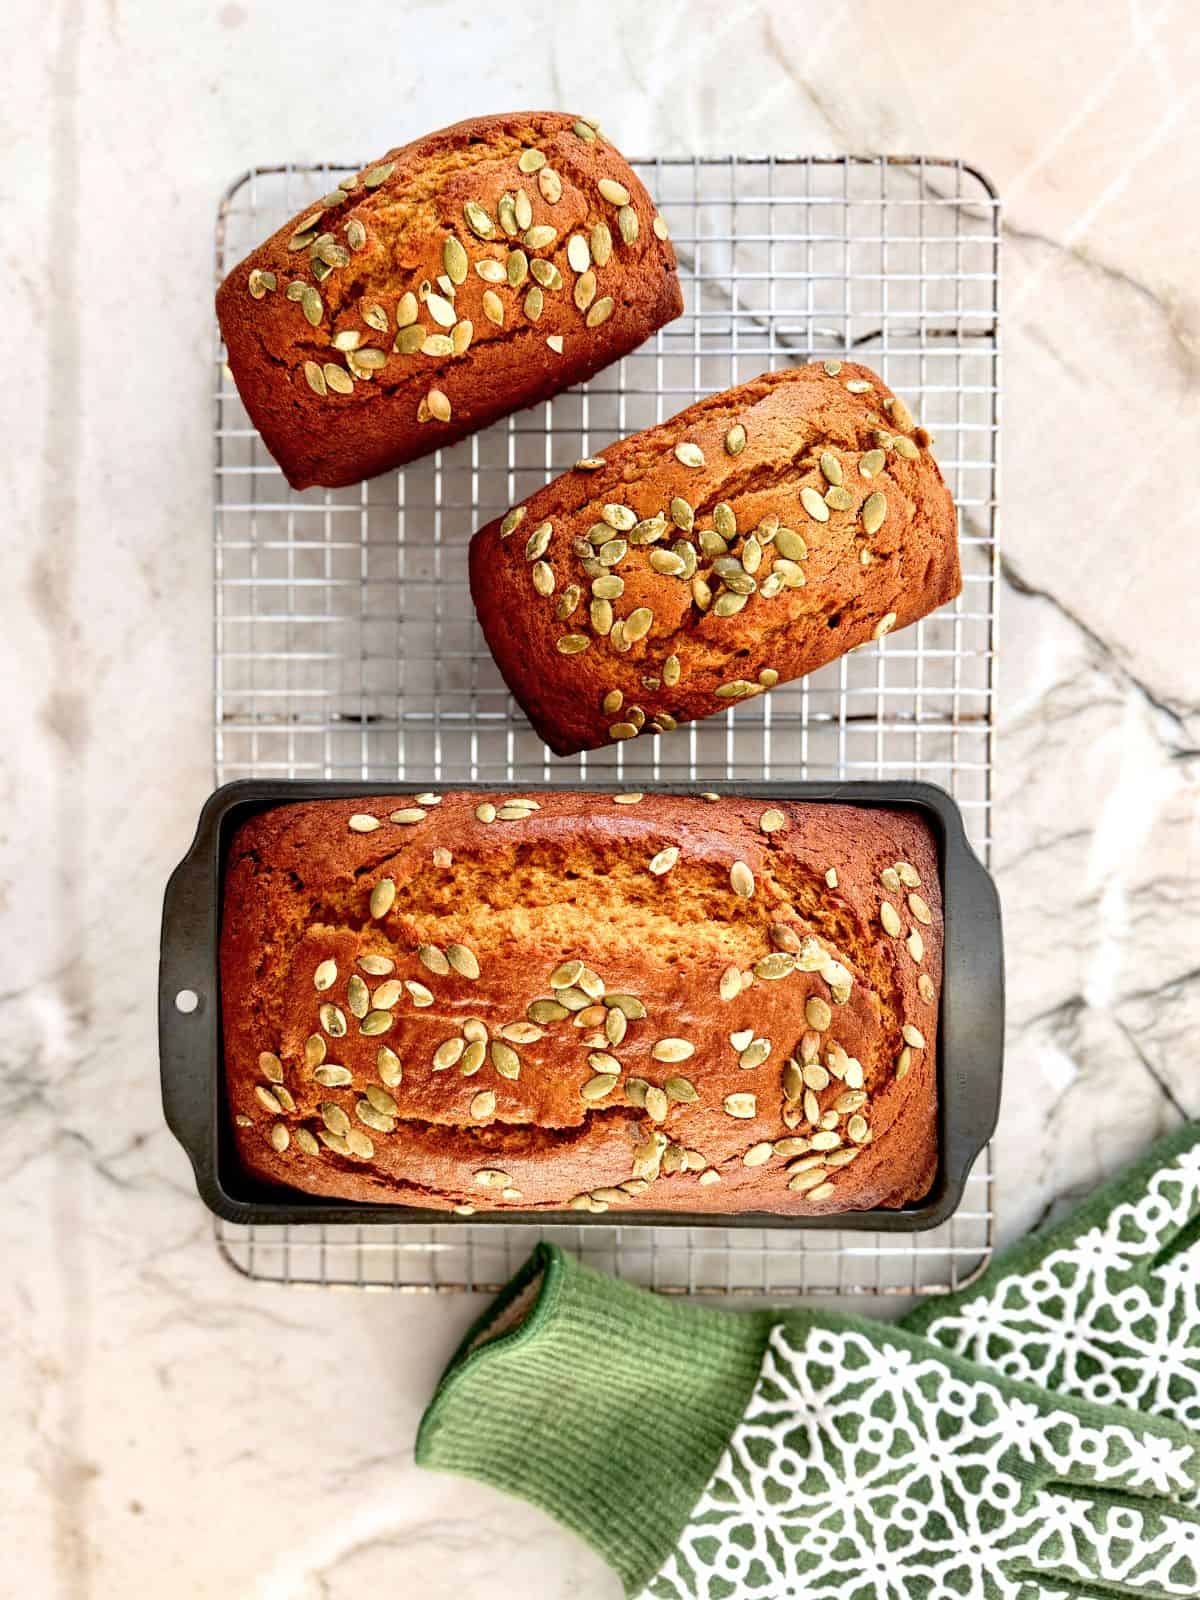
This pumpkin bread with fresh pumpkin puree is wonderfully moist, tender and full of warm fall spices. With just enough sweetness to let the pumpkin shine, it’s the kind of cozy treat that makes slowing down feel like a really good idea.
Does cool weather make you want to bake, too?
I don’t know about you, but come Autumn I start to think about cooking all things cozy. That means soul-warming casseroles, patiently-bubbling soups and braises- and old fashioned, comforting baked goods that slowly fill the house with irresistible aromas. This pumpkin bread is one of those seasonal treats that makes me want to curl up with a cup of tea, a soft blanket and a good book while the leaves turn and fall outside my window.
Finding Balance in Pumpkin Bread
I’ve been making pumpkin bread for a long time. The recipe that was my go-to for years called for canned pumpkin and a LOT of sugar (3 whole cups!!!). And it was delicious! But my taste has changed over the years- as has the way I think about sugar and what I want to put into my body- so last year I decided it was time to rework my beloved pumpkin bread recipe.
I think there’s a balance to be considered when playing with a recipe like this and trying to make it “a little healthier”. Because pumpkin bread is not a health food, it’s a treat. And, as such, it’s something that should taste great and be enjoyed! Maybe just in moderation 😉
So, over the last year I’ve made several batches, each time reducing the sugar by 1/4 cup to see how low I could go without sacrificing flavor or texture. And you know what I found out?
I honestly like it MORE with less sugar! I can taste the spices and I can taste the pumpkin now.
Making Your Own Puree
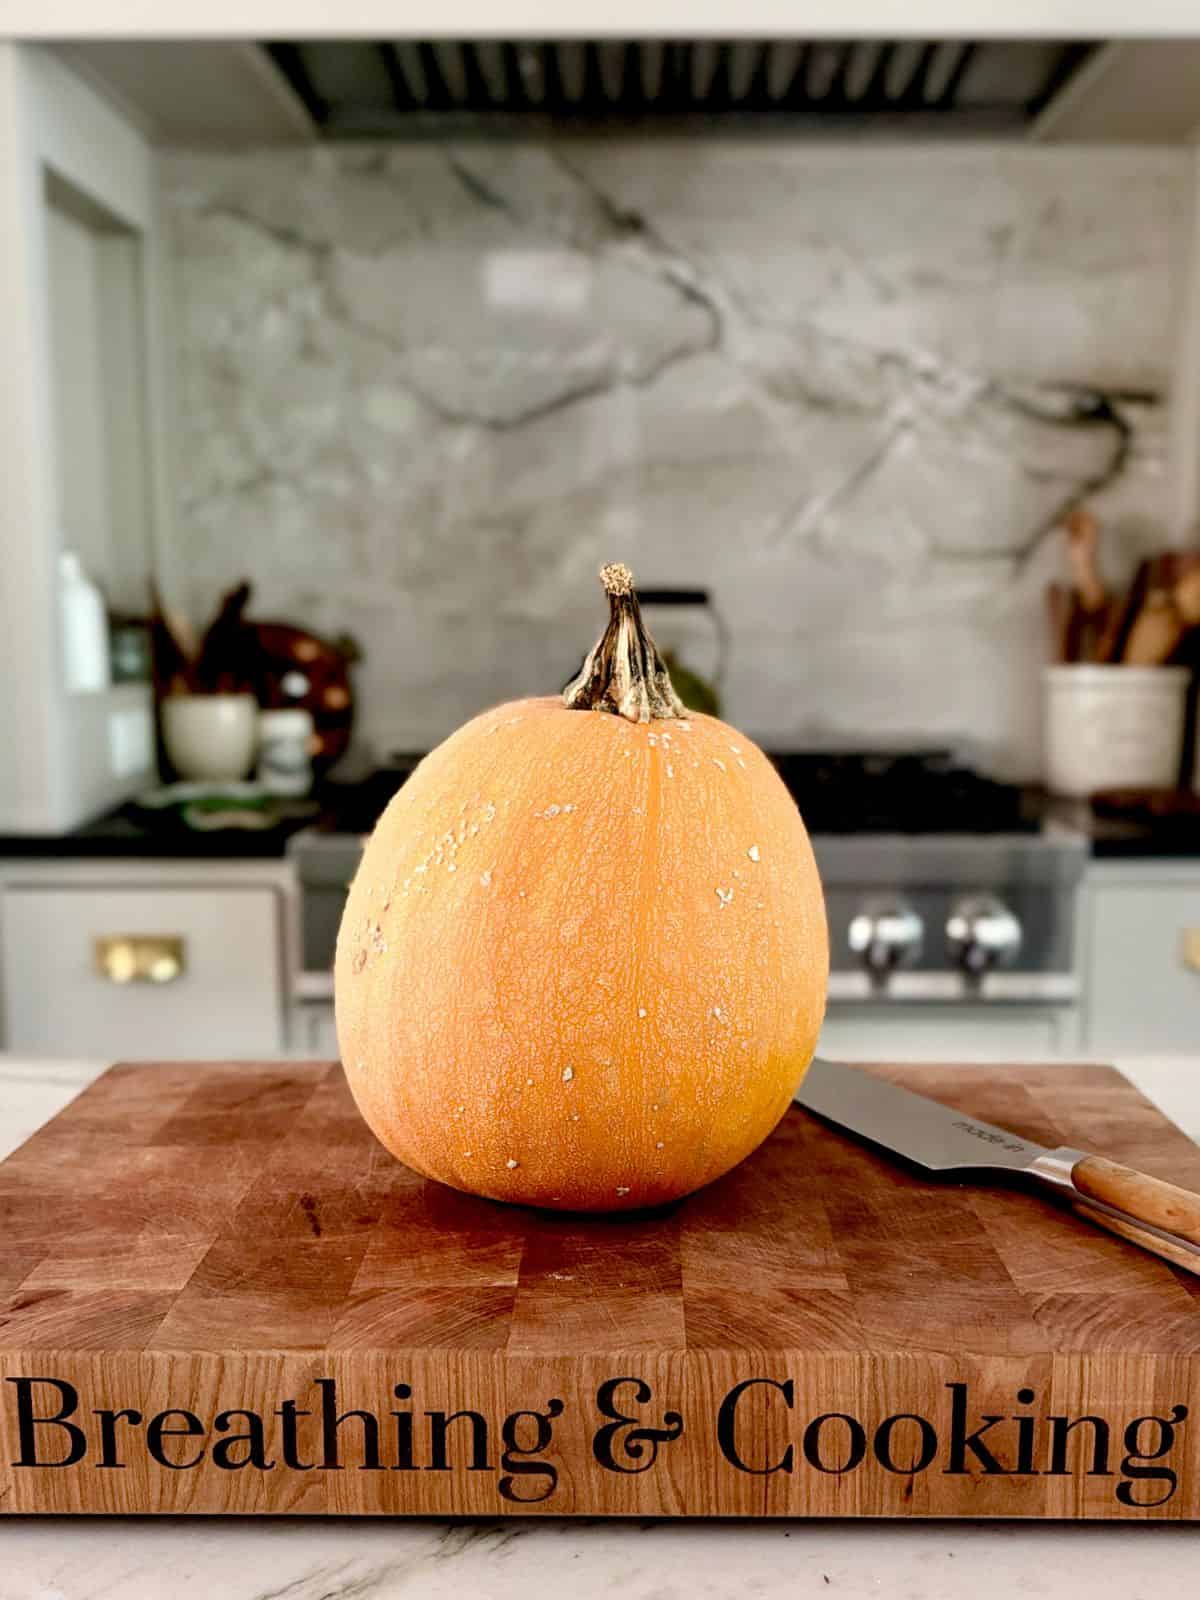
Fall is a great time to try something new! Making your own pumpkin puree takes more time than opening a can, BUT it’s honestly pretty easy…plus, how satisfying does it feel to start with a fresh pumpkin?
The biggest difference between canned pumpkin puree and fresh is the water content. When subbing homemade puree for canned it’s important to strain the puree in cheesecloth before using it. And that does mean you’ll need to plan ahead. But honestly? The straining time is hands off. It just sits in the fridge with no attention needed from you. I like to make a good sized batch of puree all at once and freeze it in 1 cup portions so that I can enjoy it all year.
This post gives you all the information you need to make your own pumpkin puree! And if that’s not for you but you still want to make pumpkin bread, you can use canned.
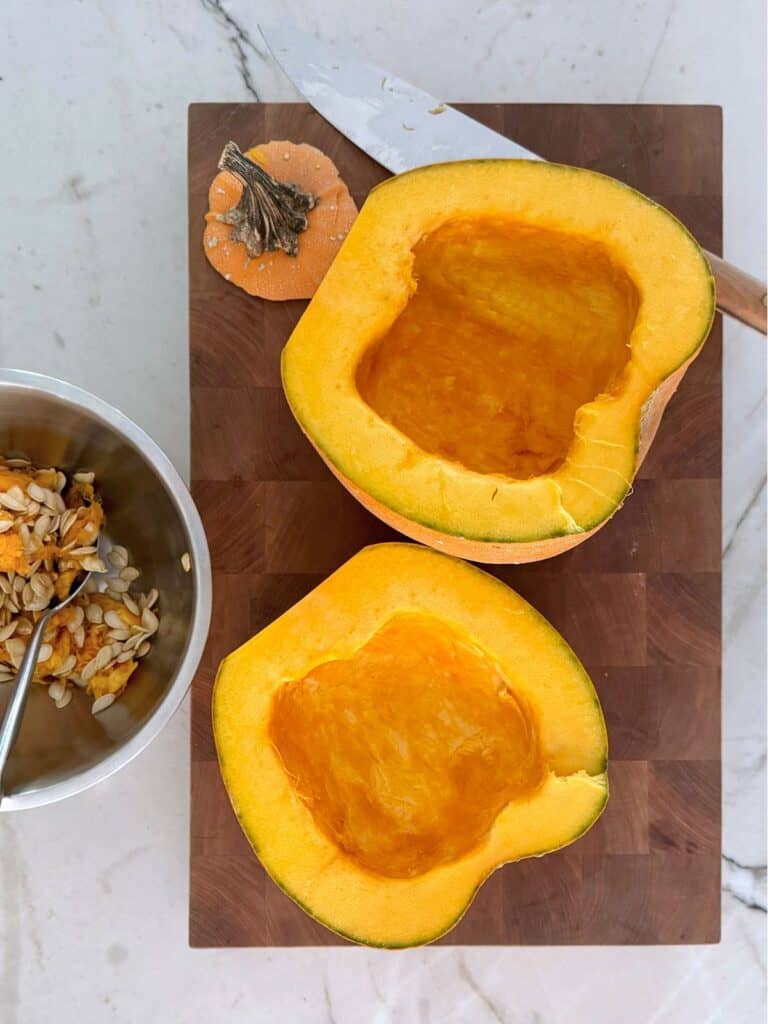
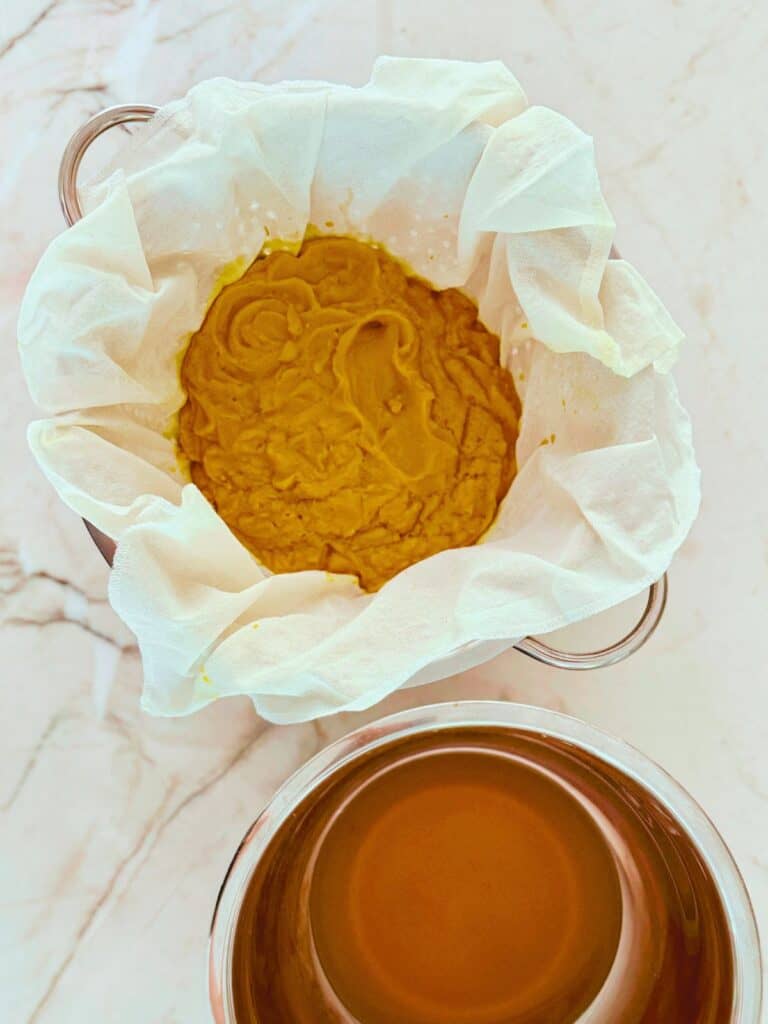
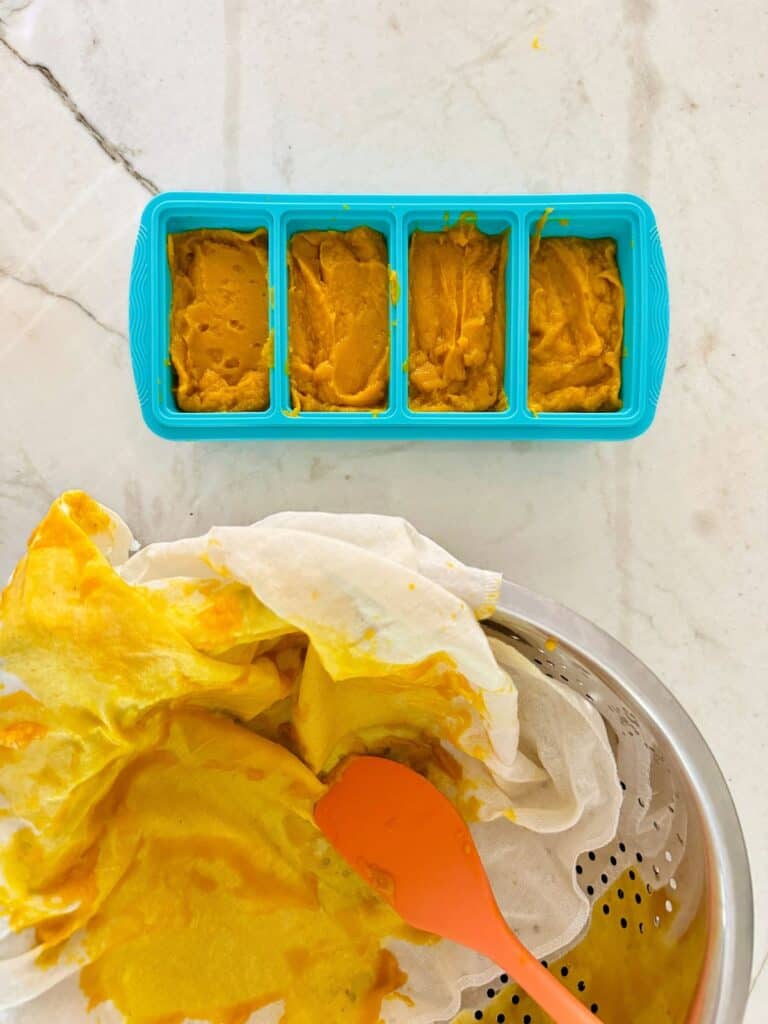
(It’s really as simple as 1-Roast 2-Puree 3- Strain!)
How To Make The Batter
This is an easy two-bowl recipe. No mixer needed!
Start by whisking together the eggs, sugar, vanilla, pumpkin puree and avocado oil in a large bowl until everything is smooth and well combined.
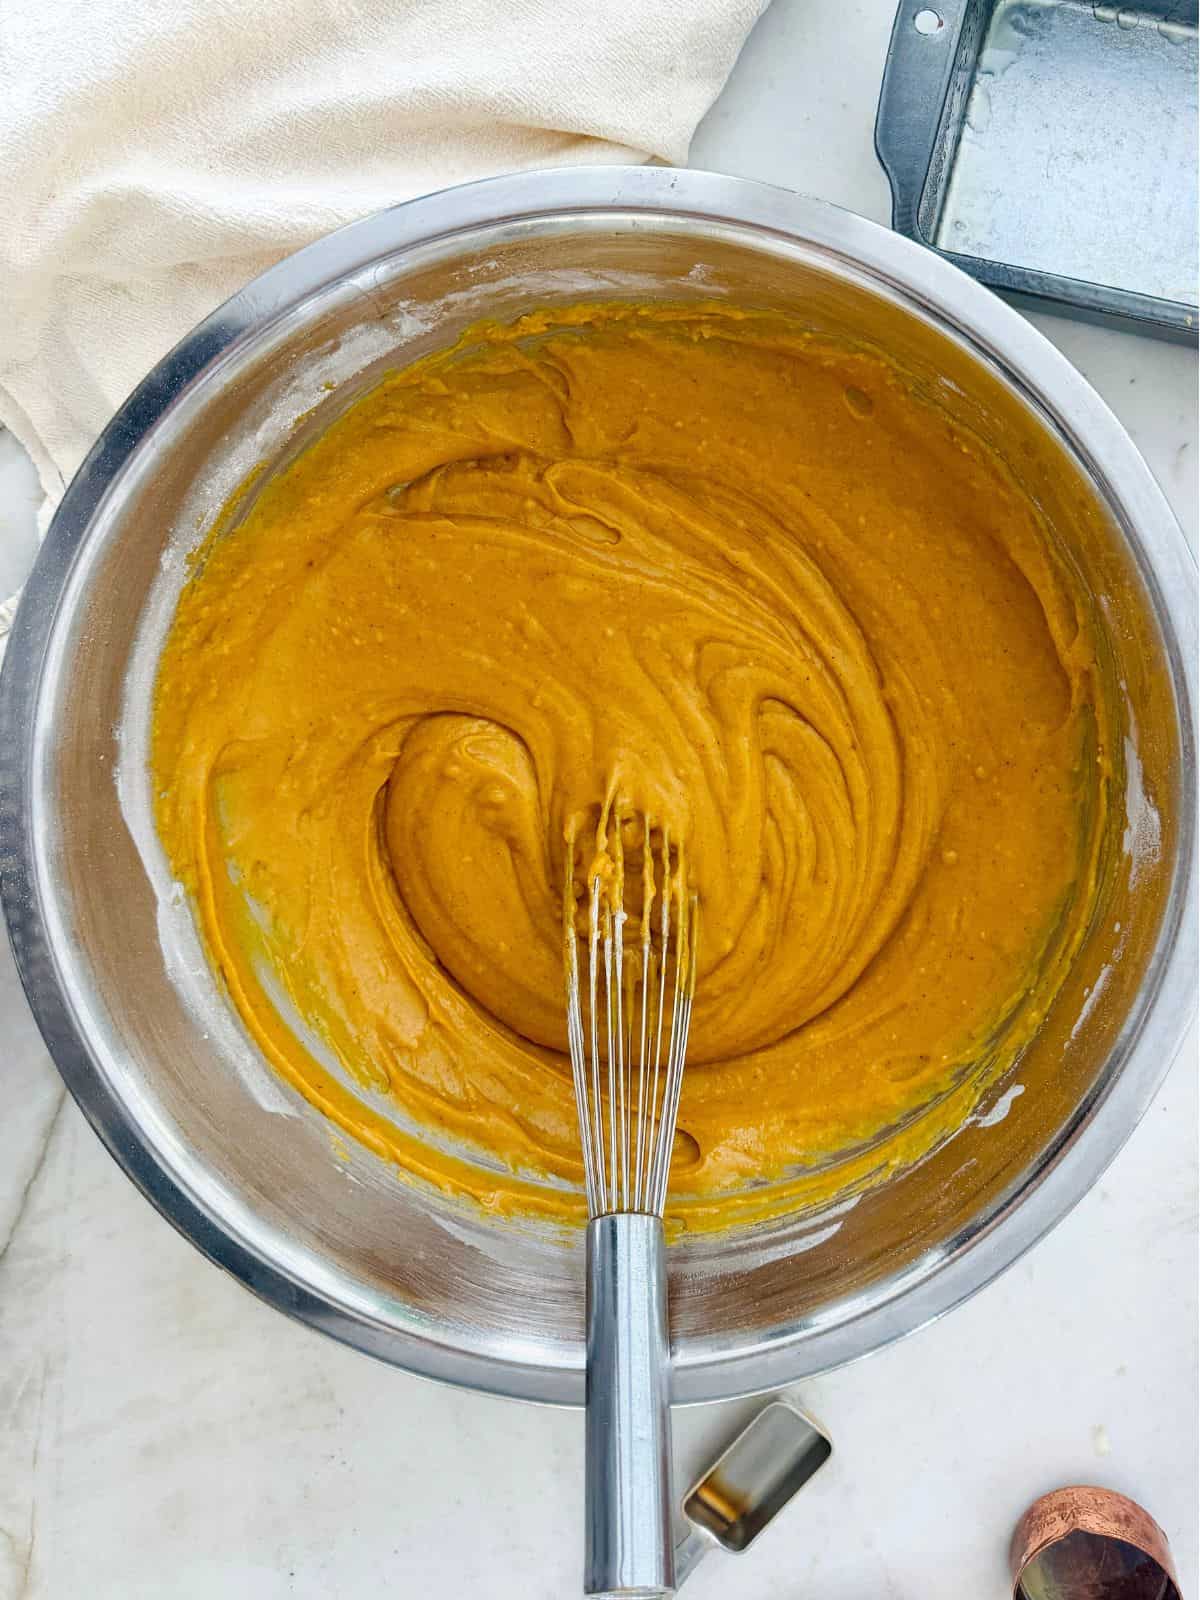
In a separate bowl, stir together the flour, baking powder, baking soda, pumpkin spice and salt. Add the dry ingredients to the pumpkin mixture and stir gently, just until you no longer see any dry bits of flour. Don’t overmix, a few lumps are perfectly ok.
That’s it! Your batter is ready for the pans.
Choose Your Pan Size and Bake
You can bake this pumpkin bread as one large loaf or divide the batter between three smaller loaf pans. Both options hold the same total amount of batter, so it’s really just a matter of preference!
For one large loaf, I use a 9 x 5-inch pan with a 6-cup capacity. For smaller loaves, I use three 5½ x 3-inch pans, each with a 2-cup capacity.
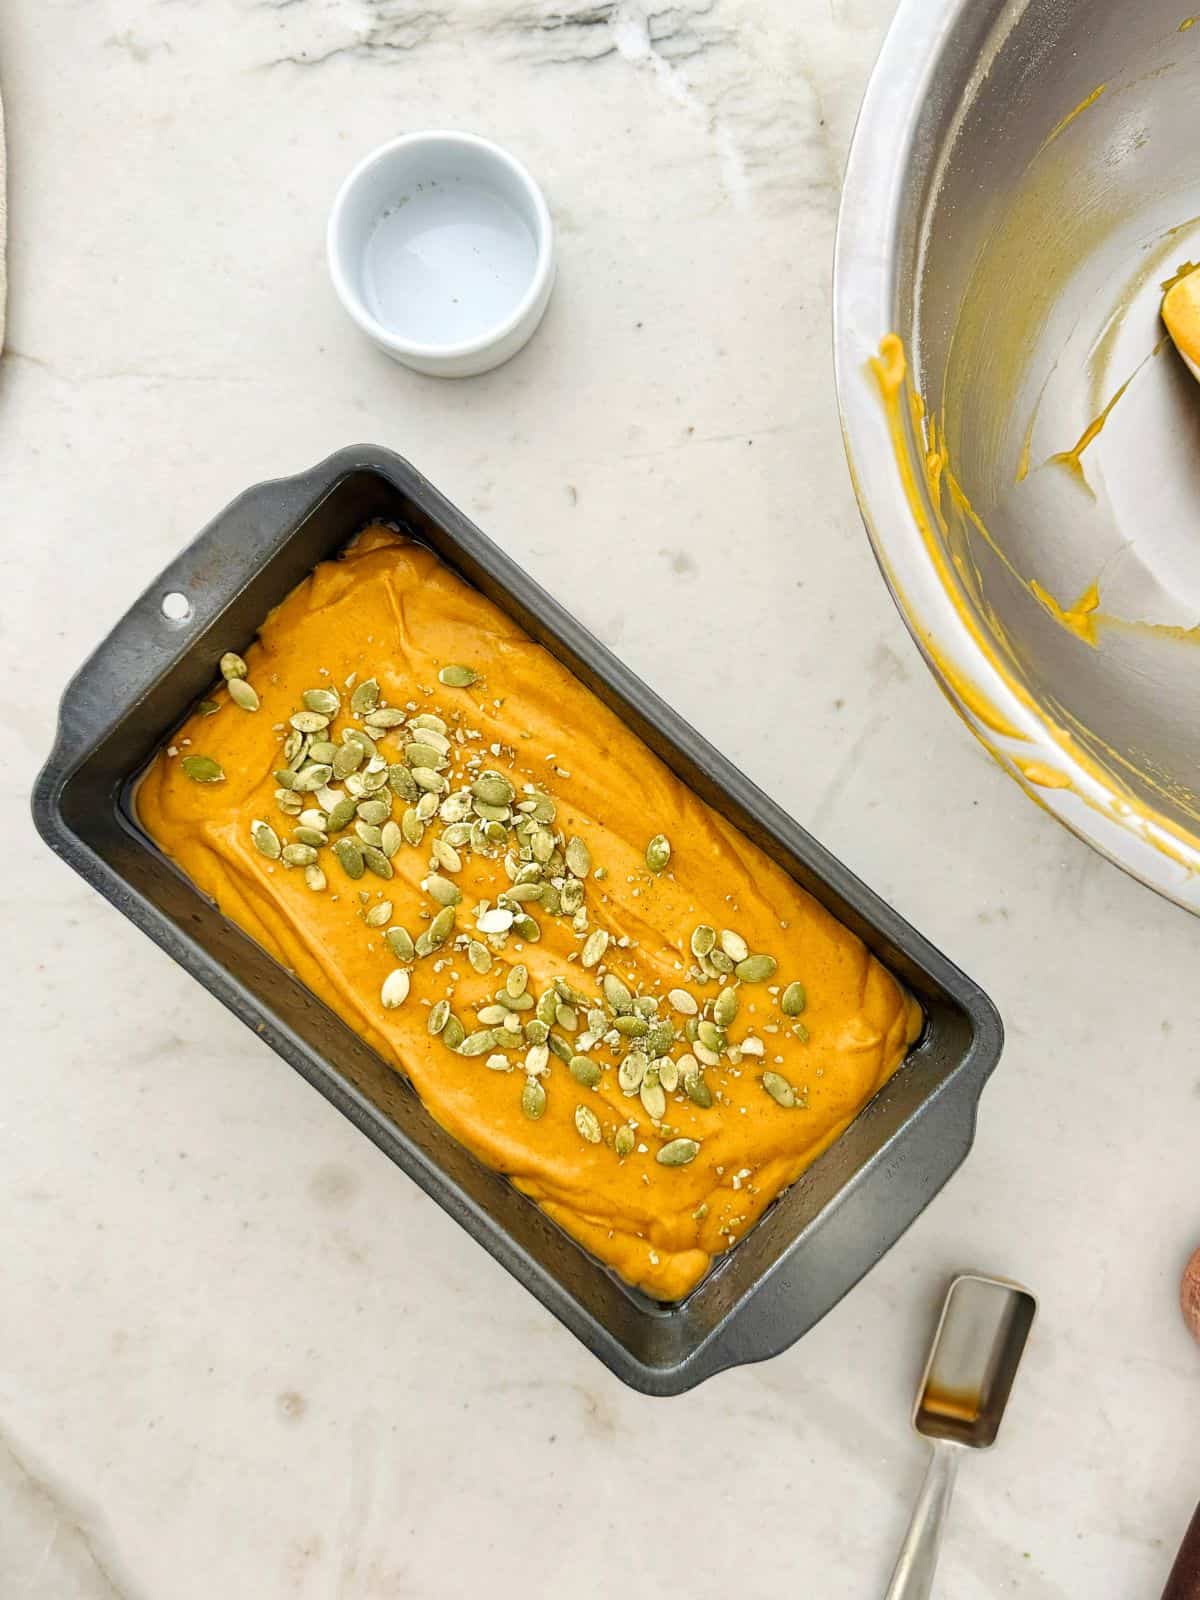
Grease your pans, divide the batter evenly and smooth the tops. I like to sprinkle mine with pumpkin seeds before baking for a little crunch (plus it looks really pretty!).
Bake at 350°F for 45-50 minutes for the smaller loaves or 55-65 minutes for the large loaf. Ovens vary, so start checking a few minutes early. A toothpick inserted into the center should come out clean or with just a few moist crumbs.
Let the bread cool in the pans for about 15 minutes before carefully turning it out onto a cooling rack.
Is Patience Really A Virtue?
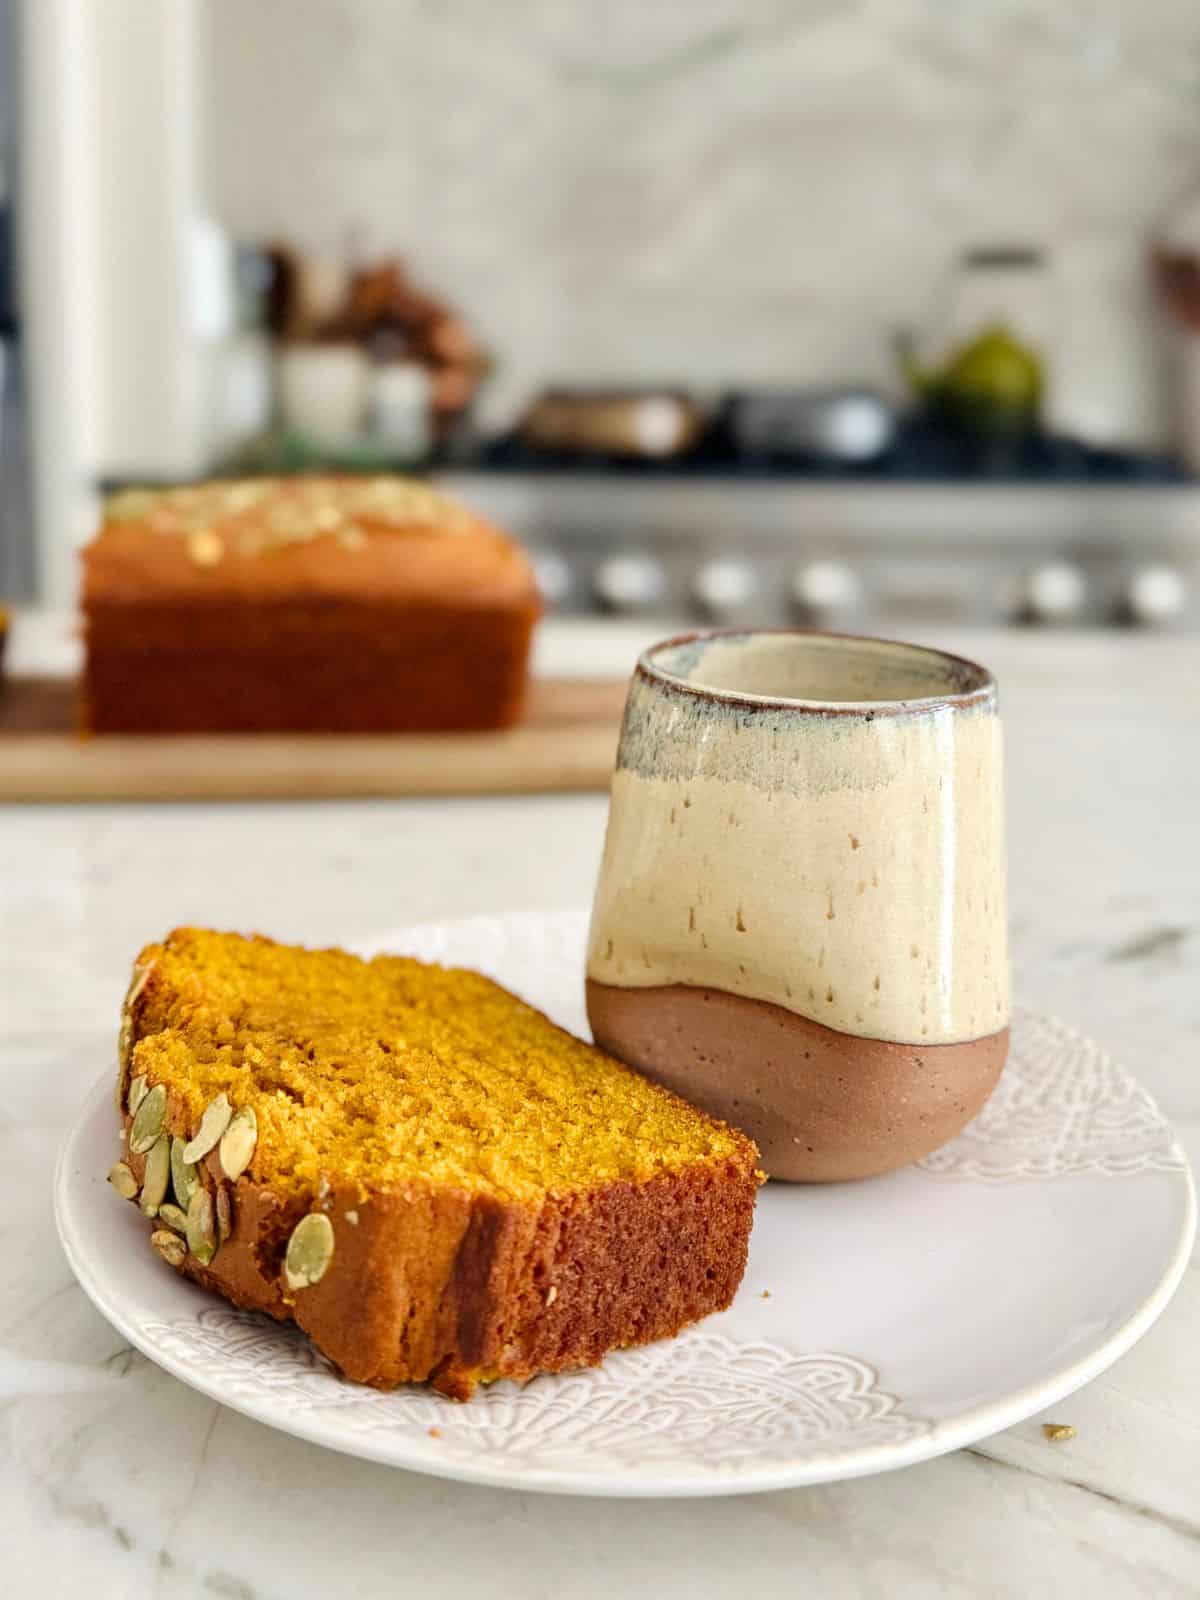
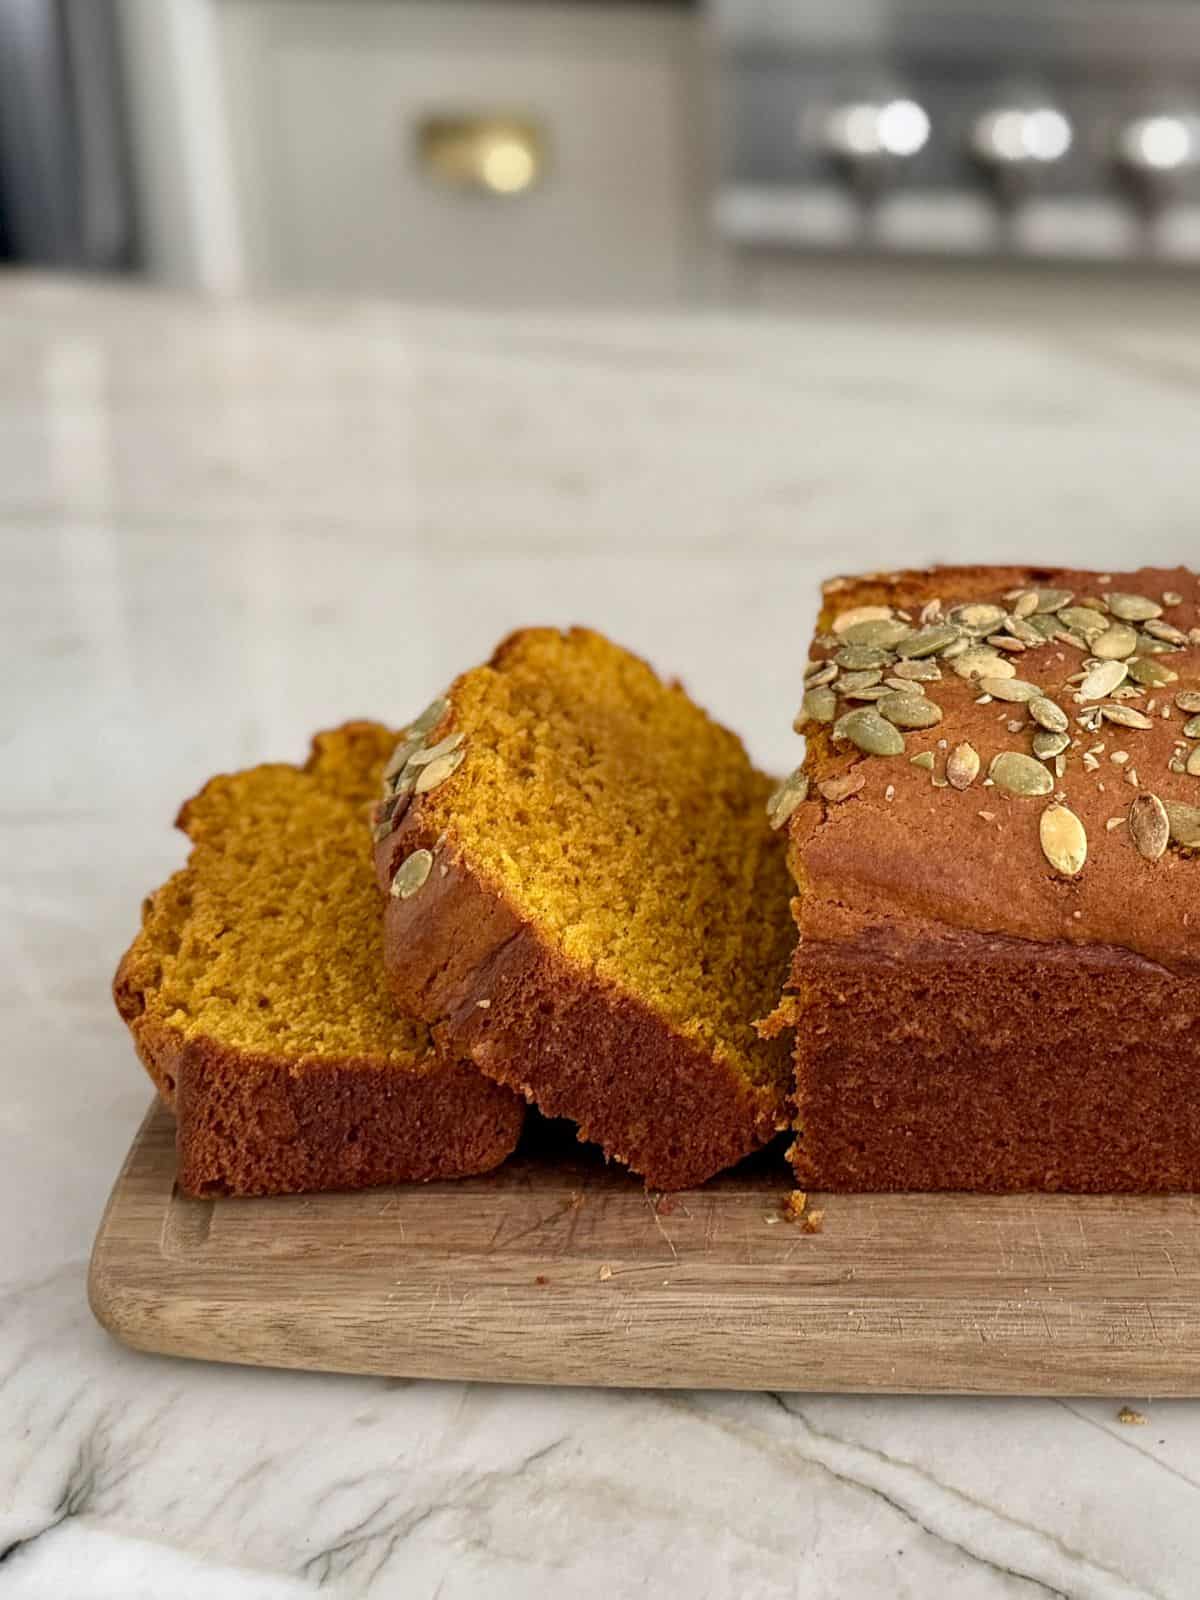
This is where I’m supposed to tell you to let the bread cool completely before slicing. And in all honesty there’s something really wonderful about this bread once it’s had time to gather itself and completely cool off. It becomes a little dense, but not heavy, the moistness is more noticeable, and the flavors of the pumpkin and the spices really come through. I like it best when it’s had time.
But does that mean I wait until it’s cooled before cutting into it? Absolutely not 😂!
My advice? Have a slice warm, while the fabulous baking smells are still hanging in the air. Enjoy every bite.
But then….wait.
Come back and have another slice later and see which you like better. Each has its own kind of delicious satisfaction ❤️
I hope you love this pumpkin bread as much as we do!
And, as always, I love to hear how my recipes turn out for you (and I especially love to see your food photos)! So tag me at @breathingandcooking on Facebook and Instagram with your creations!
And don’t forget to breathe, trust yourself, and enjoy the process ❤️
Pumpkin Bread
Ingredients
- 3 eggs
- 1 cup sugar
- 1 Tablespoon vanilla
- 2 cups homemade pumpkin puree or 15 ounce can
- 1/2 cup avocado oil
- 2 1/4 cups all purpose flour
- 1 1/2 teaspoons baking powder
- 3/4 teaspoon baking soda
- 1/2 teaspoon diamond kosher salt
- 1 Tablespoon pumpkin pie spice
- 2 Tablespoons pumpkin seeds
Instructions
- Preheat oven to 350°f and grease either 1 9×5 or 3 mini loaf pans.
- Combine eggs, sugar, vanilla, pumpkin puree, and avocado oil in a large mixing bowl until smooth.
- In a separate bowl combine flour, baking powder, baking soda, pumpkin pie spice and salt. Stir into pumpkin mixture just until combined with no white traces of flour.
- Scrape batter into desired pans and smooth tops. Sprinkle with roasted pumpkin seeds and bake small loaves 45-50 minutes and larger loaves 55-65 minutes.
- Cool in pans 15 minutes and then carefully unmold. Finish cooling on racks.
Notes
- If not using homemade pumpkin puree, make sure you buy pure pumpkin and NOT pumpkin pie filling
- Pan sizes matter. Measure yours before filling (look to post for more info). And Place pans on a rimmed baking sheet if you want to be extra careful. If they do overflow onto the oven… no one likes that clean up job!

Leave a Reply