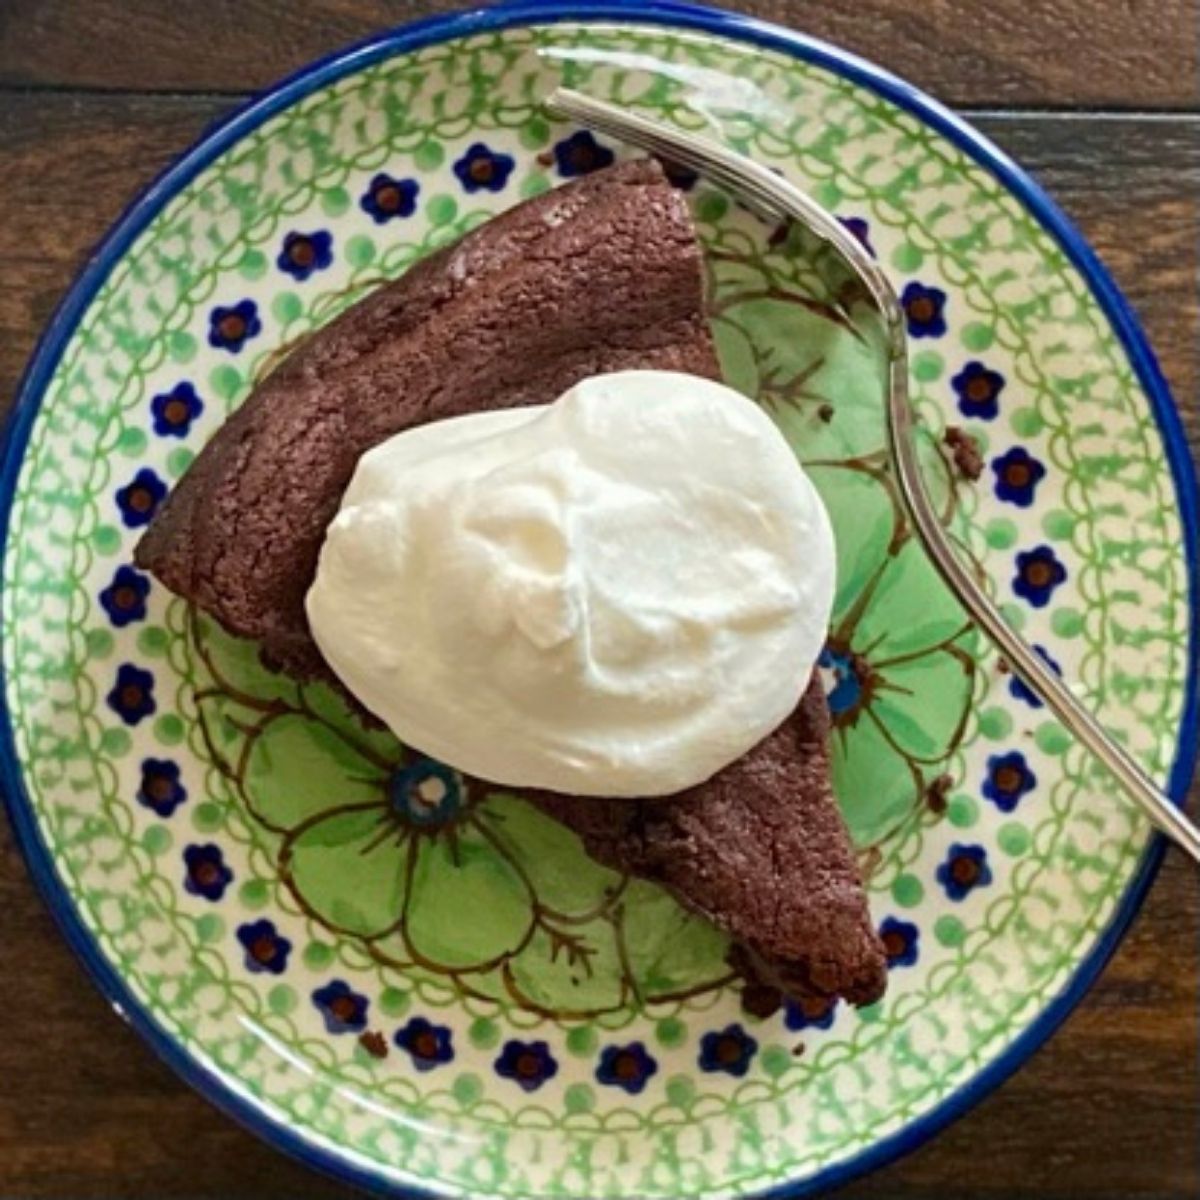
The NYT calls this recipe “The Little Black Dress” of chocolate cakes and I couldn’t agree more. Like the LBD, almost flourless bittersweet chocolate cake is a timeless classic. It’s simple and refined, but special enough for company. It comes together quickly and it isn’t fussy- requiring nothing more than a dusting of powdered sugar or a dollop of whipped cream as an accessory.
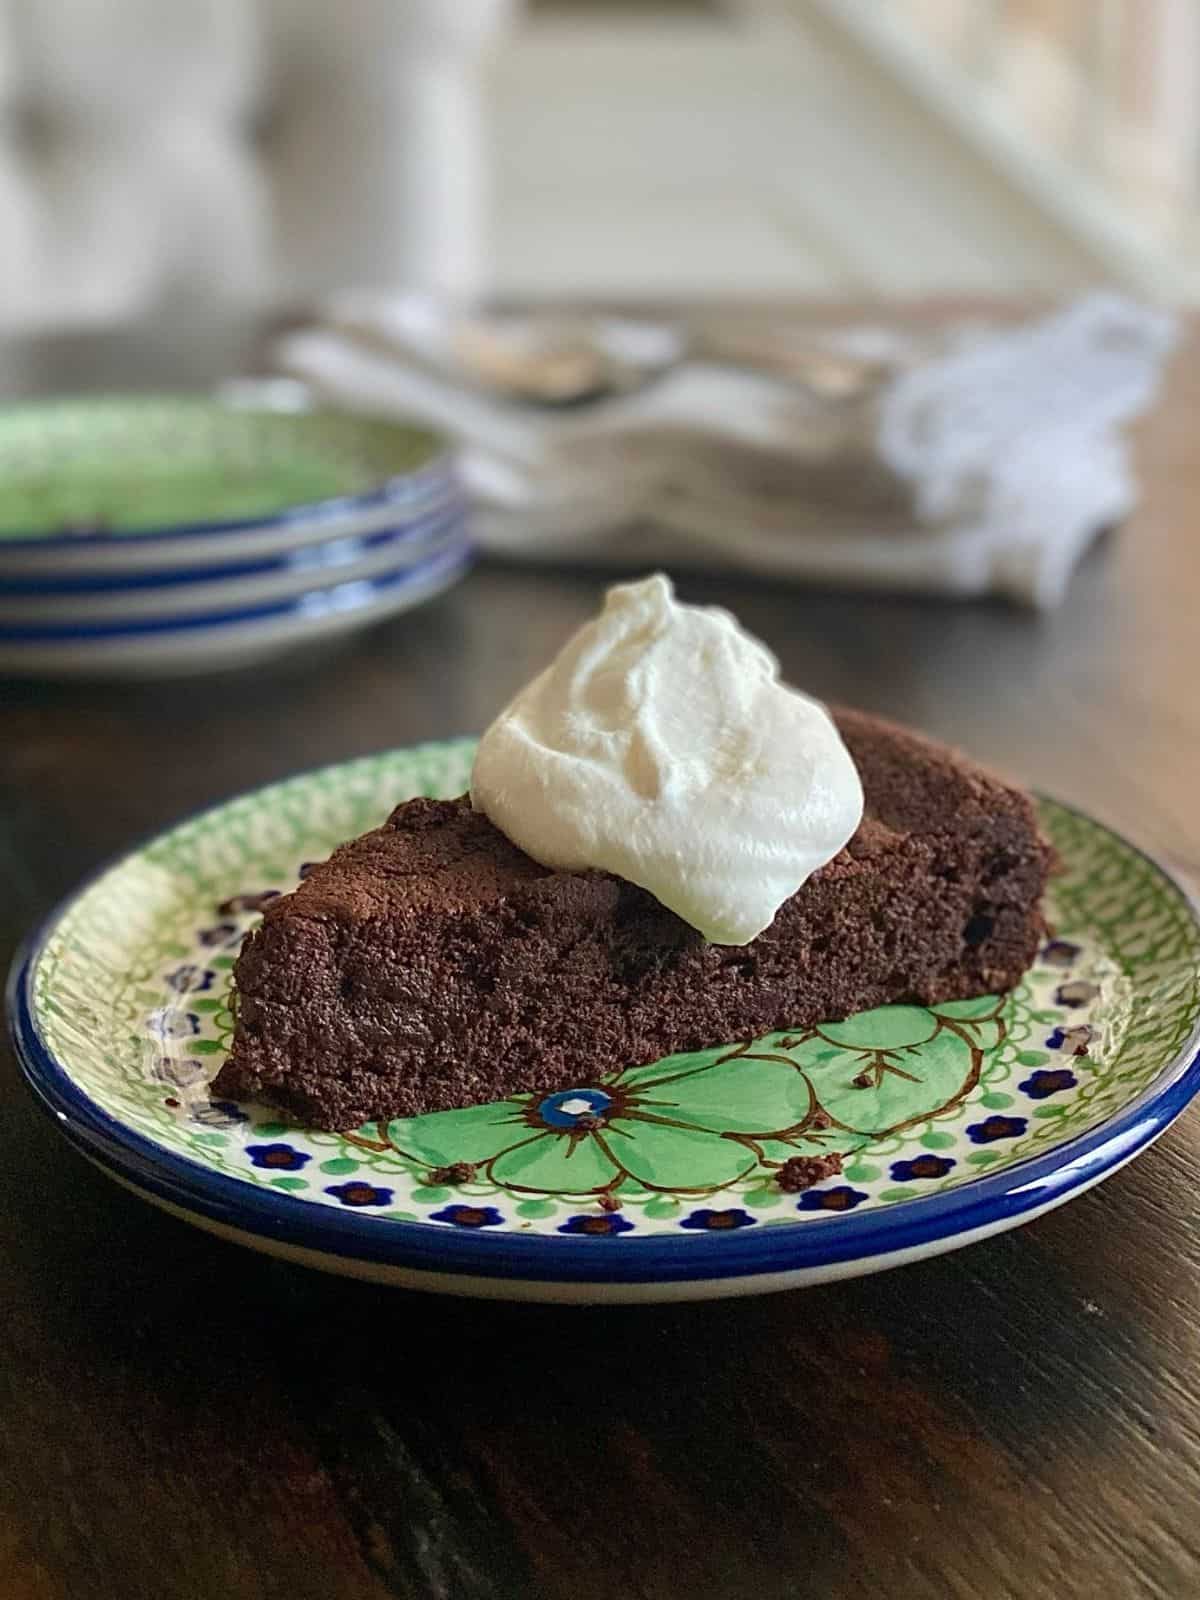
And when you take that first warm, unabashedly chocolate bite? It’s rich and delicate at the same time, practically melting in your mouth while satisfying all of your chocolate cravings.
What’s Your “Type”?
It’s a rare individual who doesn’t have a “type” when it comes to dessert. I suppose it can happen though. There may be those among us who find themselves equally attracted to a juicy, cinnamon-scented slice of apple pie, a lusciously creamy, crackly-topped creme brulee and a fudgy ganache-covered chocolate brownie. But as for the rest of us? If presented with those options we probably already know what we’d choose. And that’s because we have a “type” that we know will satisfy us in a way NONE of the other options are capable.
So for me? Chocolate is totally, 100% my type when it comes to dessert. Don’t get me wrong…I thoroughly enjoy apple pie and creme brulee….but chocolate?
Let’s just say I’m sending all of the other desserts home and chocolate and I are going to hang out in the fantasy suite for a while 🙂
Maybe you can relate?
Why “Almost Flourless”?
Before I found this recipe, I already had a go-to flourless chocolate cake. I’d been making it for years but it was time consuming. And it was VERY rich- with a texture somewhere between cheesecake and chocolate fudge.
So on the day I discovered this recipe I was craving something rich and chocolatey, but not as heavy as my usual go-to, and definitely not as time consuming.
After a quick search for “flourless chocolate cake” on the NYT website I found Evelyn Sharpe’s French Chocolate Cake. It’s not flourless, but the amount of flour is so small I question it’s necessity. Being a new-to-me-recipe I didn’t want to chance omitting the flour, but I did use almond flour instead.
Why This Will Be Your New Go-To Chocolate Dessert
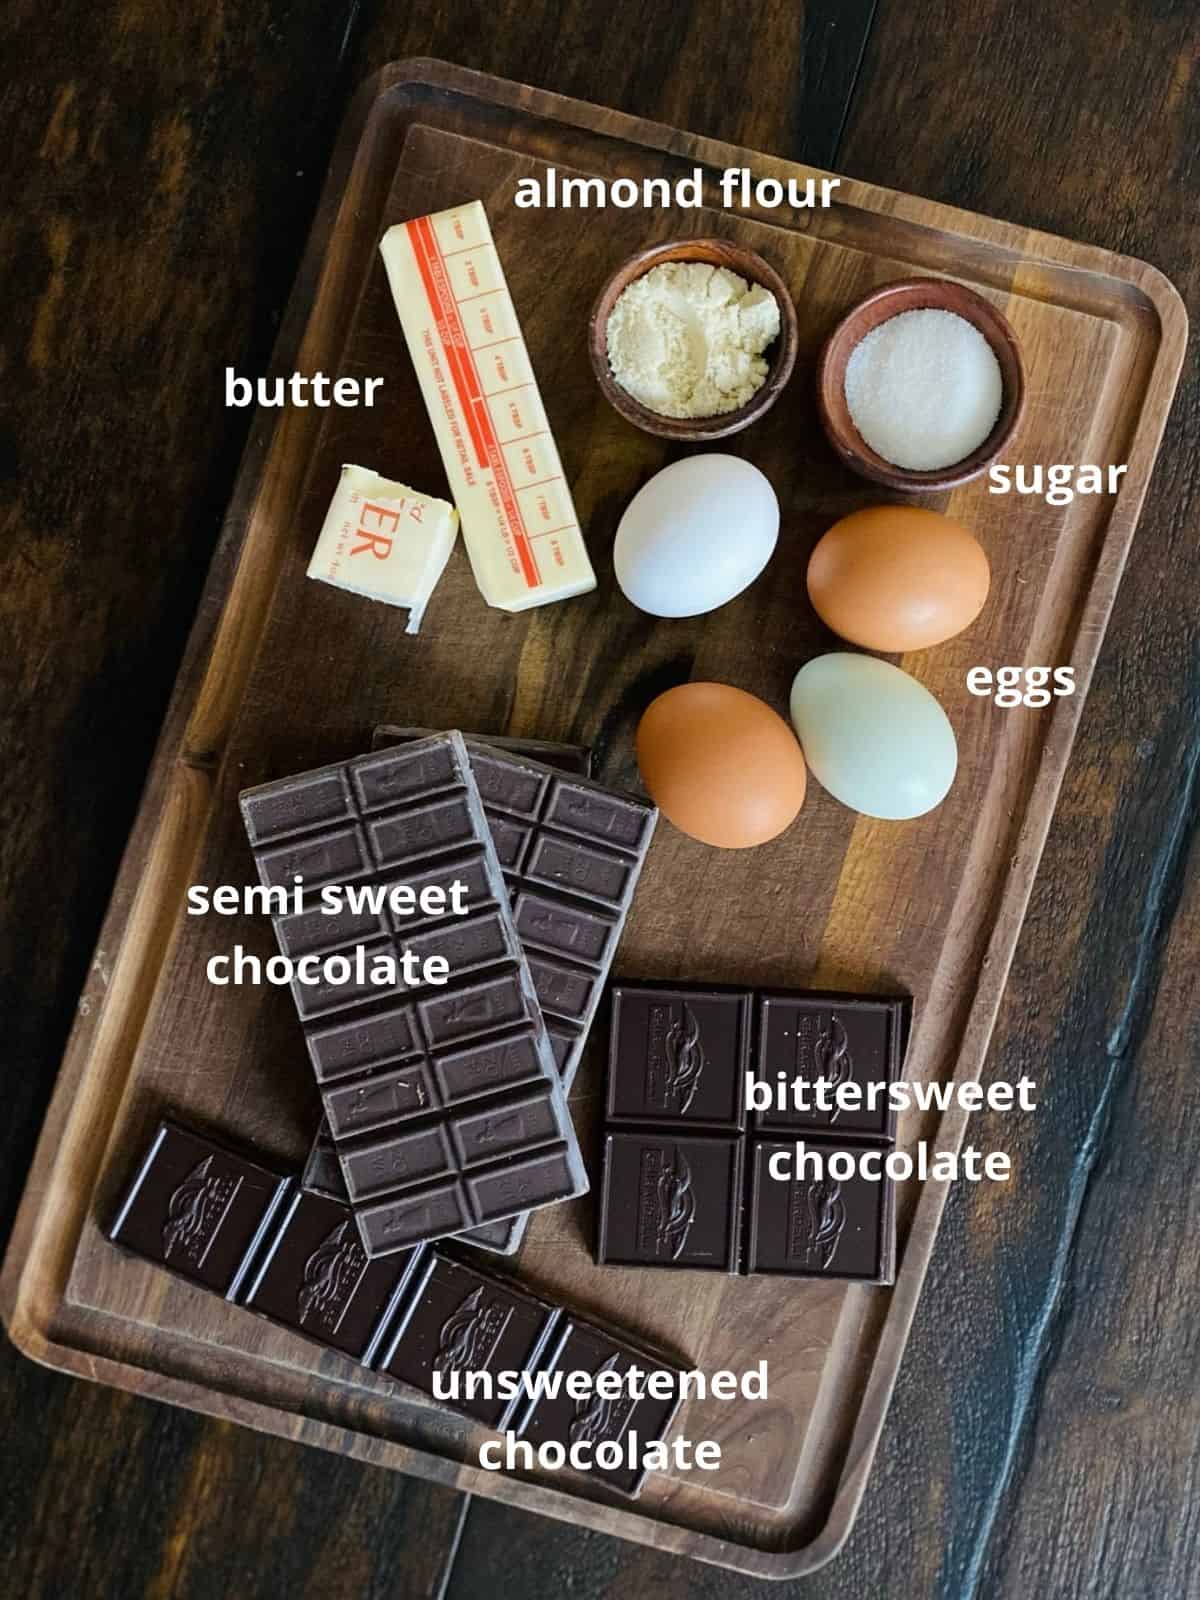
- Only 5 ingredients– And you probably have them already! (I think you should go inventory your pantry right now…)
- It’s Quick – As a matter of fact the amount of time you’ll need between gathering your ingredients and slipping it into the oven is about 20 minutes.
- Flexible – Adjust the chocolate profile according to your taste- or what’s in your pantry- using all semi-sweet or a mix of semi sweet, unsweetened and bittersweet.
- Avoiding White Flour?– You can use almond flour OR all purpose flour
- Not fussy– It’s special enough to serve company but it’s far from being fussy- serve it on it’s own, with a dusting of powdered sugar or (my preference) a dollop of whipped cream
- Tastes amazing!!!– This cake is unabashedly chocolate. And the texture? It isn’t fluffy OR dense… it’s something in between. I encourage you to take a bite when it’s the perfect amount of warm and it will practically melt on your tongue.
Five Ingredients
- Baking Chocolate- us all semisweet or mix it up like I do
- Eggs
- Butter
- 1 Tablespoon Sugar
- 1 Tablespoon of almond flour (you can use regular flour if you prefer)
Where Are You On The Chocolate Spectrum?
I’ve found most people have a preference for the amount of “sweet” they like when it comes to chocolate. I’ve been a dark chocolate kind of girl for as long as I can remember, but maybe you lean more towards semisweet? The NYT recipe called for all semi sweet. I swapped 4 ounces of the semisweet for a mix of bittersweet and unsweetened and it was the perfect balance for us.
The great news is that you can turn the chocolate intensity up or down with this cake, depending on what you like. Just try to keep the total cocoa content between 60-70% for best results.
Here’s How To Make Almost Flourless Bittersweet Chocolate Cake
You can use an 8 or 9″ springform pan for this., whichever you have. An 8″ pan will give you a slightly deeper cake and might need another minute in the oven, but the difference is minimal. Grease your pan and line the bottom with parchment paper. The parchment makes it easier to unmold but if you don’t have parchment, don’t worry, it’s not a deal breaker 🙂
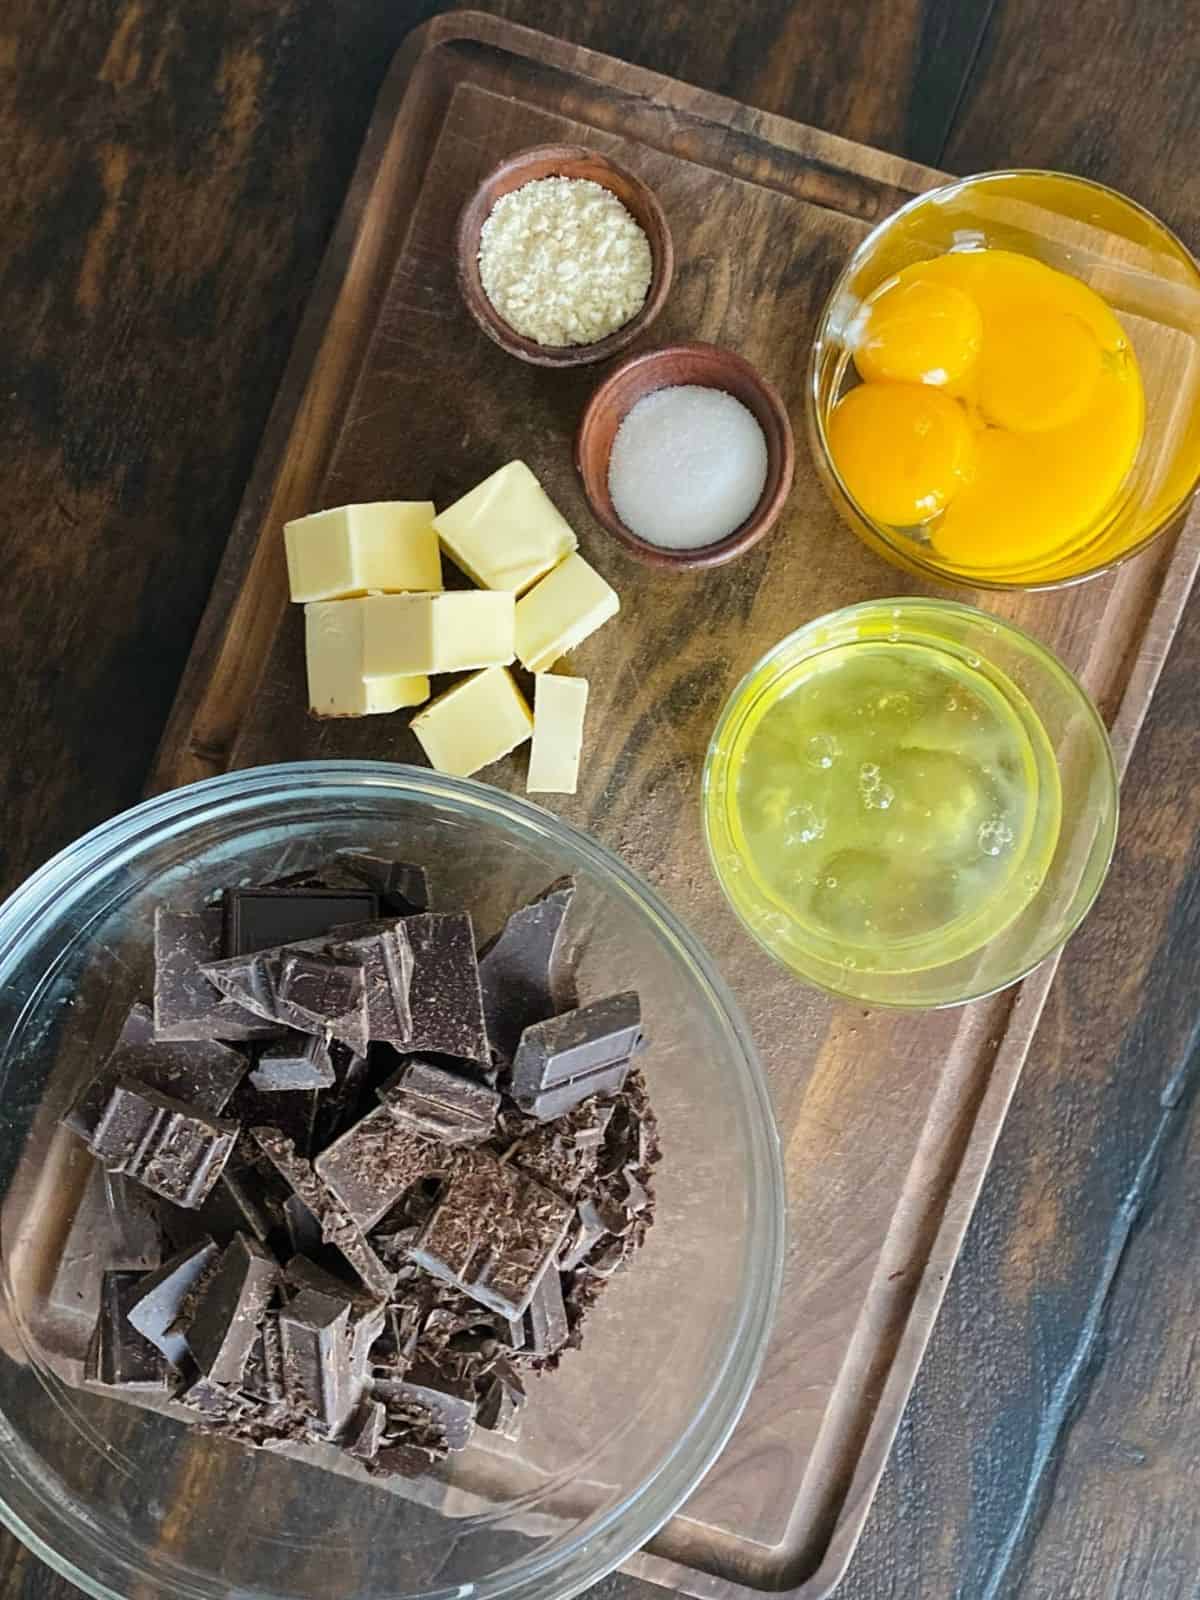
Gather your ingredients, separate your eggs, chop your chocolate and preheat your oven.
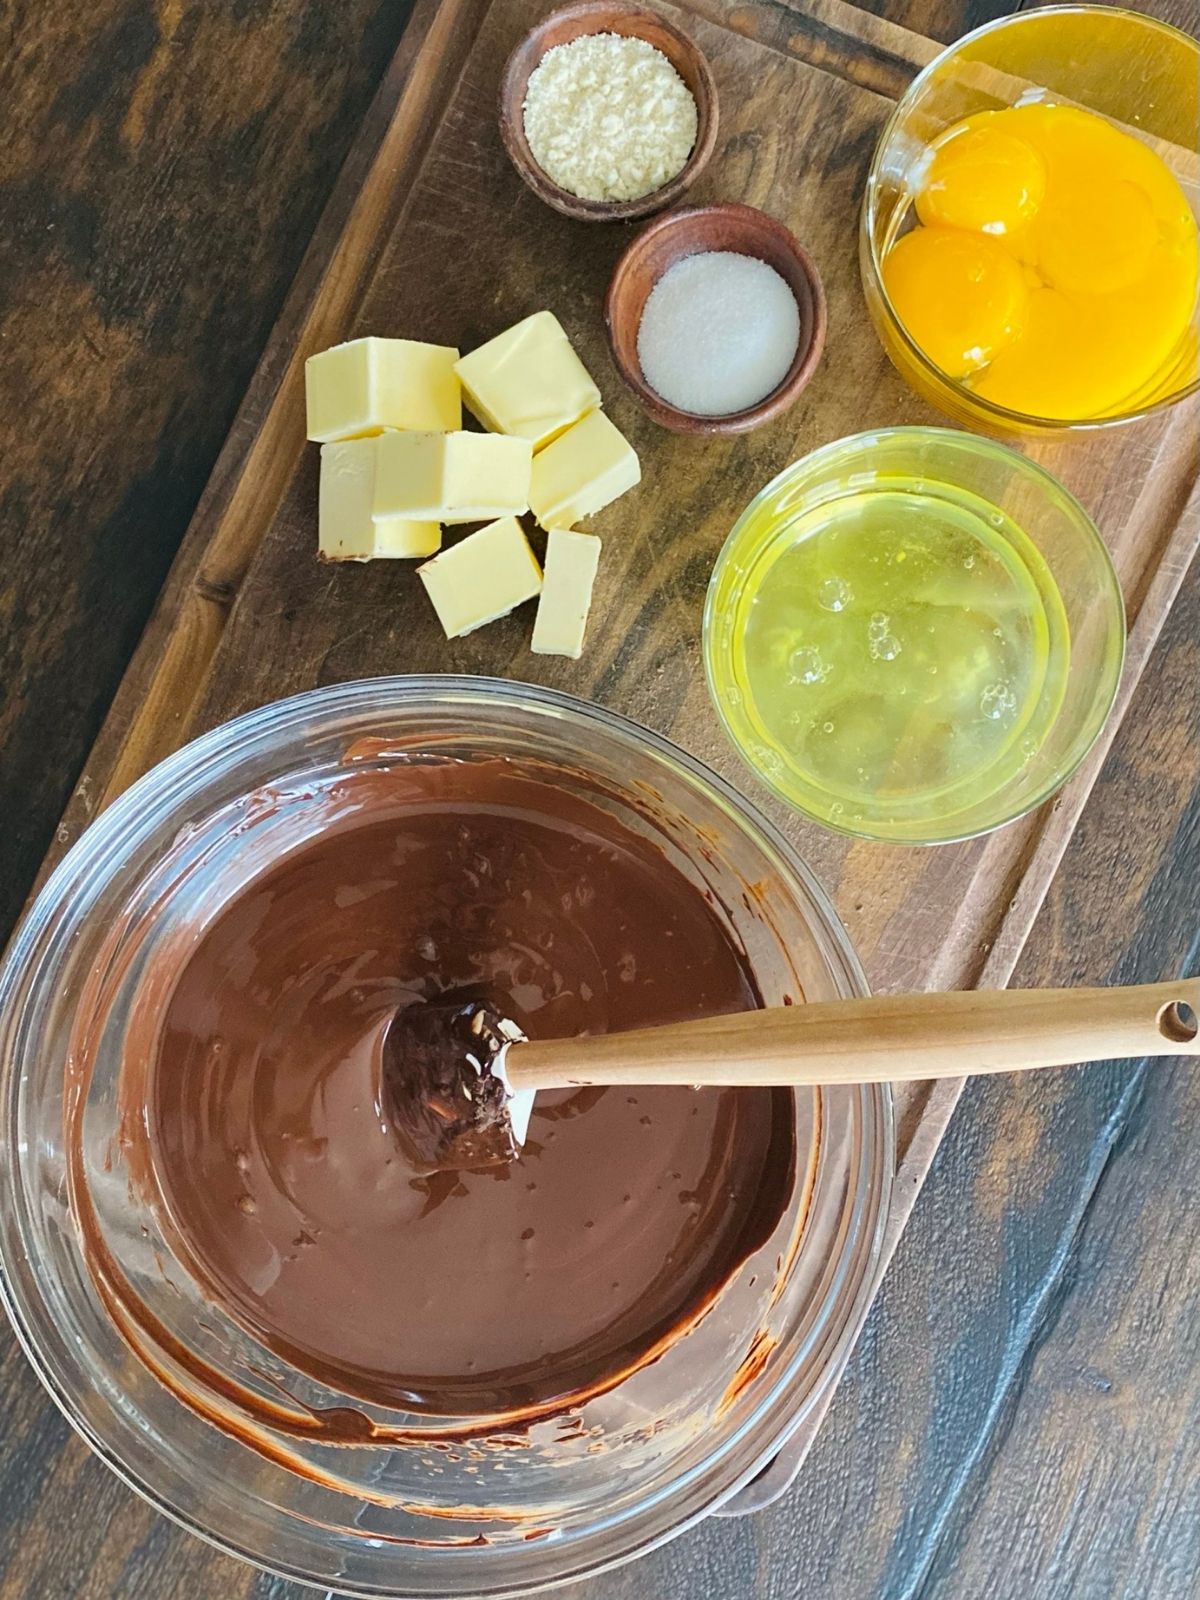
Melt the chocolate (either in the microwave or a double boiler). If using the microwave see the notes in the recipe card.
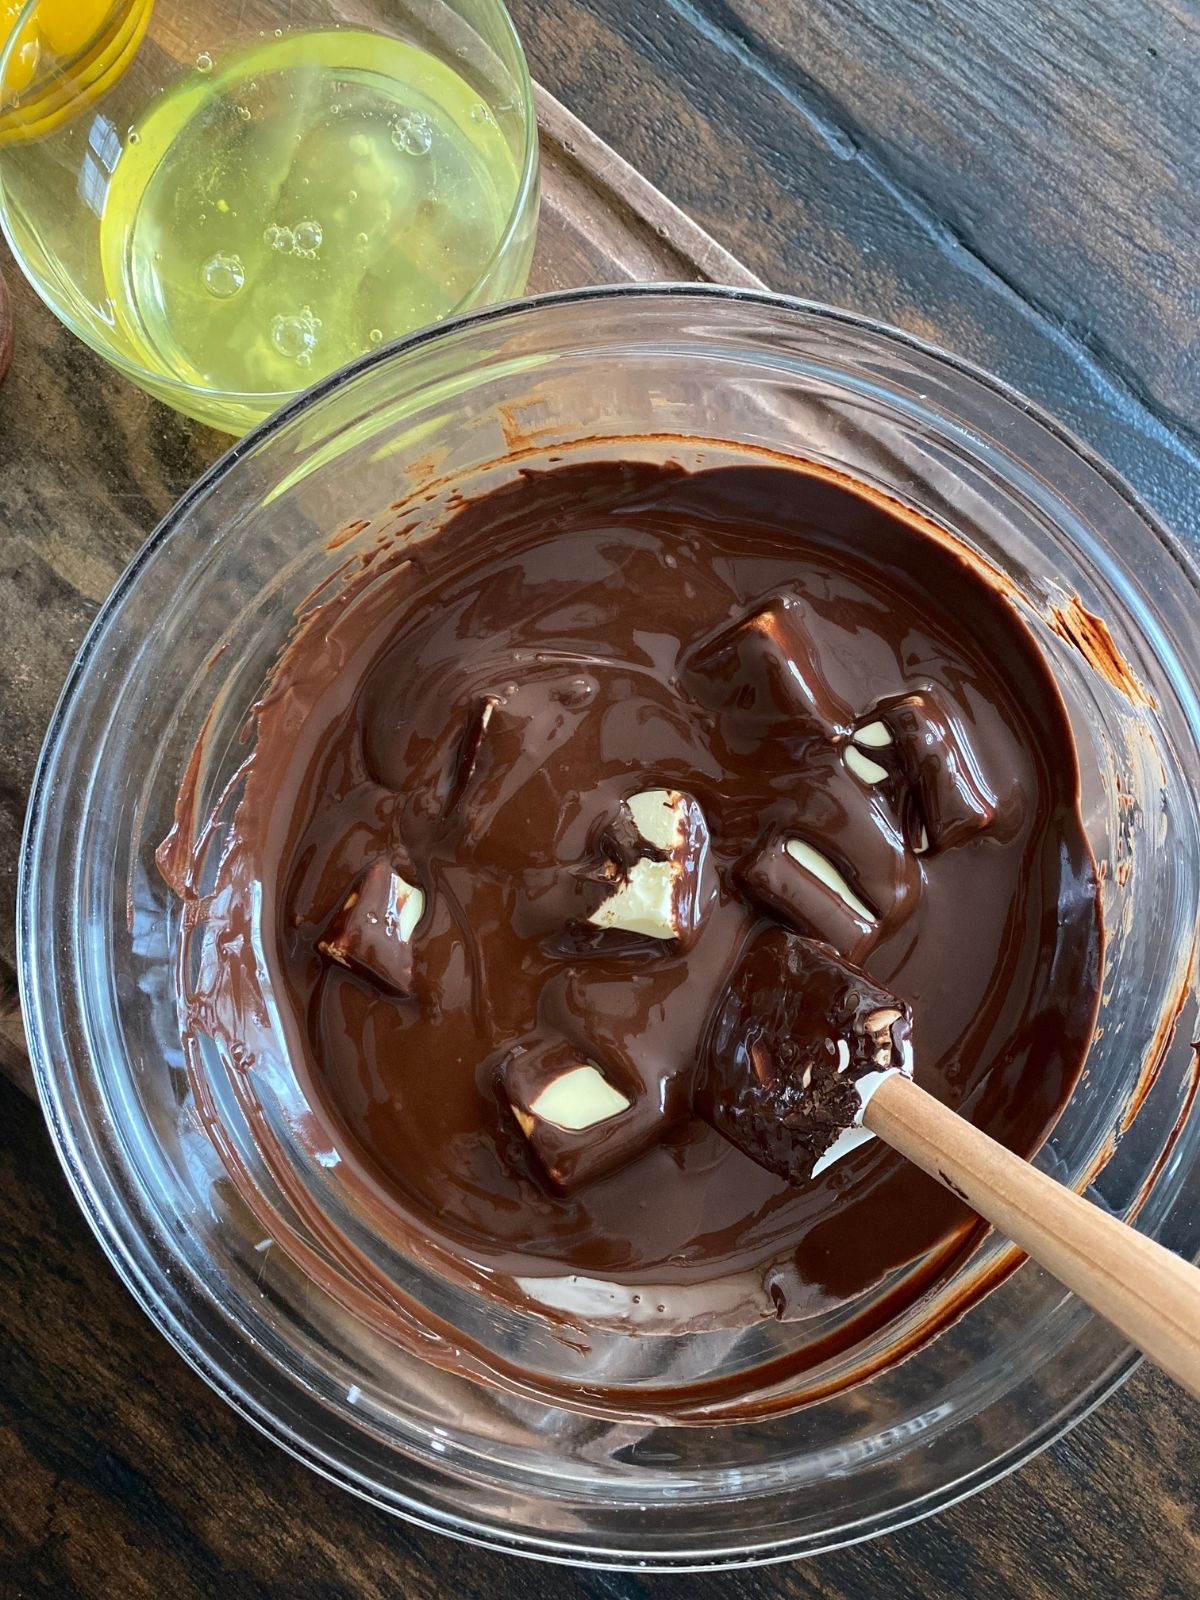
Stir cubed butter into the warm, melted chocolate until it’s smooth and completely mixed in
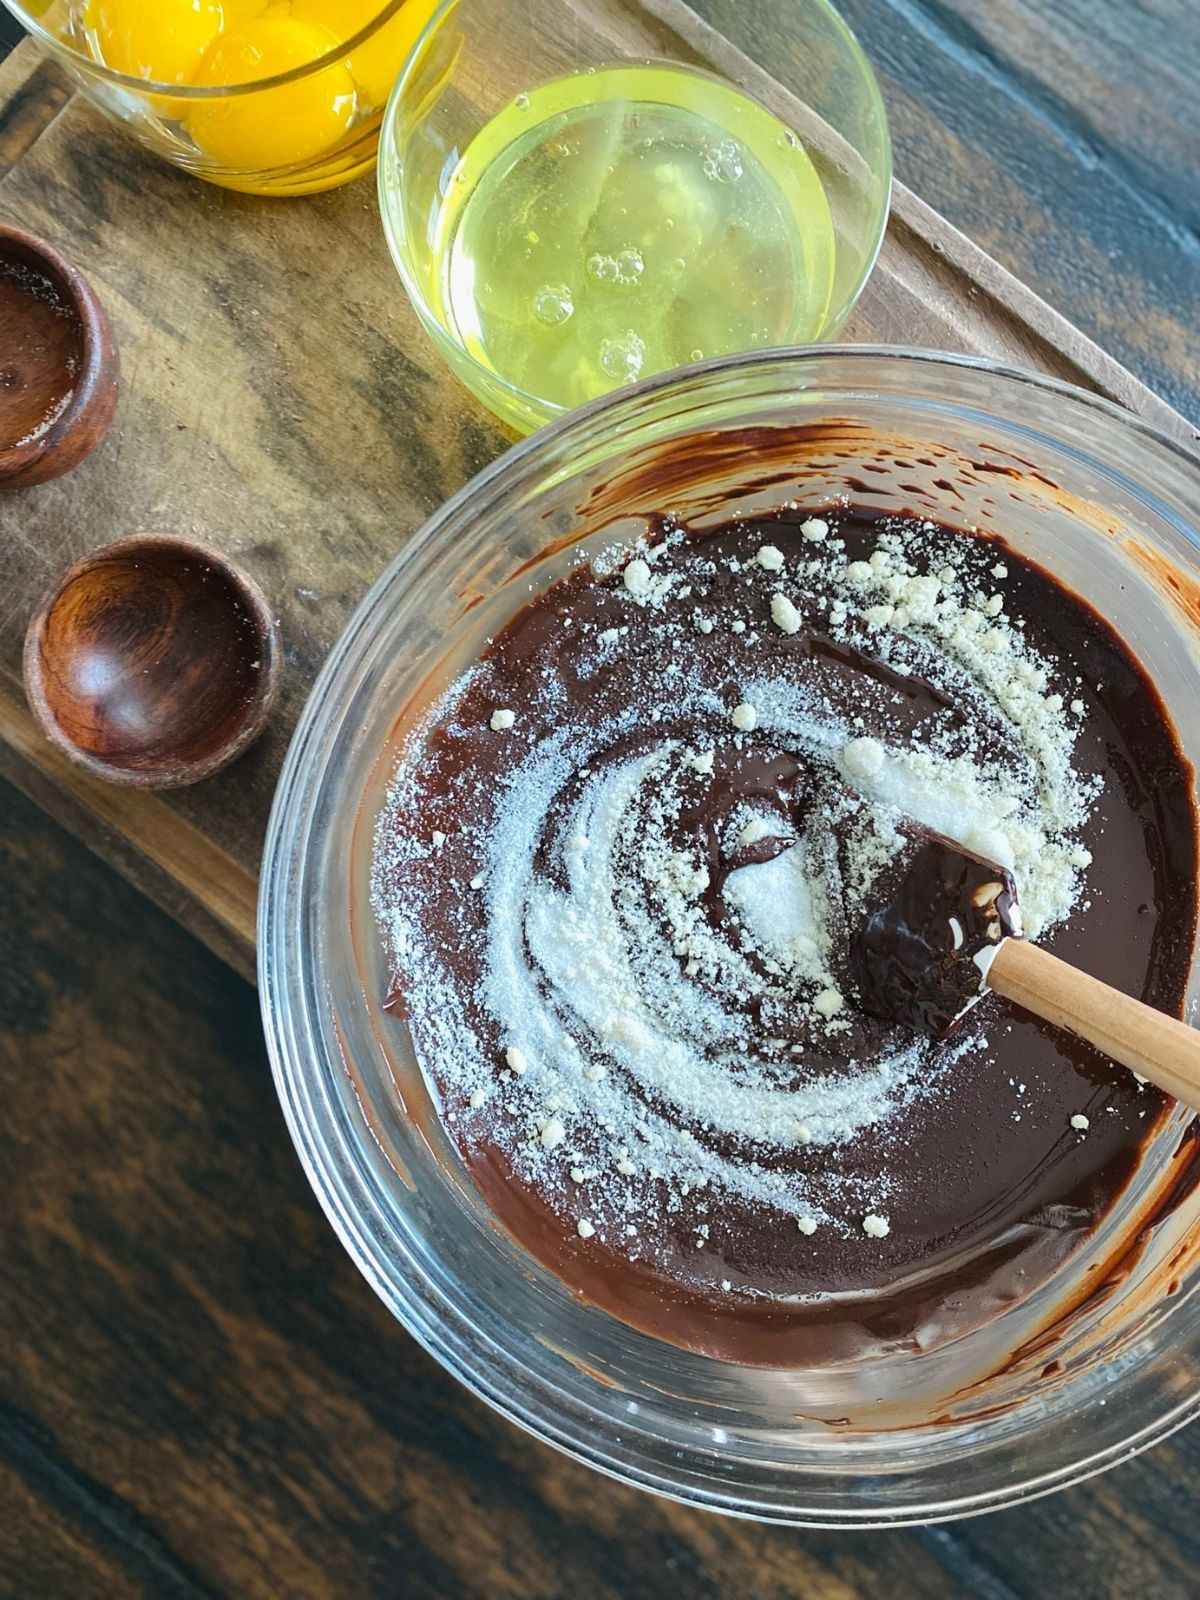
Stir or whisk flour and sugar into chocolate mixture
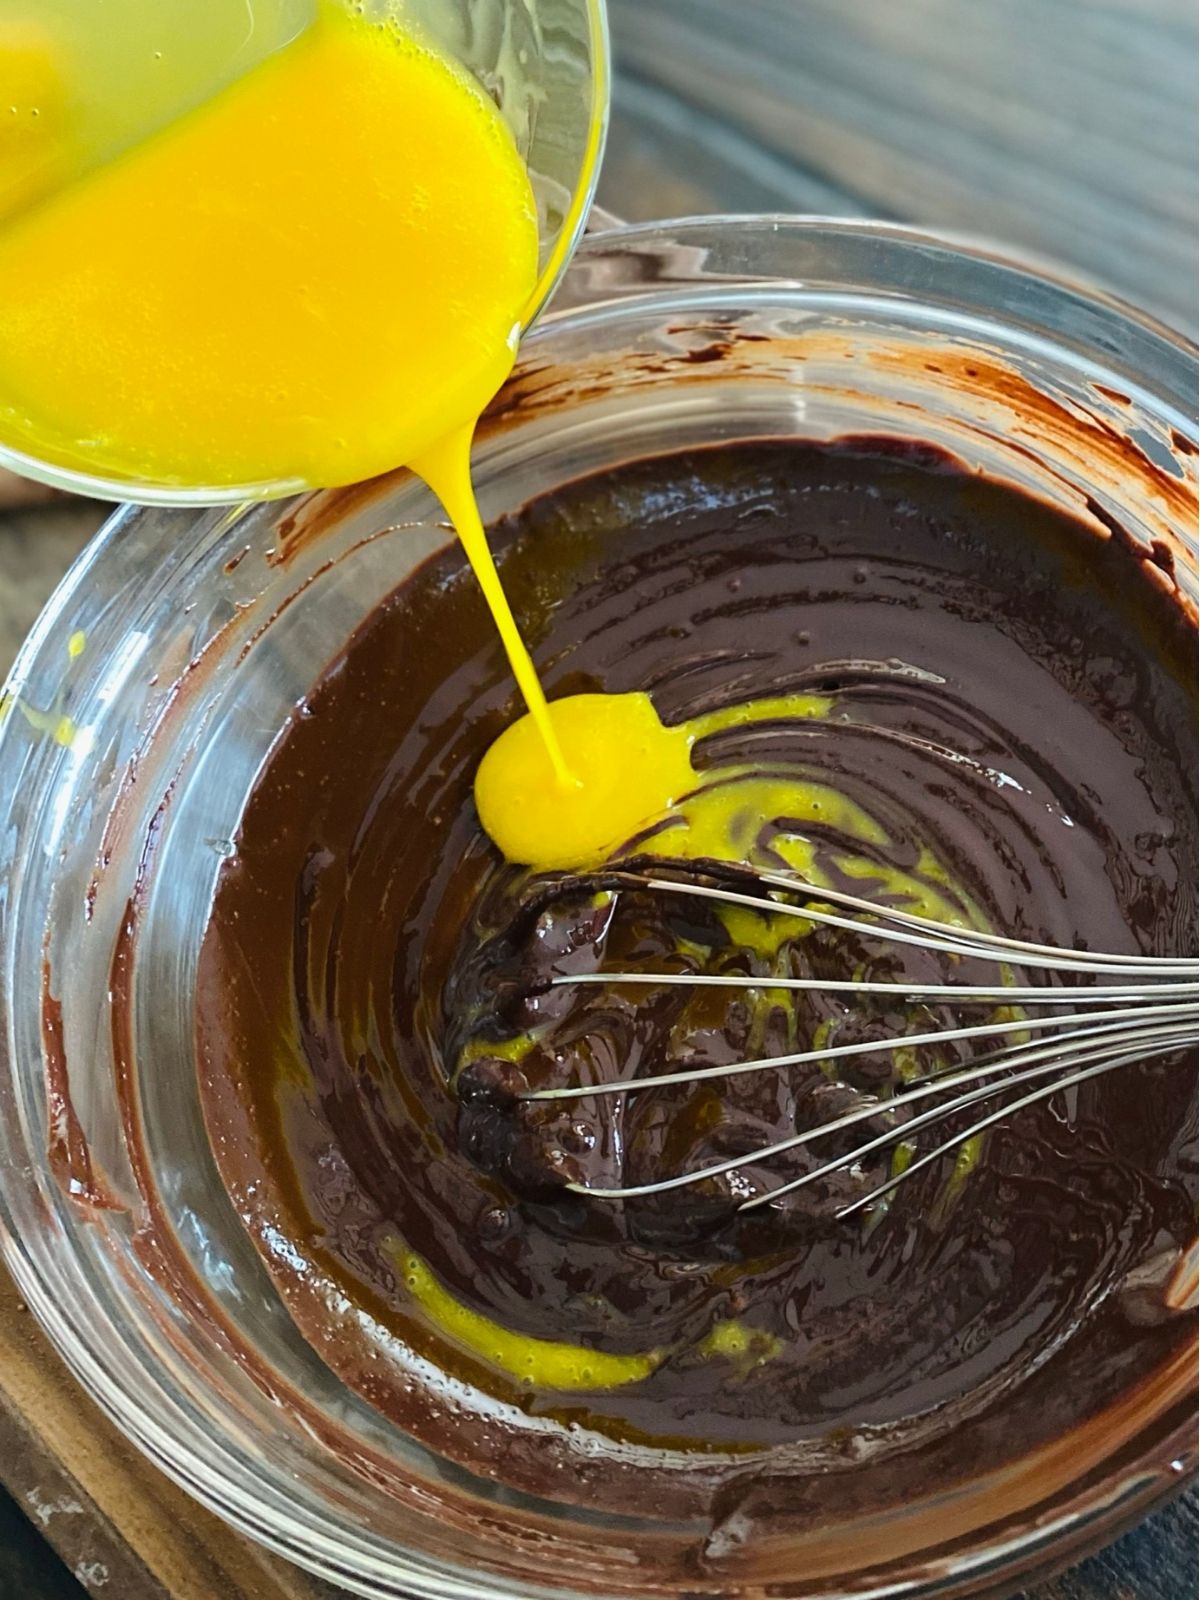
Whisk egg yolks together and then slowly whisk them into the chocolate/flour mixture until no traces of yolk remain
Beating Egg Whites
Beating the egg whites is essential to the final texture of this cake. They’re what gives the cake lift and body. You can use a hand or stand mixer with the whisk attachment or whisk by hand. Whisking by hand will take longer but is personally satisfying AND provides a great arm workout!
Here are a few tips for successful whipping:
- Room temperature whites will whip up much faster than cold whites.
- Make sure there are no flecks of yolk in the whites when you seperate them.
- Use a metal or glass bowl. Plastic bowls can hold traces of grease that will prevent your whites from getting fluffy.
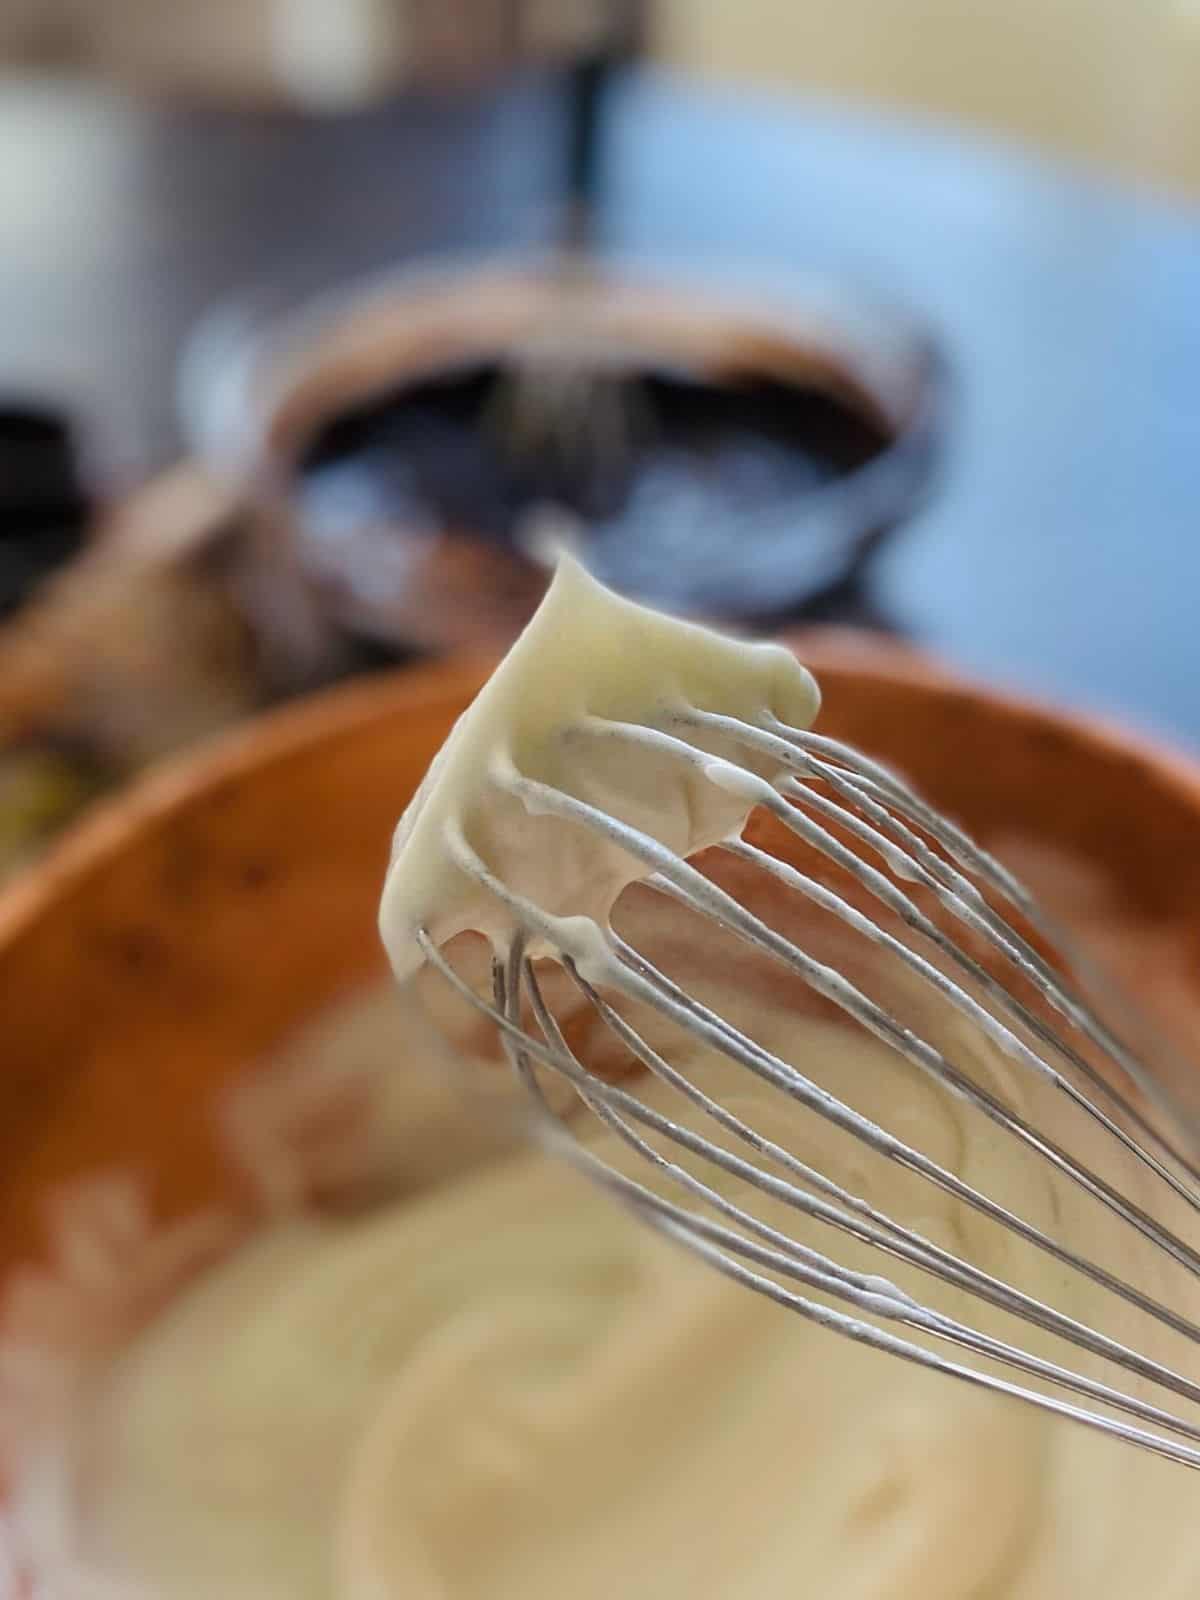
Beat the whites until they are thick and fluffy and just hold a peak on the whisk when held upright. Be careful not to over whip or they’ll be dry and crumbly. If you DO over beat them all is not lost, you can save them! This article from Food 52 on How To Fix Over-Beaten Egg Whites is your egg white insurance policy 🙂
Folding In The Whites
The first thing that comes to mind whenever I read a recipe that calls for folding in anything is this clip from Schitt’s Creek…I couldn’t help but include it here!
This is an important step but don’t be nervous! Start by incorporating just 1/4 of the egg whites first. This will lighten the batter, making it easier to incorporate the remaining whites. Folding is a method of mixing a light mixture (beaten egg whites) into a heavier base (chocolate mixture) without deflating the lighter mixture. You’ll do this slowly by slicing through the center of the mixture with your spatula, all the way to the bottom of your bowl, scooping against the bottom and up the outside edge. You’ll bring the batter up with your spatula and deposit it back into the center. That’s a fold. Keep repeating this motion, turning the bowl a little with each fold until the batter is evenly light and no pieces of lone egg white remain.
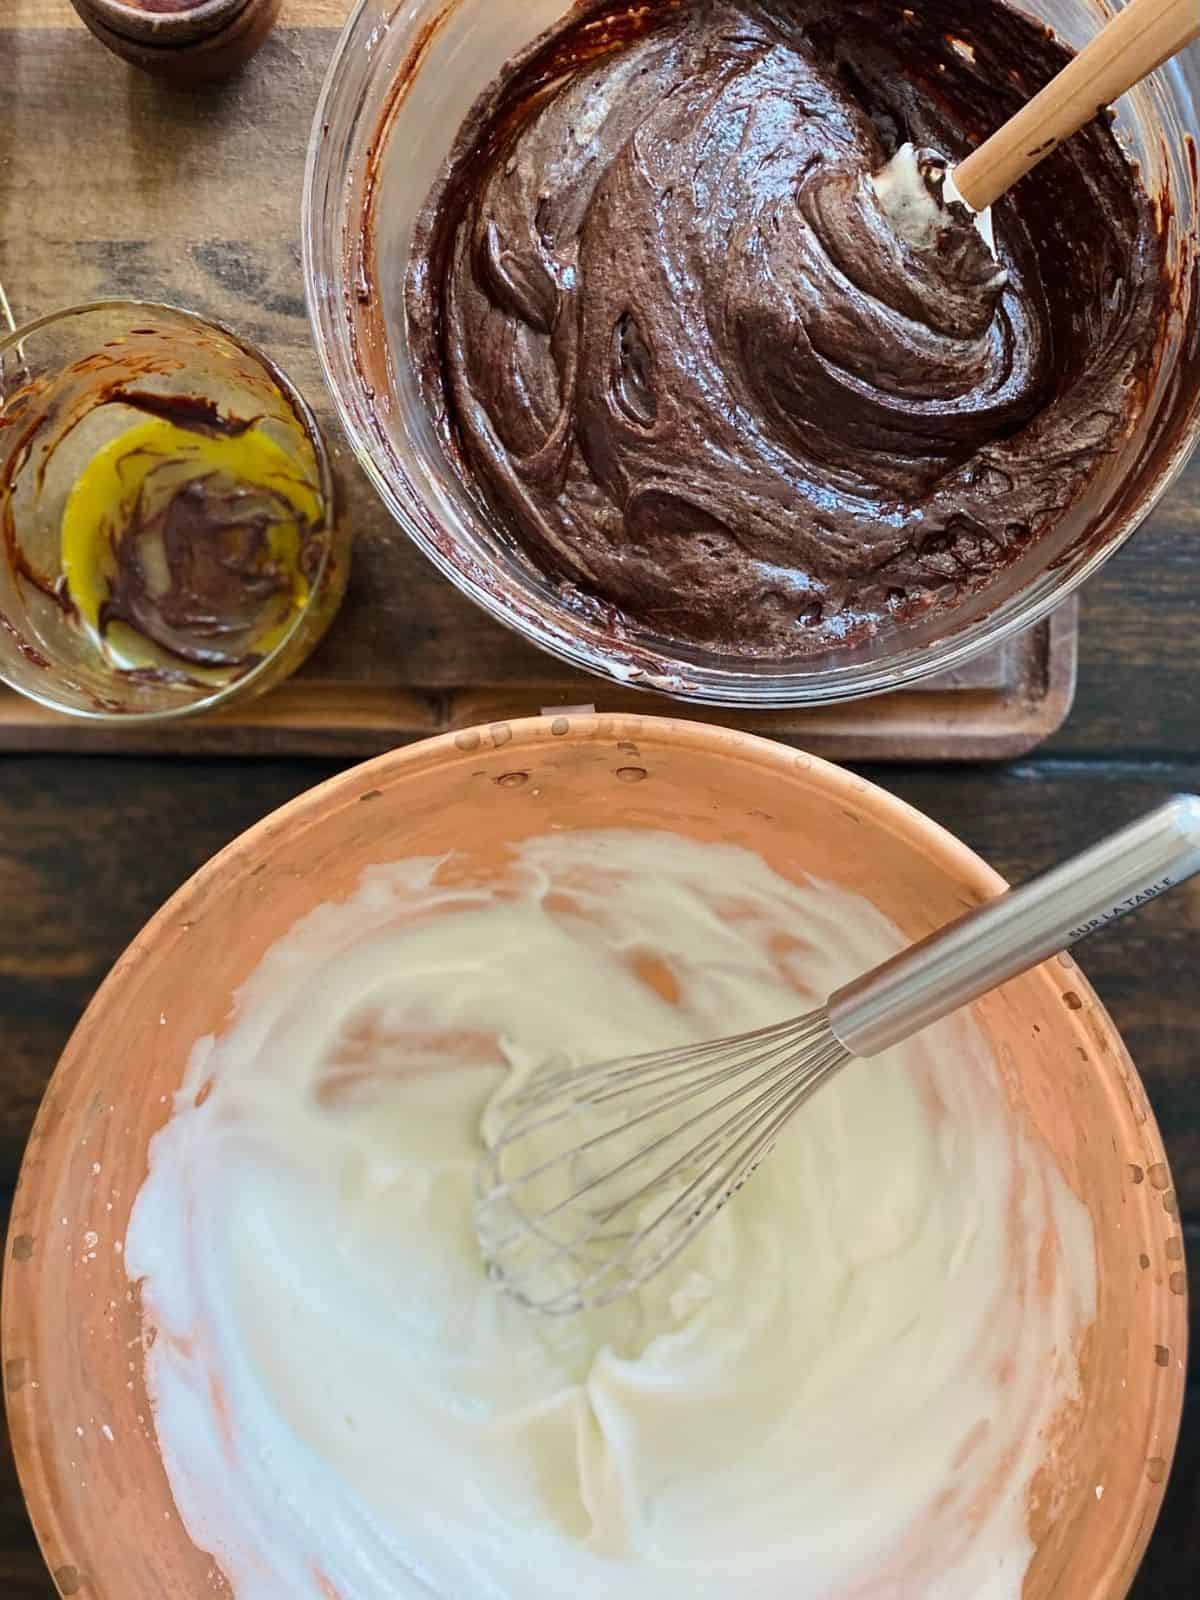
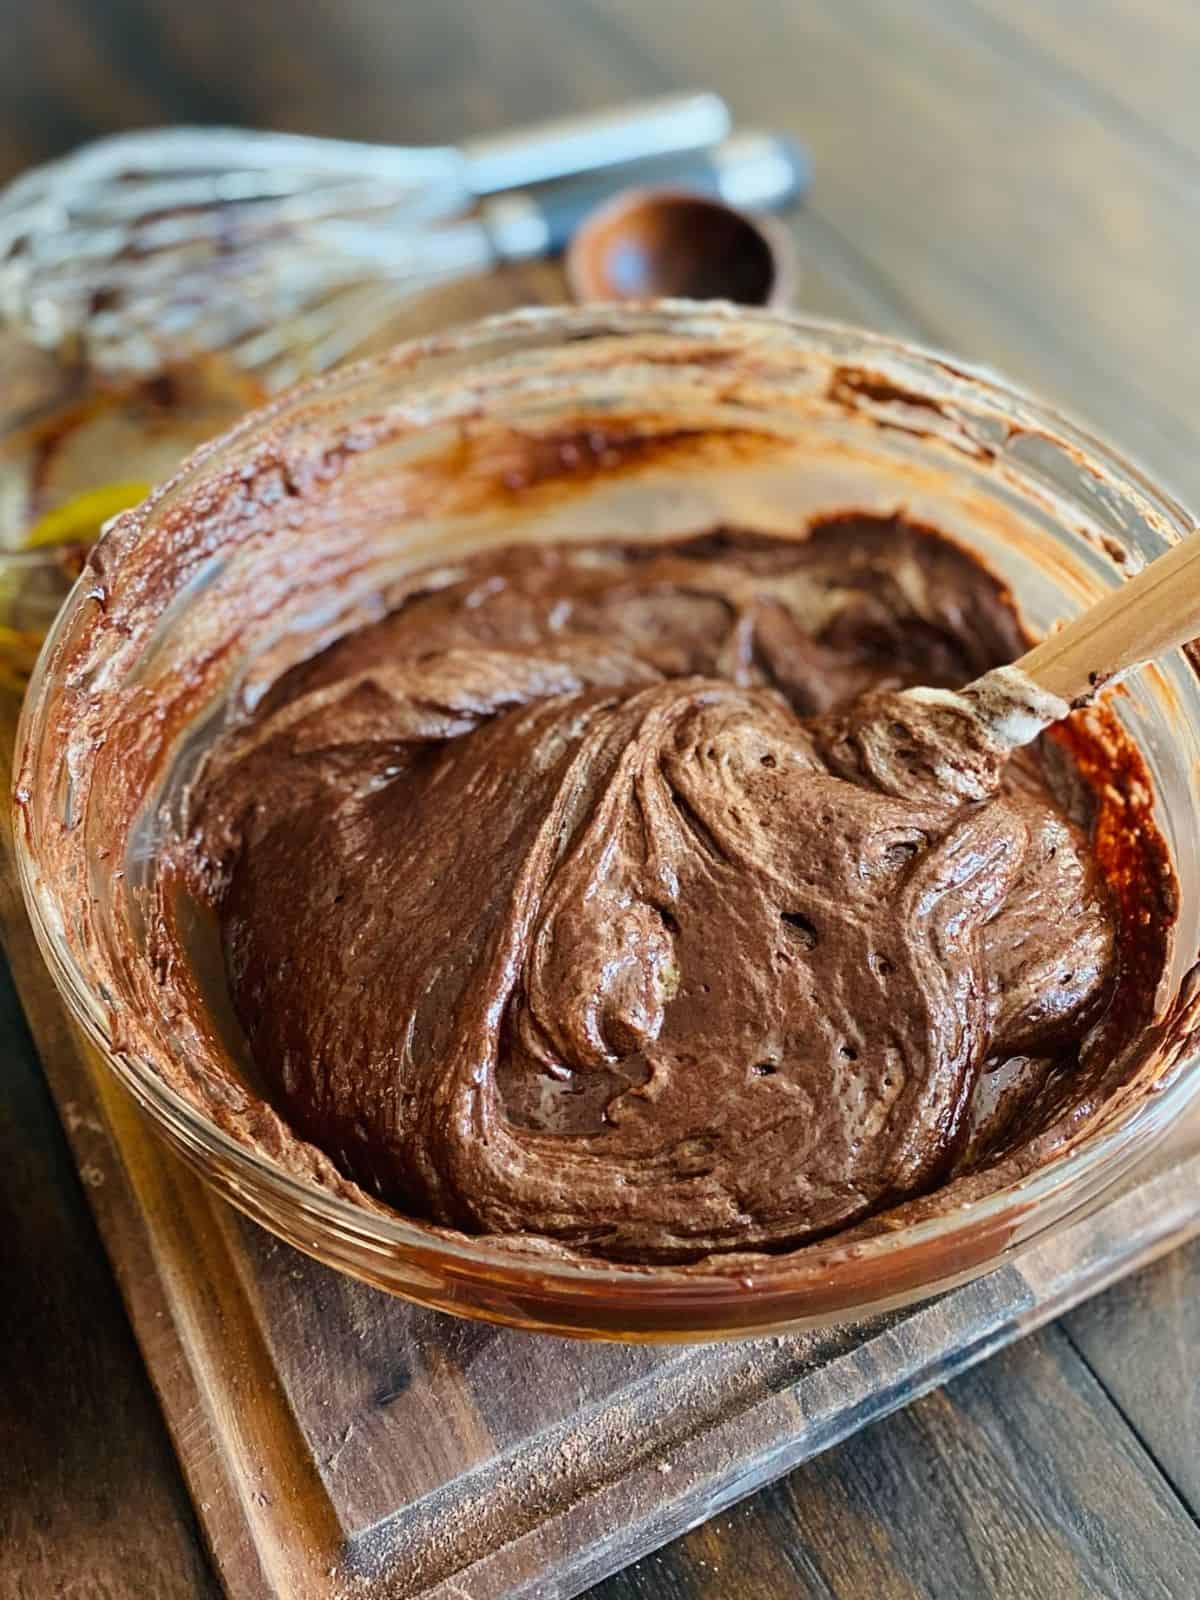
Still not sure? Here’s a quick video on how to fold in egg whites…it’s simpler than you think (You can do this)!
Ready To Bake?
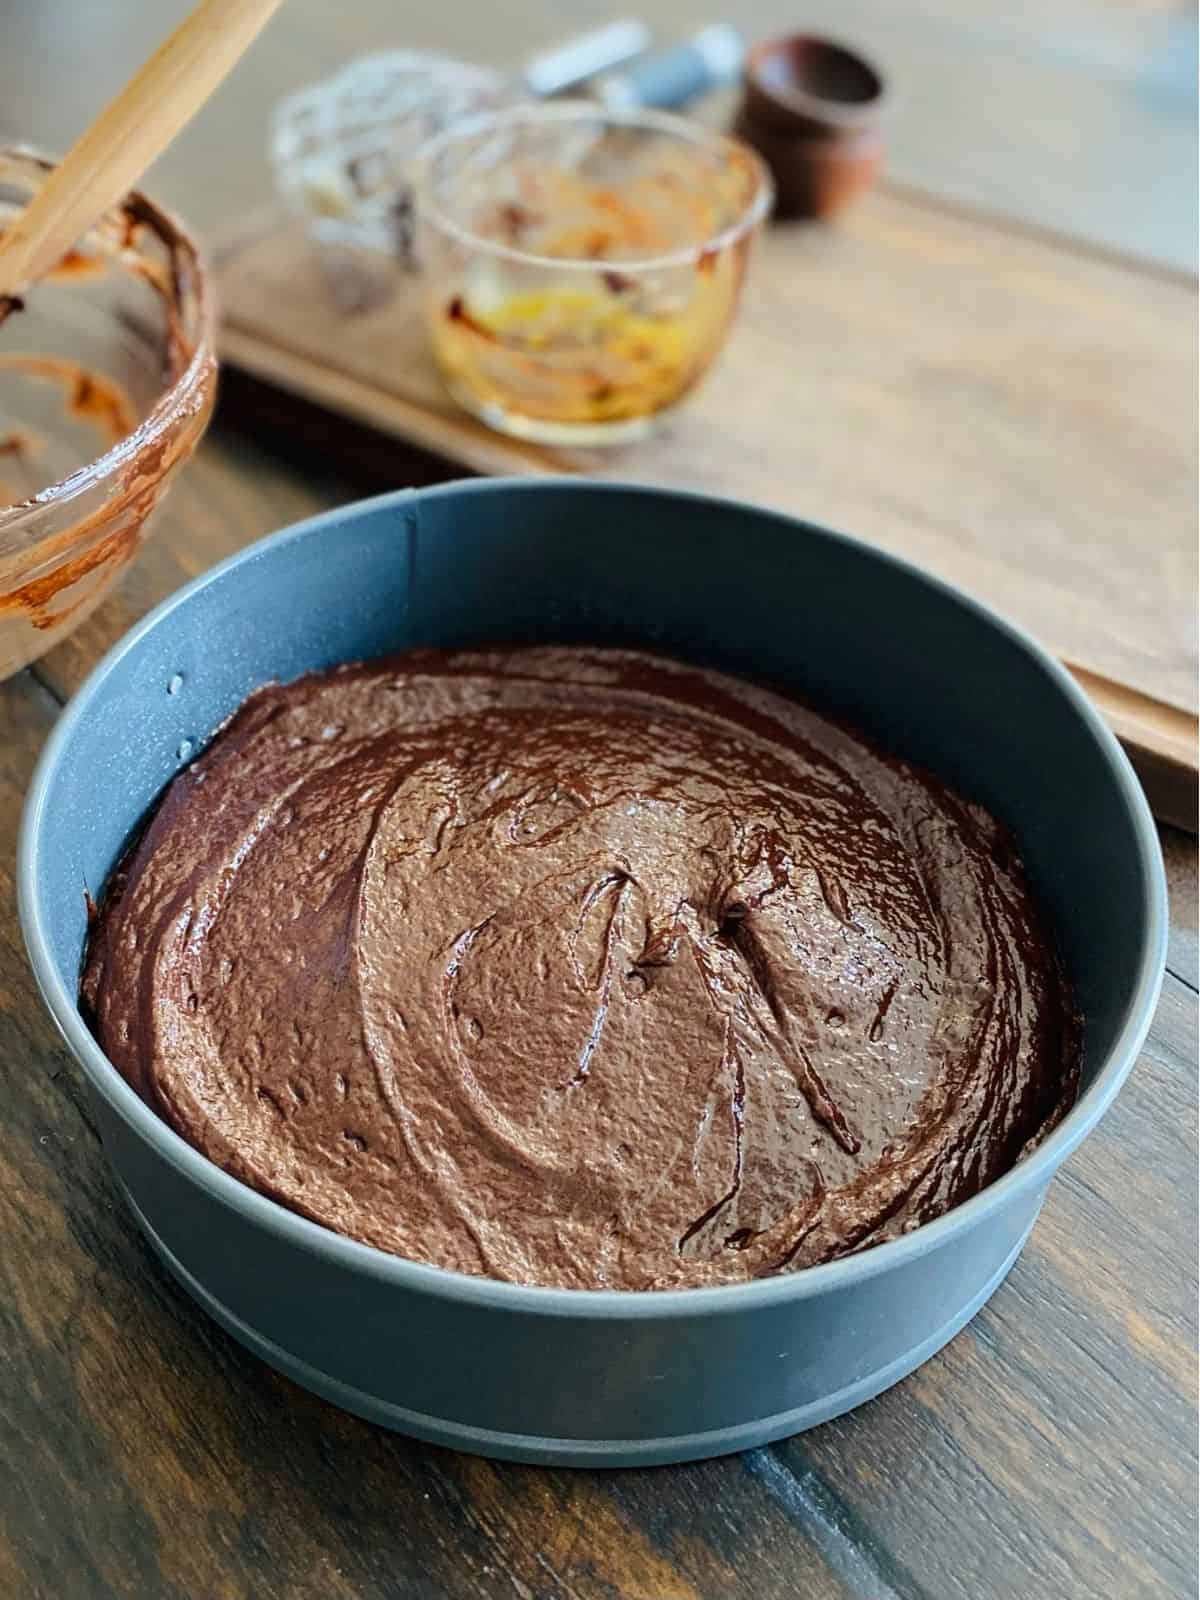
Spread batter in the prepared pan and smooth the top with a spatula
Place in the preheated oven and bake for 11 minutes (you read that correctly…just 11 minutes)

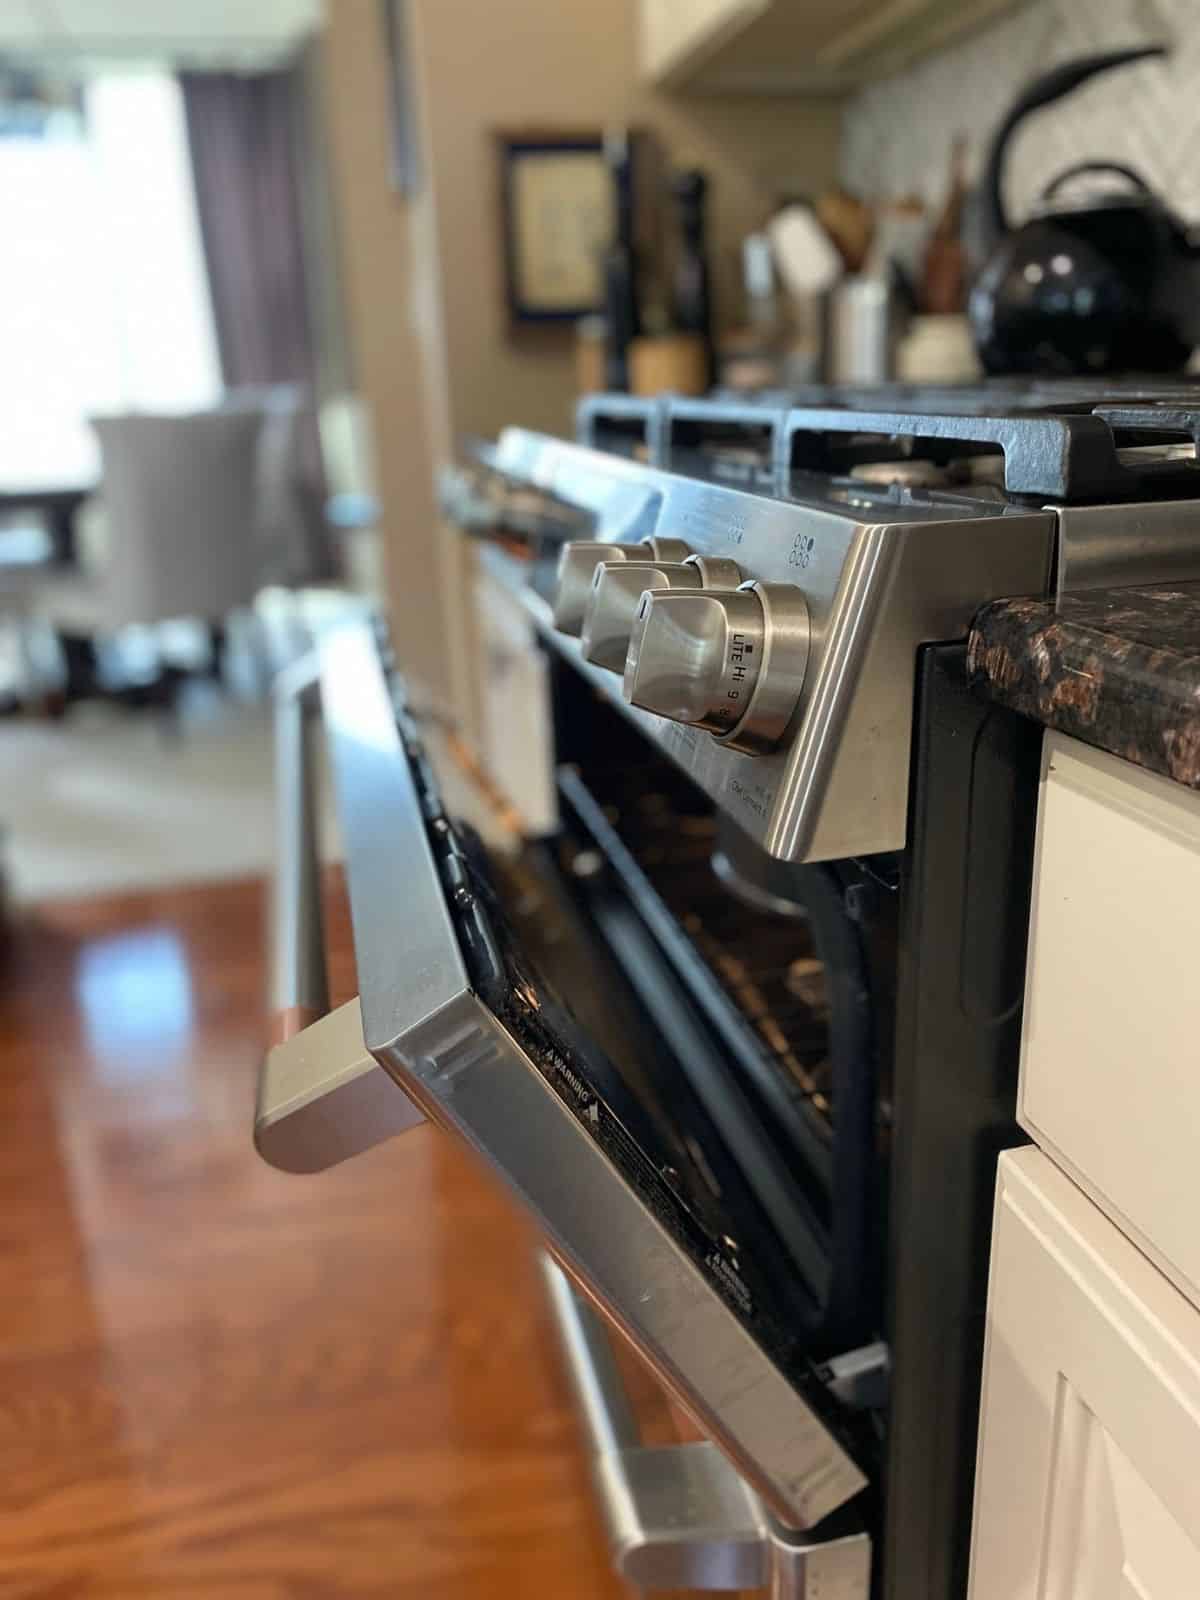
After 11 minutes (13 minutes if using an 8″ pan), turn off the oven and open the oven door. Don’t remove the cake at this point or it will be undercooked. Leave the cake inside the oven with the oven door open for another 30 minutes…it will continue setting up as the oven cools.

Remove the cake from the oven and let it cool completely at room temperature. Unmold the cake, cut into thin slices and serve with a dusting of powdered sugar or a dollop of whipped cream (homemade whipped cream recipe is in the notes)

I like to warm it up a little before serving. 10 seconds in the microwave is perfect from room temp, 15 to 20 seconds if it’s coming straight from the fridge.
I hope you love this slice of chocolate heaven as much as we do! let me know how it turns out in the comments or tag me on Instagram or Fb @breathingandcooking with your pictures!
Almost Flourless Bittersweet Chocolate Cake
Ingredients
- 12 ounces semi sweet chocolate
- 2 ounces unsweetened chocolate*
- 2 ounces bittersweet chocolate*
- 10 Tablespoons butter, room temperature
- 1 Tablespoon almond flour (can also use all purpose flour)
- 1 Tablespoon sugar
- 4 eggs, separated
- powdered sugar for dusting or whipped cream for topping (see notes)
Instructions
Preheat oven to 425°f. Grease an 8 or 9" springform pan and line bottom with parchment.
- Separate eggs into two bowls and set aside.
- Chop chocolate and either melt in a double broiler over gently simmering water or place in a glass bowl and melt in the microwave on 50% power. See notes for microwave melting tips*
- Stir room temperature butter pieces into melted chocolate and whisk until completely incorporated.
- Whisk in flour and sugar.
- Beat eggs yolks gently before whisking slowly into warm (but not hot) chocolate mixture.
- In a separate bowl beat egg whites until they are firm enough to hold peaks but not to the point where they are dry. See notes for egg white tips*
- Using a rubber spatula gently fold 1/3 of the egg whites into the chocolate mixture to lighten it. Add remaining egg whites and gently fold them into the batter until no large pieces of egg white remain. Be careful not to deflate the egg whites during this process. See the post for more info on how to fold egg whites into batter.
- Scrape batter into prepared pan and smooth top. Place in 425°f oven and bake for 11 minutes*. After 11 minutes, turn off the oven and open the oven door but leave the cake inside. Let cake cool in the oven for 30 minutes before removing and allowing it to cool completely at room temperature.
*If using an 8" pan let it cook 13 minutes before turning the oven off
To Serve: Unmold cake, cut into 10 wedges and serve sprinkled with powdered sugar or topped with whipped cream (see notes for how to make whipped cream)
You can cover and chill the cake if not eating right away. It will be very dense once chilled. It's best slightly warm and will soften up once reheated. I suggest 10 seconds in the microwave from room temp or 15-20 if chilled.
Notes
A Note On The Chocolate: I use a combination of semi sweet, bittersweet and unsweetened chocolate because I prefer a less sweet cake but love the intense chocolate flavor. You can use all semisweet if you'd like. keep the total cocoa content between 60 and 70% for best results.
Melting chocolate in microwave: Make sure your chocolate is chopped and that your bowl is completely dry. Microwaves vary in power so if you're model doesn't have a "melt chocolate option", melt at 50% power and stir every minute, more often as chocolate completes. There will be residual heat so remove it when there are just a couple little unmelted pieces left and stir until they smooth out.
Whipping egg whites: Egg whites that are room temperature will beat best. Make sure there isn't even a trace of yolk in them or they won't get fluffy. Also make sure the bowl and whisk/beaters you are using have no grease on them (this also prevents them from getting fluffy). Use an electric mixer (hand held or stand mixer) for quickest results. You can also beat by hand using a whisk and a copper bowl if you have one, this will take longer but is personally satisfying and a great arm workout!
Egg whites are ready when they will stand up in peaks when the whisk is held upright. Avoid going beyond that point as they will dry out and not provide the body the cake needs.
How to make whipped cream:
- Combine 1/2 cup heavy whipping cream and 1/2 tsp vanilla in a chilled mixing bowl.
- Using the whisk attachment of a hand held or stand mixer, beat the whipping cream mixture until it starts to thicken and you have soft peaks when you lift the beater
- Add 1 Tbsp sugar and continue beating until you have thick peaks that don't fall over when held upright.
Looking for more chocolate recipes? Try my Decadent & Fudgy Chocolate Cherry Bundt Cake or these Life Changing Chocolate Chip Walnut Cookies!

My kitchen (and ingredients) did not look as beautiful as shown in the pictures, but boy did the cake turn out incredible! Literally melts in your mouth. I preferred cooling in fridge to firm up, but most people loved it out of the oven with some powdered sugar sprinkled on top! Loved the cake because I used all semi-sweet chocolate and it was just the perfect level of sweet. I’m not normally an overly sweet dessert fan, so this hit the spot. Very easy to follow the directions as written, even as a newbie in the kitchen. A must try for all! A++ recipe, as usual. Thank you for sharing the recipe, and taking the time to make the directions so clear, and easy to follow.
Jon, So happy to hear how well it turned out for you and that everyone loved it! Thank you for taking the time to write a review- hearing from people who try my recipes is one of my very favorite things 🙂