
Did you know that you can turn almost any fresh summer produce into a jar of deliciously simple refrigerator pickles? If your garden is producing faster than you can consume, or you’ve gone a little overboard at the local farmer’s market (been there!) this quick easy recipe will be your new best friend 🙂

In the throes of summer there are lots of ways to find yourself with an abundance of produce. And I’m definitely guilty of wanting ALLLLLLLLL the beautiful, colorful vegetables! But… after I’ve brought them home, admired their vibrant hues and gardeny scents, and lovingly tucked them into their preferred climates (drawer, shelf, bowl) it hits me… what the heck am I going to do with it all?


Produce has a shelf life. And while the freshest, close to the source produce is going to last longer than veggies that have traveled long distances landing on grocery store shelves waiting to be chosen…it’s still perishable. Plus? Veggies taste best (and hold more nutrients) the sooner they’re eaten.
So what’s a veggie lover to do when they’ve over committed to a rainbow of summer bounty?
Enter: The Refrigerator Pickle. Fast, flexible and surprisingly addictive!
Why Refrigerator Pickles?
I’m glad you asked! There are three basic types of pickles; fermented, canned and refrigerated.
- Fermented: Made with saltwater brine and time. No vinegar. No heat. Naturally sour from good bacteria. Fermented pickles have lots of live probiotics which are super beneficial for a healthy gut. While they’re fermenting they aren’t refrigerated, but once they’re ready they get stored in the fridge. They typically last 3-6 months (sometimes longer)
- Traditional canned pickles: Made with a vinegar based brine and processed in a water bath so that they are shelf stable, lasting a year or more. They only require refrigeration after opening. The heat during processing kills any live probiotics, but they still offer some fiber and trace nutrients. They’re more about flavor and preservation than gut support.
- Refrigerator (or “Quick”) pickles: Like canned pickles, they’re made with a vinegar brine. They don’t undergo the heated processing and that results in several benefits: they’re easier and faster to make, they’re ready to eat sooner, they’re generally crisper, AND they retain more of their nutrients. The downside? They require refrigeration the entire time and they don’t last quite as long (1-2 months max)
I LOVE fermented foods (kimchi and sauerkraut, I’m talking to you!) and I’ll happily pay someone to make them for me! But I’m a “lazy pickler” 😉 and I just want them quick and simple and my family is more than happy to eat them up within a month. We actually have an entire shelf in our fridge dedicated to all things pickled ❤️
So, for me? It’s refrigerator pickles all the way!
What Veggies Make The Best Refrigerator Pickles?
There are so many options for refrigerator pickles! A few of my personal favorites are:
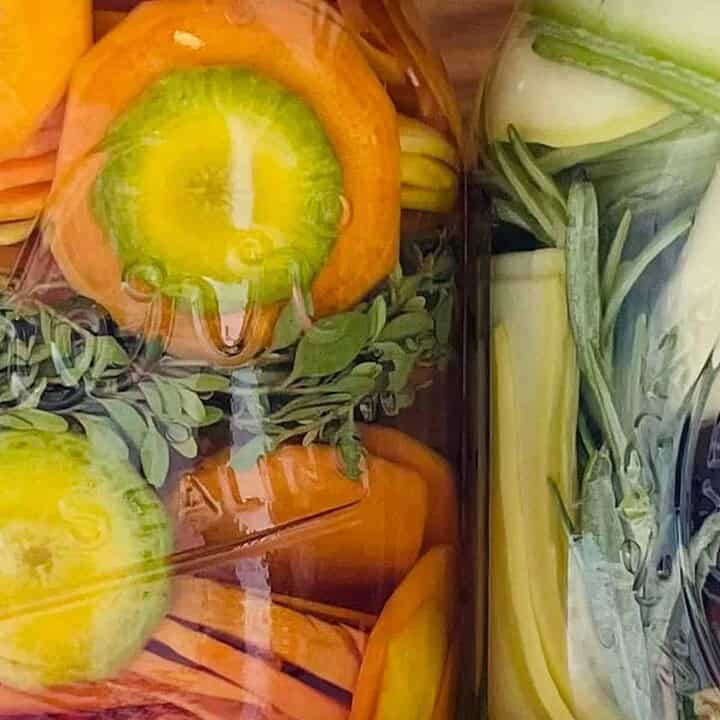
- Cucumbers- pickling cucumbers have thicker skins, fewer seeds and they’re smaller and more compact. pickle them whole, slice in half, or cut into chips
- Carrots- peel, trim ends and cut into rounds, on a bias or into thick or thin matchsticks
- Summer squash or zucchini- the smaller and firmer, the better. I love them in long slices or in spears
- Jalapenos or banana peppers- pickle them whole or cut into rounds
- Green beans- trim stem end and pickle whole
- Cauliflower- break into small to medium florets

When you’re making pickles it’s especially important to use the freshest vegetables you can find. And you want them firm, without bruises or blemishes. Those little imperfections can create weak spots in the veggies skin- basically little entry points for bacteria, yeast or mold that can cause your pickles to spoil faster.
Flavoring Your Pickles
Once you’ve chosen your veggies it’s time to choose your aromatics. Think of them like flavor boosters that will take your pickles from basic to crave-worthy! Aromatics are things like:
- Fresh herbs– dill, thyme, rosemary, tarragon, oregano are all great pickle partners! Avoid very soft, delicate herbs like basil and cilantro because they tend to get dark and break down
- Peppercorns- Black, pink, green all add something different
- Mustard seeds
- Bay leaves
- Garlic cloves– whole or crushed
- Crushed red pepper flakes
- Dried chillies– The heat WILL come through (my kids will never forget the shockingly spicy dilly beans I made one year unaware of just how much heat those little dried scotch bonnets from the previous year’s garden still possessed!)
- Allspice berries
- Coriander seeds
If this seems like too many decisions? Keep it simple: you can’t go wrong with the classic combo of dill, garlic and peppercorns 🙂
Do You Need Special Equipment?
Not for refrigerator pickles (because there’s no processing involved)! You do need:
- Glass jars with lids- you don’t need to sanitize them for refrigerator pickles but you do want them very clean. Hot soapy water or a run through the dishwasher is perfect
- A pot– big enough to hold your brine
- Glass measuring cup– with a pour spout for filling the jars (you can also use a funnel or a ladle)
Let’s Talk Brine!
Brine is the pickling liquid. It preserves the veggies and infuses them with tangy, tasty goodness.
This brine is simple:
- Hot water- use filtered water, especially if you don’t like the taste of your tap water. If your water tastes “off” your pickles will, too.
- Unseasoned rice vinegar- if you’re using seasoned rice vinegar be aware that it already has sugar and salt so you may want to adjust the amounts in your brine
- White wine vinegar- if you only have distilled white vinegar that’s ok, too
- Sugar- Josh’s recipe calls for 3 Tablespoons, I reduce it to 1-2. I wouldn’t eliminate it completely because the sugar balances the acid
- Kosher salt- You don’t need pickling salt for refrigerator pickles but you DO need salt that ISN’T iodized. I use Morton’s Kosher salt for pickles. You can use Diamond also, but you might use a tiny bit more as it’s less salty by measure.
This recipe, slightly adapted from Joshua McFaddens book, Six Seasons, is my favorite because it really lets the flavor of the veggies shine through. It’s got a lower vinegar to water ratio than other recipes I’ve tried. You don’t need to bring the brine to a boil, you simply start with water that’s hot enough to dissolve the sugar and salt. And it results in satisfyingly crisp, bright, flavorful pickles every time!
Feel free to experiment with the types of vinegar and make these pickles yours! I love his combination of rice vinegar for it’s mild, slightly sweet profile and white wine vinegar for it’s crisp, clean taste. I always keep his ratio of vinegar to water (that’s important), but I’ll fiddle with the amounts of each if I’m running low on one or the other. And I’ve used regular white vinegar, champagne vinegar, apple cider vinegar, etc when that was what I had. Know that each type of vinegar offers something unique, so if you want to veer off course, do a little research and experiment!

Making Refrigerator Pickles 1-2-3-4
1- Inspect, wash, and prep your vegetables
2- Combine brine ingredients and stir until sugar and salt are dissolved
3- Fill clean jars with vegetables, layering in your aromatics as you go. Pack them fairly tight.
4- Pour warm brine into jars to completely cover the veggies. I like to take a clean chopstick and gently move things around as needed to remove any air bubbles. Seal with lids and place in the fridge.
This is enough brine for approximately 3 pints of pickles, but this will vary depending on the shape of your pickles and how tightly you pack the jars. It’s super easy to double or triple. I say err on the side of too much brine and if you have extra store it away in the fridge for your next impromptu pickling adventure 🙂


The only thing left to do is wait! But guess what? You don’t have to wait very long!
You can start tasting in 24 hours. Check in with them to see how they’re developing. What’s the texture like? The flavor? They’ll continue developing as they sit. Don’t put fingers (no matter how clean) into the jars…use a clean fork to pull them out to avoid contaminating them.
And here’s a bonus…ready for it? You can REUSE the brine!!!! How awesome is that? When this jar’s done, prep more produce, pack it into clean jars and voila! Another batch of pickles is yours. I only reuse this brine one time because it’s a lower acid ratio. The used brine is also great for marinating chicken or using in salad dressings.
How To Enjoy Your Beautiful, Delicious Pickles
I mean, you can simply eat them straight from the jar obviously..but here are some of our favorite ways to enjoy them:
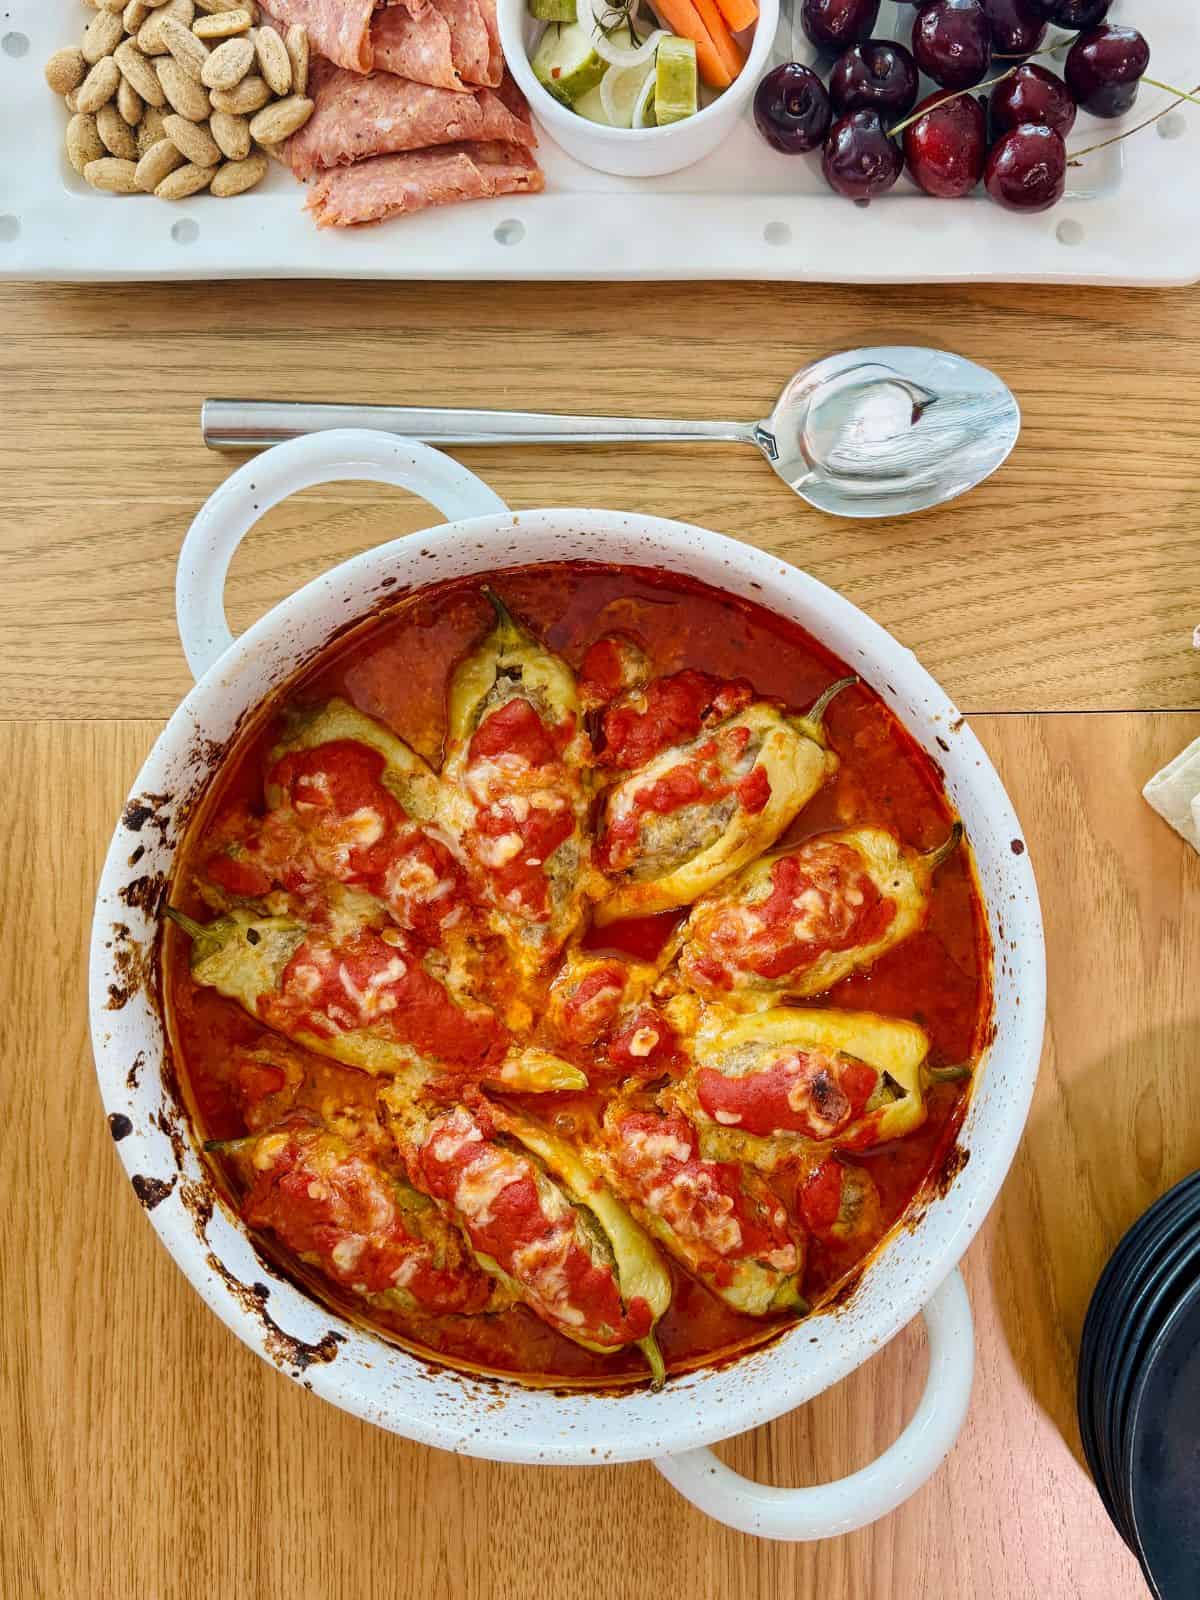
- Incorporate them onto a grazing board
- Add them to a sandwich
- Chop them up to add a little “zing” to a sauce for fish (this rockfish recipe is the perfect candidate)
- Use them in these cheeseburger stuffed zucchini
- My latest obsession is Pickled Stuffed Banana Peppers 😍 gahhhhh
I hope you love these simple, delicious refrigerator pickles as much as we do!
And, as always, I love to hear how my recipes turn out for you (and I especially love to see your food photos)! So tag me at @breathingandcooking on Facebook and Instagram with your creations!
And don’t forget to breathe, trust yourself, and enjoy the process ❤️
Simple, Delicious Refrigerator Pickles
Use up your summer bounty to make quick, simple, crunchy and delicious refrigerator pickles! 30 minutes to prep and ready to taste in 24 hours. Recipe slightly adapted from Six Seasons, by Joshua McFadden
Ingredients
Basic Brine
- 1/2 cup unseasoned rice vinegar
- 1 Tbsp white wine vinegar
- 1 1/2 cups hot water
- 2-3 Tablespoons sugar
- 1 Tablespoon plus 1 teaspoon Morton's Kosher salt
vegetables and aromatics
- Choose firm, blemish free produce like: pickling cucumbers, carrots, jalapenos, banana peppers, cauliflower, green beans (see full blog post for tips and suggestions)
- Choose aromatics to compliment your produce: fresh herbs, spices, onions, garlic (see full blog post for tips and suggestions)
Instructions
This is enough brine for approximately 3 pints of pickles, depending on the size and shape of your veggies and how tightly you pack the jars. The brine is easily doubled or tripled, and extra brine can be stored in the fridge for your next impromptu batch of pickles. Amounts for veggies and aromatics are up to you, use what you have, make a couple jars at a time or spend an afternoon pickling lots of things! Trust your instincts, experiment and have fun!
- Combine brine ingredients in a pot and stir until sugar and salt are dissolved
- Fill clean glass jars with your prepared vegetables, alternating veggies with aromatics, and arranging tightly
- Pour brine into jars to cover vegetables completely
- Tap jars on counter or use a clean chopstick to gently move vegetables around to release any air bubbles from the brine. Put lids on the jars and refrigerate.
- Start tasting your pickles after 24 hours to see how the flavor and texture are developing. They're perfect when you decide they're just the way you like them 🙂
Leave a Reply