
Pot roast is one of those cozy, cool-weather meals that fills your home with delicious aromas while delivering on the promise of pure comfort on a plate. This oven-braised pot roast with garlic gravy is my go-to recipe for melt-in-your-mouth, tender beef and a rich, flavorful gravy.

The best part? It’s a slow, lazy one-pot meal that takes about 30 minutes to prep, then lets you forget about it for hours while it works its magic unsupervised in the oven. Which means you get to take a few hours to do your thing! Read a book, do some yoga, watch the game, take a nap…or maybe take a little trip to TJMaxx 🙂
A Quick Note on The One Pot Meal
Carrots and potatoes pair perfectly with pot roast, but depending on the size of your roast and your pot, cooking them together may not always work. This recipe focuses on the roast and gravy alone, with an option at the end for adding the vegetables. Alternatively, you can roast the potatoes and carrots separately for more control over timing. Or even serve it with mashed potatoes and a different vegetable all together.
The choice is yours!
Why I Prefer the Dutch Oven Over the Crockpot
The key to a perfect pot roast is simple: low and slow cooking. And a Dutch oven is the perfect vessel for the task!
I used to swear by crockpot pot roasts. The convenience of tossing everything together, pushing a few buttons, and coming home after work to a fragrant meal was unbeatable. But I found that while crockpot roasts often fell apart, they were sometimes dry, and the sauce lacked the depth of flavor I craved. Don’t get me wrong—crockpots are fantastic for busy weeknights. But for an even juicier, more flavorful roast? I’m all about the dutch oven.
Here’s why:
- Versatility: You can use a dutch oven on both the stovetop and in the oven.
- Heat retention: Its thick walls ensure even heat distribution, with no hot spots.
- One-pot simplicity: Sear, sauté, simmer, and braise—all in the same pot. Less cleanup!
- Flavor development: Sautéing in the dutch oven allows you to incorporate the browned bits, adding layers of flavor.
- Moisture retention: The tight-fitting lid locks in moisture, intensifying flavors.
- Thick sauces: Dutch ovens create luscious, thick sauces and gravies.
Though they can be pricey, they’re worth the investment and they last forever (and will probably be passed down to your kids or grandkids!). You can often find great deals at places like TJMaxx or HomeGoods (I’ve never paid full price for any of mine).
If you don’t have a dutch oven, you can still make this in a heavy casserole or pot with a tight-fitting lid. Just place some foil under the lid for a tighter seal. And don’t forget the next three essential steps for braising success.
The 3 S’s of a Great Braise: Select, Season, Sear

- Select the Right Cut
For a juicy, tender pot roast, I recommend either English roast or chuck roast. These cuts are affordable and rich in connective tissue that melts into the meat (think of this like basting from the inside out!). They also become more tender the longer they cook and have lots of beefy flavor. English roasts have less fat than chuck roasts, so they may cook a bit faster, but both are equally delicious. - Season Ahead
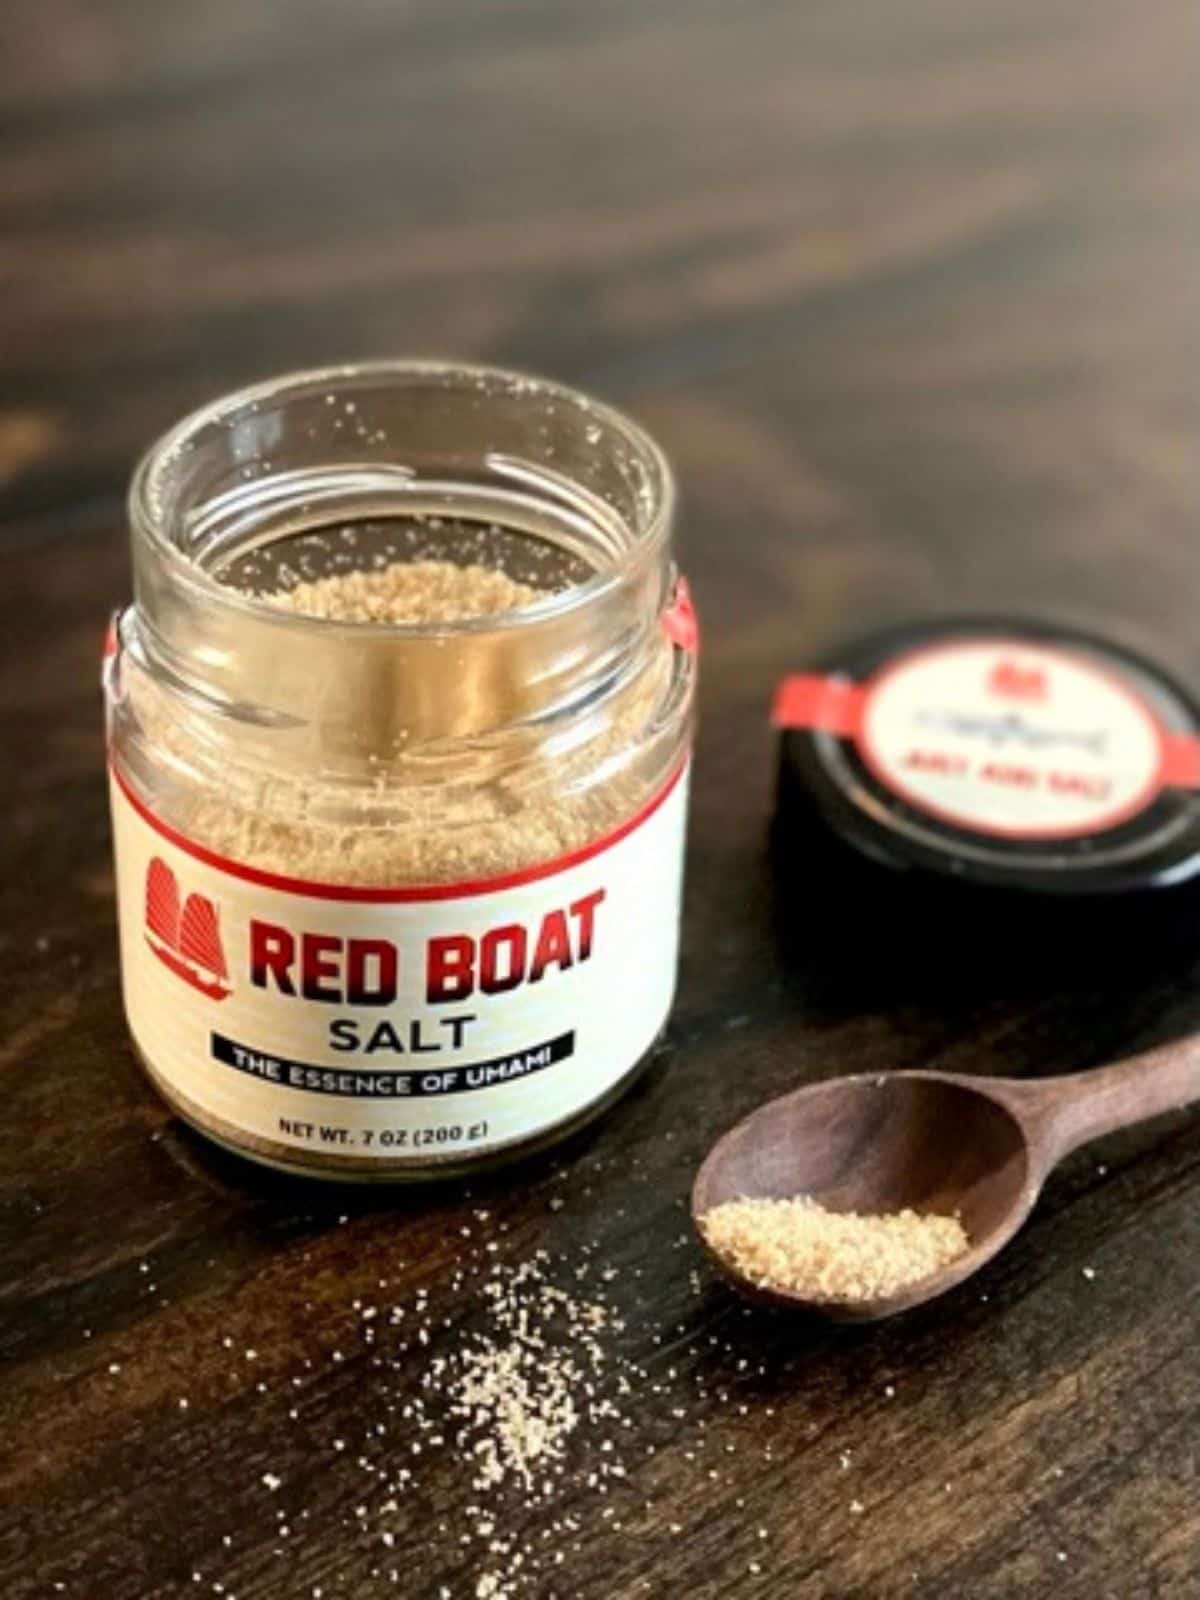
For deeper flavor, season your roast ahead of time—ideally an hour or two before cooking. Using kosher salt ensures even seasoning without oversalting, and if you want to take it up a notch, try using Red Boat salt for an umami-packed flavor boost. (Read more about Red Boat salt and why I love it in this post for steak salad with jammy eggs) - Sear for Flavor
You might be tempted to skip this step but I URGE you not to! Searing your roast before its long, slow braise does more than just make it look good. It’s all about the Maillard reaction—that magical browning that gives you deep, rich flavor and helps lock in moisture. Plus, searing creates those irresistible savory brown bits (called “fond”) on the bottom of the pot. And trust me, fond equals flavor! When you add liquid later, those flavorful bits will incorporate into your sauce, resulting in a deeply satisfying roast.
(Red Boat salt is optional but adds a delicious umami punch!)
Here’s how to get the perfect sear
- Room temperature roast: Let the meat sit out for about an hour before searing to take the chill off. And don’t forget to season it generously!
- Pat it dry: This helps the roast get that beautiful, golden-brown crust.
- Use the right oil: You’ll need 1-2 tablespoons of oil with a high smoke point, I use avocado oil. If you have duck fat or pork lard on hand, even better! Skip the butter- its low smoke point means it’ll burn.
- Get the pot hot: You should hear a lively sizzle when the roast hits the pan.
- Patience is key: Let the roast sear for 3-4 minutes per side before turning it. Don’t rush! The meat will naturally release when it’s ready to be flipped. Don’t forget to sear the sides and ends too!
Let’s Build Some More Flavor!
Now that your roast is beautifully seared, it’s time to build even more flavor. Here’s what you’ll need:
- Yellow onions or shallots
- Anchovy paste (optional but adds a fantastic depth of flavor—don’t worry, it won’t taste fishy!).
- Tomato paste for richness.
- A whole head of garlic, cut crosswise so all the cloves are exposed.
- Herbs, like fresh thyme, rosemary, and bay leaves.
- Beef broth

Once the roast is seared and set aside, sauté your onions in the same pot until they start to soften. Then add the tomato paste (and anchovy paste if you’re using it). Cook just long enough for everything to combine and deepen in color. Next, pour in some beef broth, stirring to scrape up all those glorious browned bits from the bottom of the pot. Hellooooo, flavor!
Make a Garlic and Herb Bundle


Here’s a little trick to infuse even more goodness into your roast: Take a piece of cheesecloth and wrap your fresh herbs and the split head of garlic inside, tying it up into a neat little bundle. Nestle it into the liquid along with the roast. The roast should be sticking up out of the liquid by about an inch or two.
Tip: It’s important that the roast is sticking out of the liquid. If it’s completely submerged it will boil instead of braise and end up tough and chewy.

(And if you’re wondering about the wine cork floating around in my pot roast, it’s because I read years ago that a wine cork tenderizes the meat during braising. I have no idea if it’s true, but it can’t hurt, right? And, honestly, there’s never a shortage of wine corks around our house!)
Braise Low and Slow – Trust the Process
At this point, you’re ready to pop a tight-fitting lid on your dutch oven, slide it into the oven, and let it do its thing for a few hours. Trust me- your house is going to smell amazing all afternoon. The low, slow braise is the secret to achieving that fall-apart texture and deep, rich flavor.
Creating a Luscious Garlic Gravy
At the 3-hour mark, check the roast using a pair of tongs to see if it pulls apart easily. If it’s done, there will be no resistance, and the meat will be meltingly tender. If there’s any resistance, spoon some liquid over the top, cover with the lid, and continue cooking. Check it every 30 minutes until it’s fall-apart tender.
If your roast is on the larger side, it may take a bit longer- trust how it feels when you try to pull it apart! Once it’s ready, transfer the roast to a large serving platter and cover it with foil to keep warm.
Next, remove the herb and garlic bundle from the pot. Discard the herbs but keep the garlic. Let the garlic cool just enough to handle, then squeeze the soft cloves out of their skins and back into the pot. Use an immersion blender to blend everything into a smooth sauce
If you don’t have an immersion blender, you can also do this in batches in a regular blender.
(And if that’s not an option? Smash the garlic cloves into a paste with a fork in a smaller bowl and then add some of the liquid from the pot stirring until it’s all smooth. Stir this mixture into the pot. It won’t be thick and smooth but will still have great flavor!)
Finally, taste the sauce and adjust the seasoning with salt and pepper, if needed.
When your sauce is finished pull roast apart into serving size pieces and drizzle some of the sauce over. Serve the remaining sauce along side. Alternatively you can just put the roast back into the dutch oven, pull it into chunks turning in the sauce and serve right from the pot. Either works!
Want To Add Potatoes and Carrots?

The best time to add carrots and potatoes to your pot roast is about an hour to an hour and a half before the roast finishes cooking. This allows them to become tender without overcooking or turning mushy. I like to use small new potatoes because they cook quickly and don’t need peeled, and I try to use carrots that are roughly the same size so that they cook evenly.
Here’s how to time it:
- Cook the roast for 2 to 2 1/2 hours, allowing the meat to become tender and develop deep flavors.
- After that, add the carrots and potatoes directly into the braising liquid around the roast. Make sure they are nestled in the liquid to soak up the flavors.
- Continue cooking for another hour to hour and a half, or until the vegetables are fork-tender and the roast easily pulls apart.
This timing ensures your veggies cook just long enough to be soft and flavorful but still hold their shape.
I hope you enjoy this Pot Roast with garlic gravy as much as we do!
And, as always, I love to hear how my recipes turn out for you (and I especially love to see your food photos)! So tag me at @breathingandcooking on facebook and Instagram with your creations!
And don’t forget to breath, trust yourself and enjoy the process ❤️

Oven-braised Pot Roast with Garlic Gravy
This oven-braised pot roast with garlic gravy is my go-to recipe for melt-in-your-mouth, tender beef and a rich, flavorful gravy.
Ingredients
- 3-4 lb English or Chuck Roast (choose a thick roast that isn't rolled and tied)
- avocado oil (1-2 Tbsp)
- Kosher salt (or Red Boast salt, my favorite!)
- Cracked pepper
- 1 cup chopped yellow onion or several large shallots, sliced
- 1 head garlic
- fresh thyme and rosemary sprigs
- 2 bay leaves
- 2 Tablespoons tomato paste
- 4-6 cups beef broth*
Optional
- carrots and potatoes
- 1 teaspoon anchovy paste
Instructions
- Season Roast on all sides with kosher salt (if you have Red Boat salt even better!). Be generous and gently rub it in. Crack some pepper over top, too. Do this an hour or so before you're ready to cook. Let the roast sit at room temp for an hour before searing.
- Pat the roast dry. Heat a thin layer of avocado oil in a dutch oven until shimmering. Brown roast well on all sides. Take your time doing this so that you get really nice, beautiful color on all surfaces- it will pay off with flavor!
- While roast is browning split a full head of garlic crosswise (so all of the cloves are exposed) . Place in a piece of cheesecloth along with 2 bay leaves, a few sprigs of fresh thyme and a sprig of rosemary. Gather up edges of cheesecloth and tie with butchers twine.
- Once roast is browned, remove it from dutch oven and place it on a plate. If there's a lot of fat in the pan drain off all but a Tablespoon or two. Add onions to pan and cook over medium heat until soft, about 5 minutes. Stir in tomato paste (and anchovy paste, if using) and stir until fragrant. Add 3 cups beef broth and stir well.
- Nestle roast into juices in pan. The liquid should come up to about 1-2 inches below the roast's surface. If it doesn't, add more broth. Spoon some of the liquid over top of the roast. Add garlic/herb bundle to the pot and push it down into the juices. Grind some cracked pepper over the top. Cover tightly and place in a 300°f oven. Total cook time for the roast will be 3 to 4 hours.
- Check roast at 3 hours using a pair of tongs to see if the roast pulls apart easily. If it's done there will be no resistance and it will be meltingly tender. If there's ANY resistance, spoon some liquid over the top again, put the lid back on and cook longer, checking every 30 minutes, or until it's fall apart tender. If your roast is on the large side it could take longer, trust the way it feels when you try to pull it apart!
- When it's ready, remove the roast to a large serving platter and cover with foil to keep warm.
- Remove the herbs/garlic to a dish. Keep the garlic and toss the herbs. Let the garlic cool just until you can handle it. Squeeze the soft garlic cloves out of the papery skins and into to the pot. Use an immersion blender to smooth everything out (see notes if you don't have an immersion blender). Taste the sauce and add salt and pepper to taste.
- Pull roast apart into serving size pieces and drizzle some of the juices over. Serve the remaining juices along side. Alternatively you can just put the roast back into the dutch oven, pull it into chunks turning in the juices and serve right from the pot. Either works!
If Cooking Carrots and Potatoes With The Roast
- Prepare your vegetables ahead. I prefer carrots whole as long as they aren't too big, and small new potatoes. Make sure your pot is big enough to hold anything you add without crowding.
- When roast has cooked for 2 to 2 1/2 hours tuck vegetables around the roast, turning in the juices so that any vegetables that aren't under the liquid are coated. Put the lid back on and place in the oven. Continue cooking as directed. If vegetables aren't tender when the roast is done, put the roast on a platter and return the veggies to the oven, turning up the heat to 375 and checking again in 15 minutes.
- When everything is done, remove the roast and the vegetables to a large platter and cover with foil to keep warm.
- Proceed from step 8 to finish the sauce and serve.
Notes
- For beef broth, you can sub chicken broth. You can also swap a little dry red wine for some of the liquid (I'd recommend no more than 1 cup). The amount of broth will vary depending on the size of your roast and the size of your pot. Make sure part of the roast is sticking out above the liquid. If it's completely covered the meat will boil rather than braise and end up tough.
- If you don't have an immersion blender, mash the garlic until smooth in a separate bowl with 1/2 cup of the braising liquid and add that back to the pot. Alternatively, you can also do this in a standard blender.
Your bonus mom
Erin, this looks absolutely amazing. ❤️
Erin
Thank you, Mom! Let me know if you try it…or maybe I’ll have to make it next time you and Dad come for dinner 🙂