Would you love to create gorgeous, soft, flavor-packed loaves of bread that look and taste like something you’d find in a professional bakery? If your warm-tender-cheesy-bread-loving-inner-voice is saying “Yes! I do! That’s me!!!” …WELL… then this recipe for Pane Bianco is going to make you look and feel like an expert baker!
What is Pane Bianco?
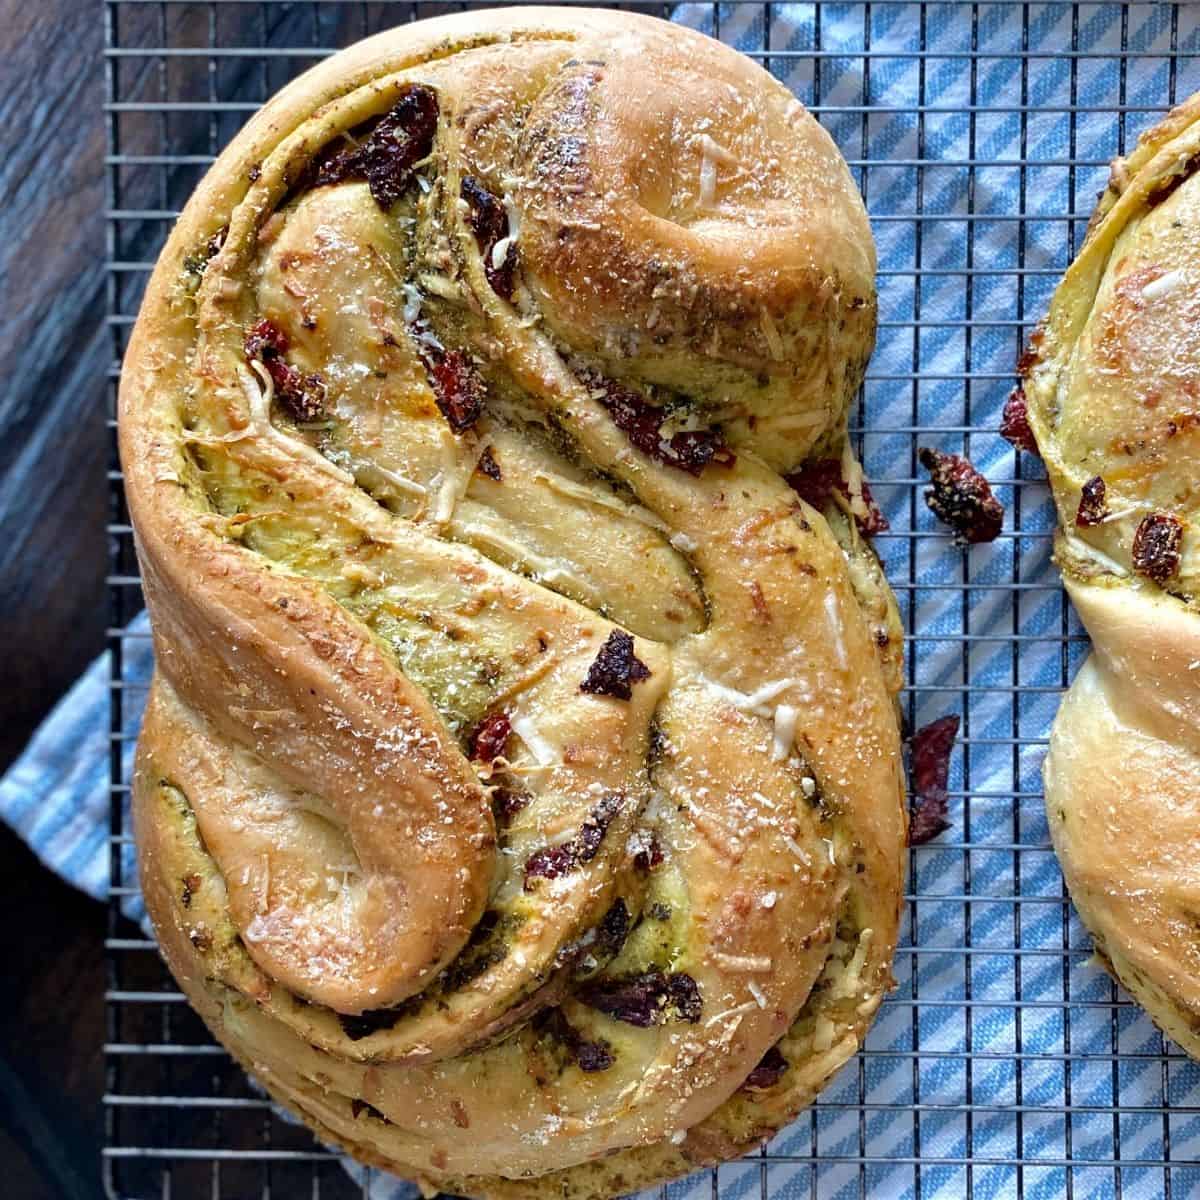
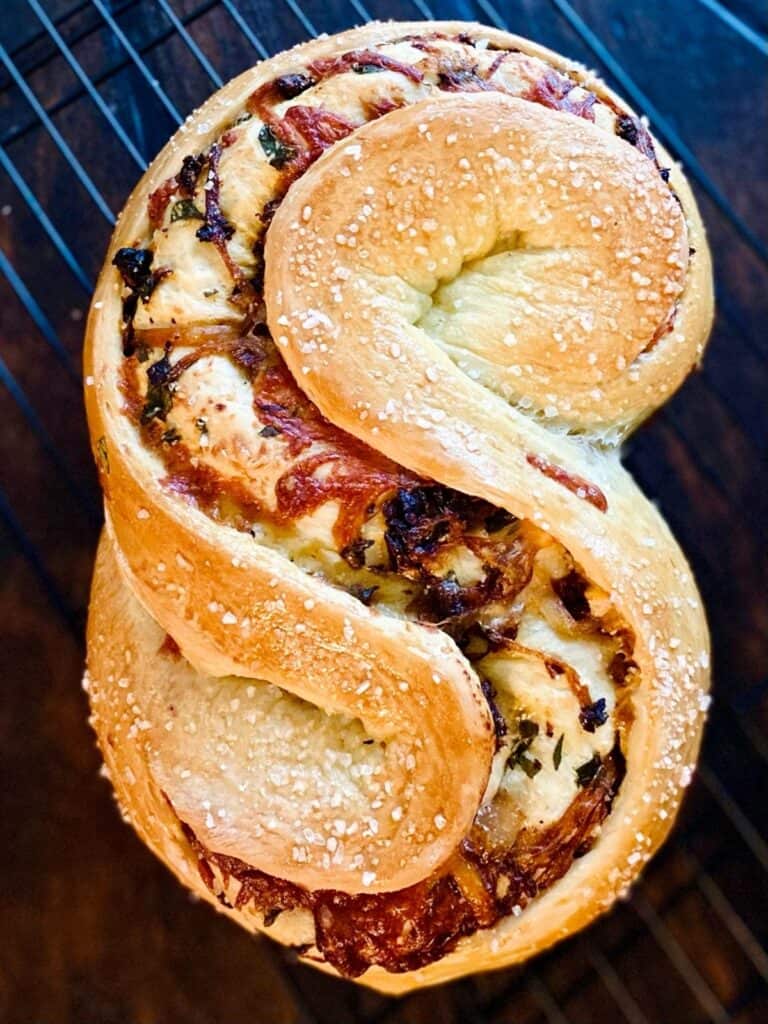
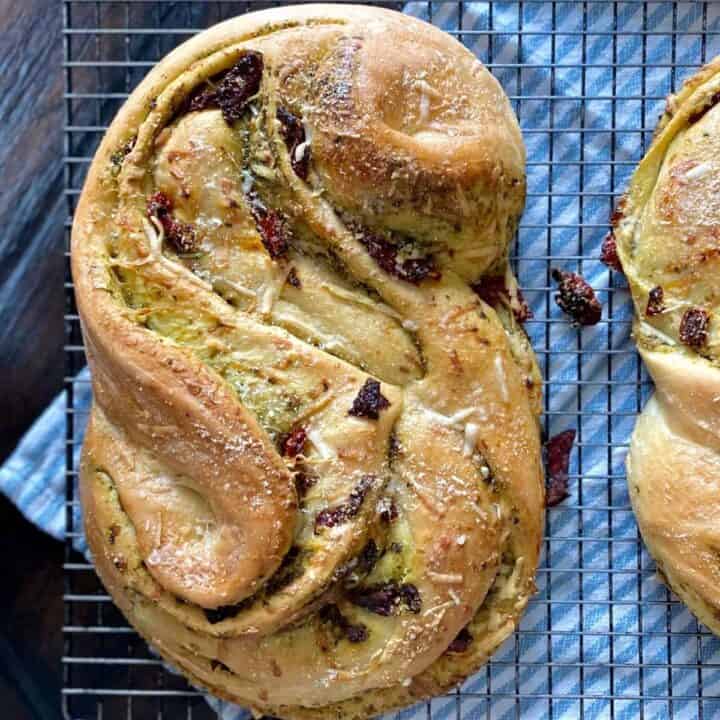
Pane Bianco literally means “white bread” in Italian. If you search the internet almost every recipe you’ll find is stuffed with sundried tomatoes, basil and cheese and shaped into a deceptively simple “S” shape. As it bakes it opens up, exposing more of the filling, which ends up getting golden and gooey in spots. It’s as delicious as it is stunning and will fill your home with it’s wonderful aroma as it bakes.
The first time I saw this bread was when it appeared in my Facebook feed after my friend, Jenny, made it. I love to watch the “culinary journeys” that take place in her kitchen and often find myself inspired to try her recipes. Everything she makes just looks so cozy (can food look “cozy”?). Anyway, I think this bread has been my favorite Jenny find (thank you Jenny!) 🙂
Think of this bread as a canvas for your creativity
The original version of this recipe is from King Arthur Flour and includes sundried tomatoes, fresh basil and Italian-blend cheese. The first time I made it I subbed my homemade pesto for the fresh basil. The next time I made it I filled it with caramelized onions and gruyere and sprinkled it with Everything Bagel seasoning. The next time, I made the original version and added caramelized onions.
I’ve included all three variations here.
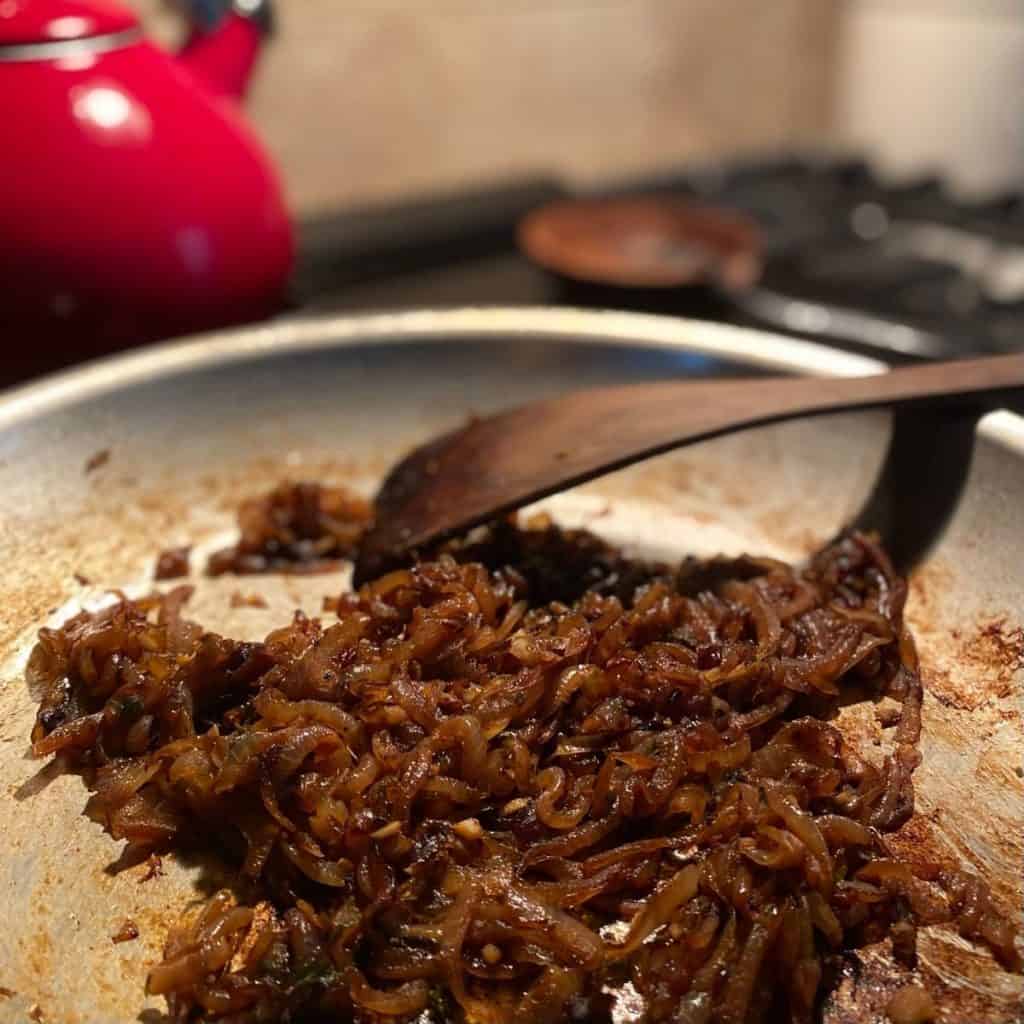
caramelizing onions 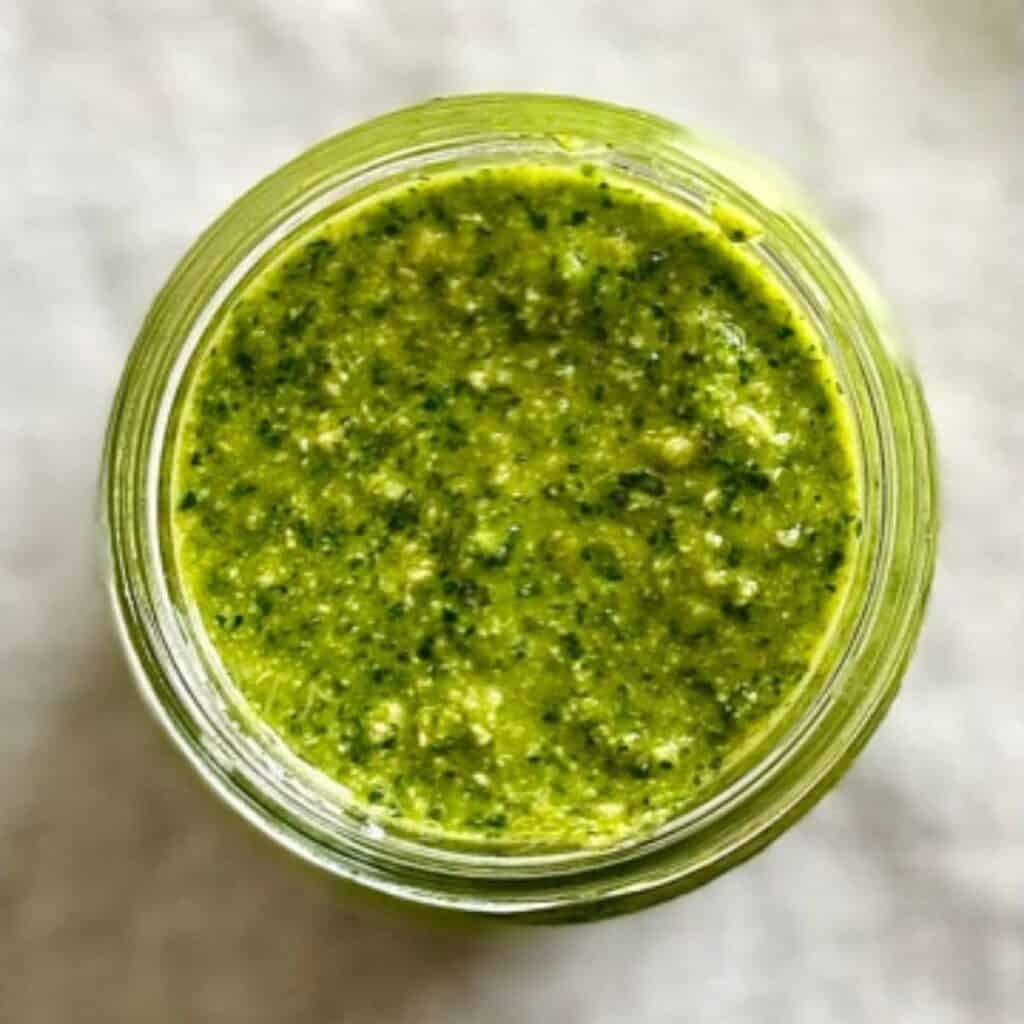
my favorite pesto
Don’t stop with the variations I’ve mentioned, get creative! Think about the flavors you love and how you could incorporate them into your Pane Bianco Masterpiece. I’m thinking my next one will include roasted red peppers & kalamata olives (sorry Eric, you can always pick them out ;)…seriously, the possibilities are limitless!
Making The Dough
- This is a soft dough that you can make in the bowl of your stand mixer or you can mix by hand.
- I use unbleached all purpose flour. If you want to use bread flour you can, but read the notes for adjusting the liquid
- Active dry yeast needs to “proof”. This is important because proofing activates the yeast. Pour warm (between 100-110 degrees f) liquid over the yeast and let it stand for about 10 minutes. It will be foamy and that tells you your yeast is ready.
- If you have instant yeast, you’ll use a little less and you can skip the proofing step, see recipe notes
- My salt measurement is for Diamond Kosher Salt. If you’re using fine salt (table salt) you’ll use less. See recipe notes for the adjustment.
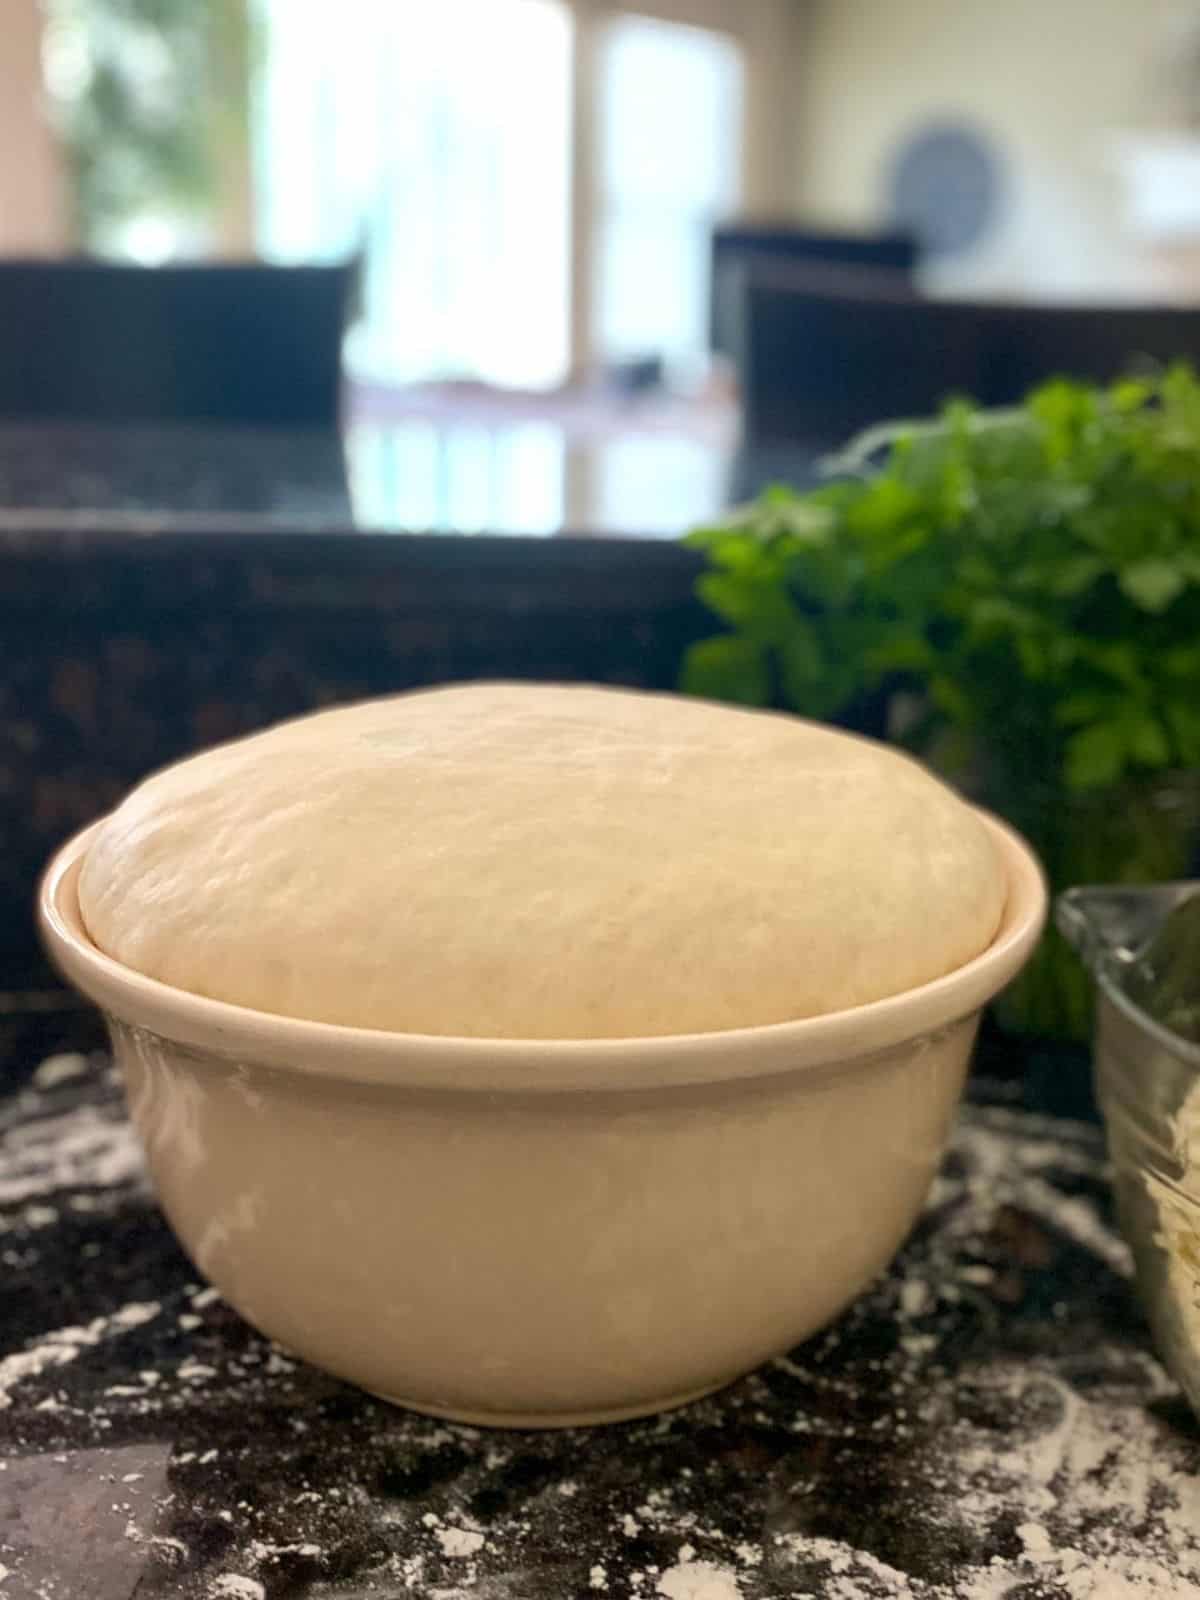
- You’ll have two separate rising times for this bread. There are so many variables involved in how long it might take your dough to double so go by the change in your dough’s volume rather than a specific amount of time. The time is a pretty good guideline, but it could take more or less. When it’s doubled, it’s ready for the next step.
Shaping The Dough
This is a stunning loaf after it’s baked and looks like it would be difficult to produce, but it’s really very simple to shape. Pat the dough into a rectangle and spread the filling evenly over, leaving a 1″ border all the way around. Next, roll it up from the long side like a jelly roll, being careful to keep the filling inside. Pinch it to seal and then gently move the sealed log to a parchment lined baking sheet that you’ve lightly dusted with flour.
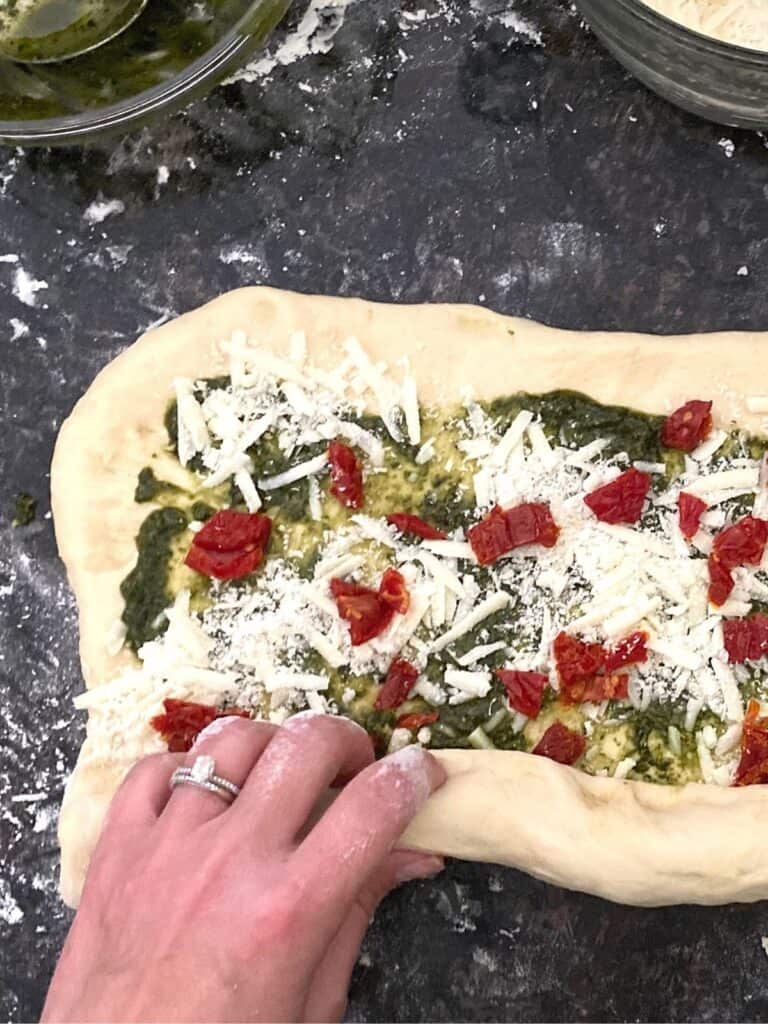
leave 1 inch border around filling 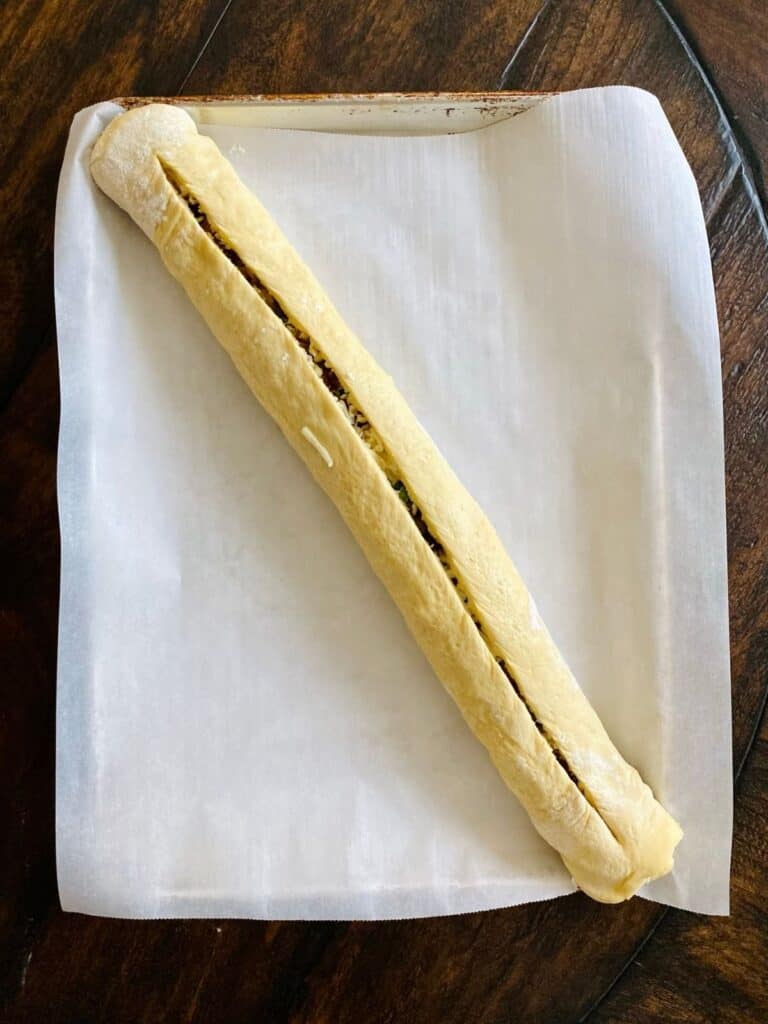
roll into a long cylinder and cut slit down the center 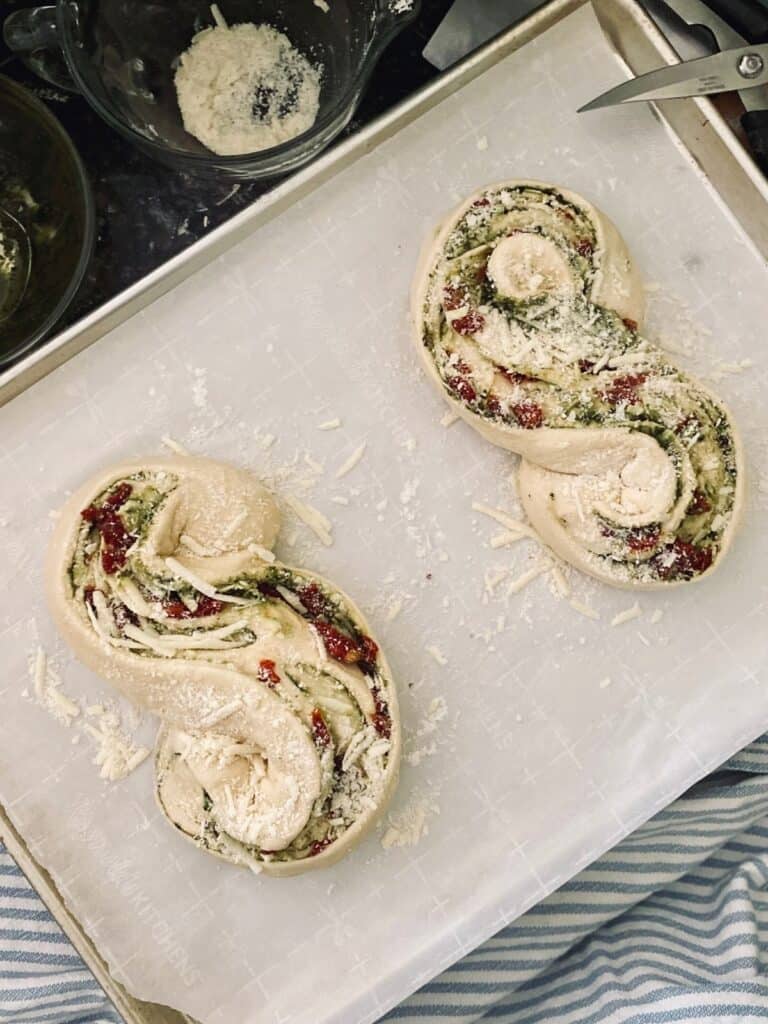
shape into an “S”, tucking ends under
Using kitchen shears or a sharp paring knife, make a slit about 1″ deep down the length of the dough making sure to leave an inch at each end uncut. Shape the cut dough into an “S” shape, tucking each end under the center of the “S”. If you spread the cut open a little more with your fingers you’ll expose more filling and it will look like the main picture in this post. If you leave it as is it will be a more defined opening as it bakes and look more like the sundried tomato, caramelized onion and basil bread below.
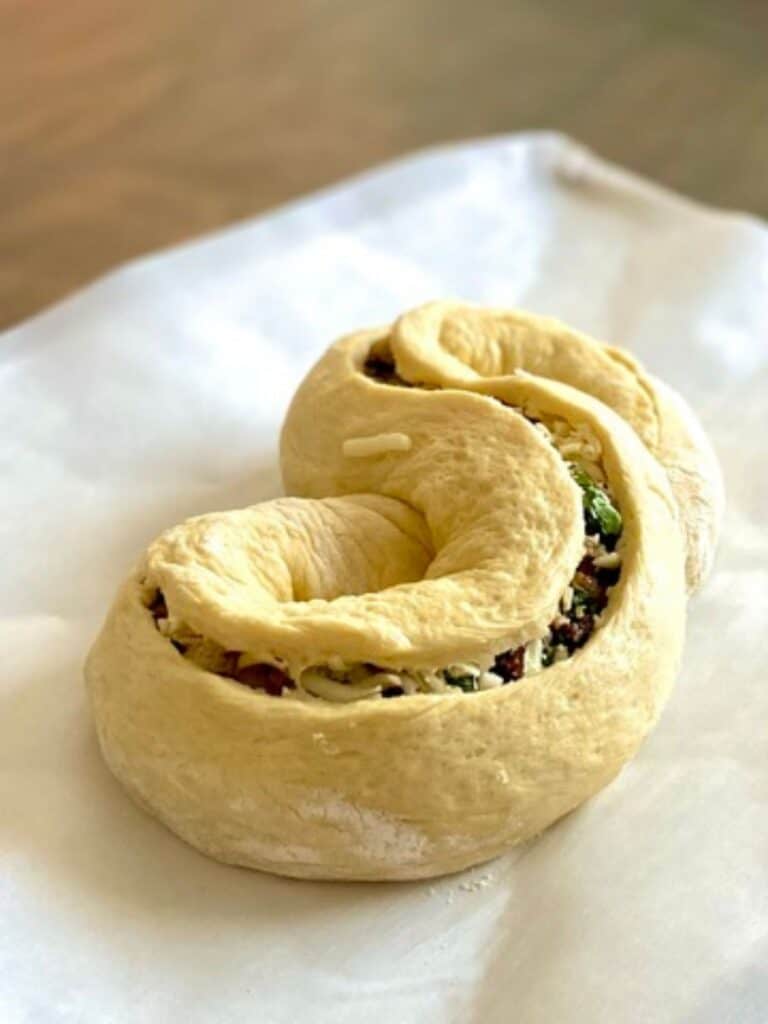
sundried tomato, basil & caramelized onion
And one last thing before you pop it in the oven- brush it with an egg wash and sprinkle with coarse sea salt (or Everything Bagel Seasoning). It will give the crust a beautiful sheen and golden color 🙂 Not to mention a little flavor boost!
Have I Mentioned This Makes An Awesome Grilled Cheese?
OK, if you make the Caramelized onion version you MUST make grilled cheese with a couple slices. Cheddar is pictured below, but I made it with provolone and it tasted like gooey French onion soup in hand-held form….gahhhhh SOOOOO good!!! They all make fantastic grilled cheese really (but that one in particular???? Still thinking about it!)
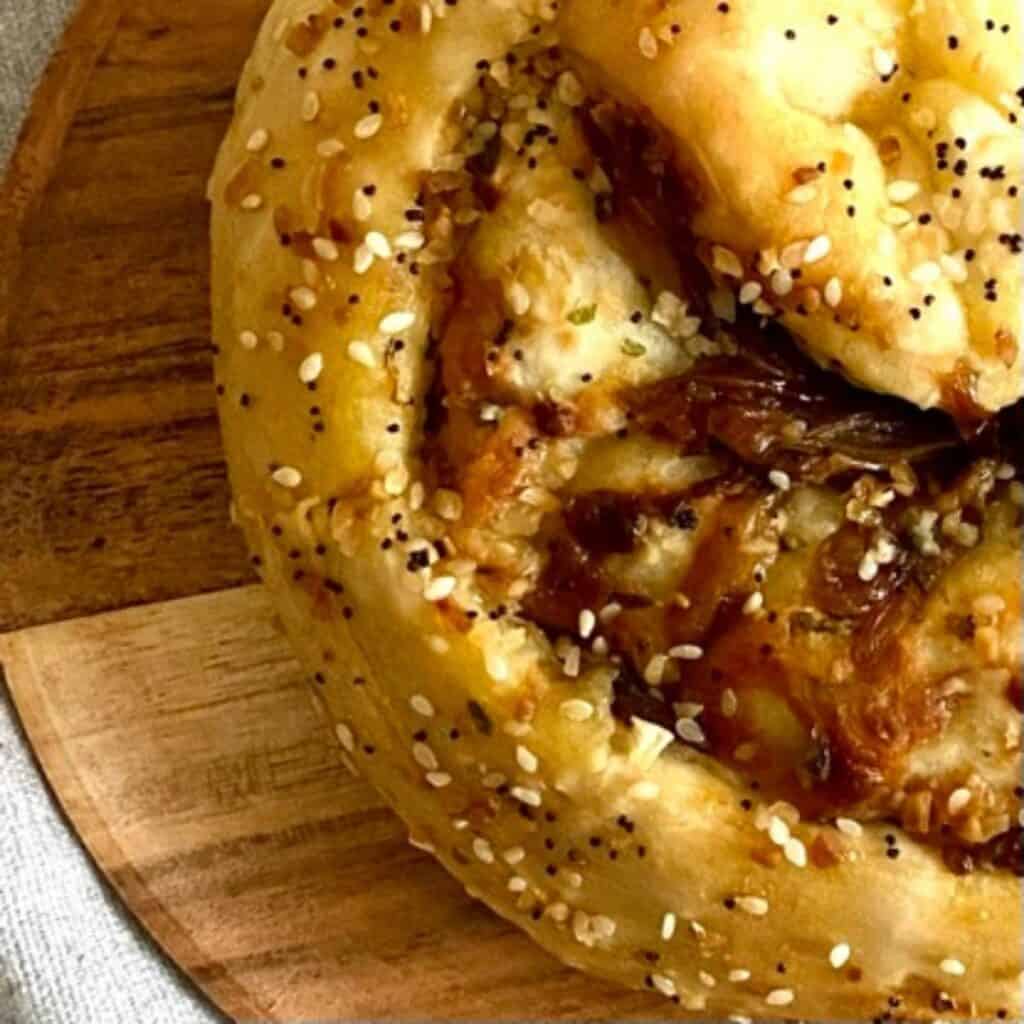
caramelized onion & everything bagel seasoning 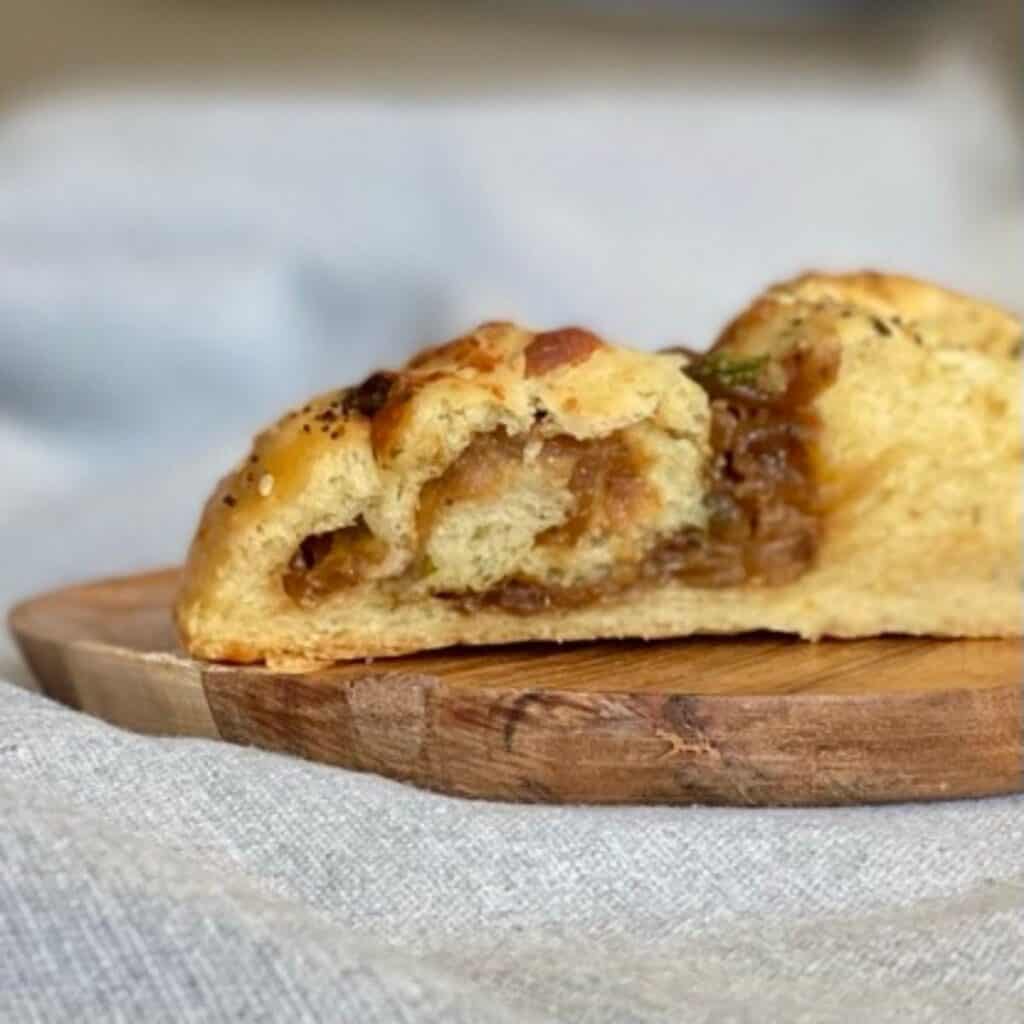

caramelized onion grilled cheese
I Hope you Love This Bread As Much As We DO!
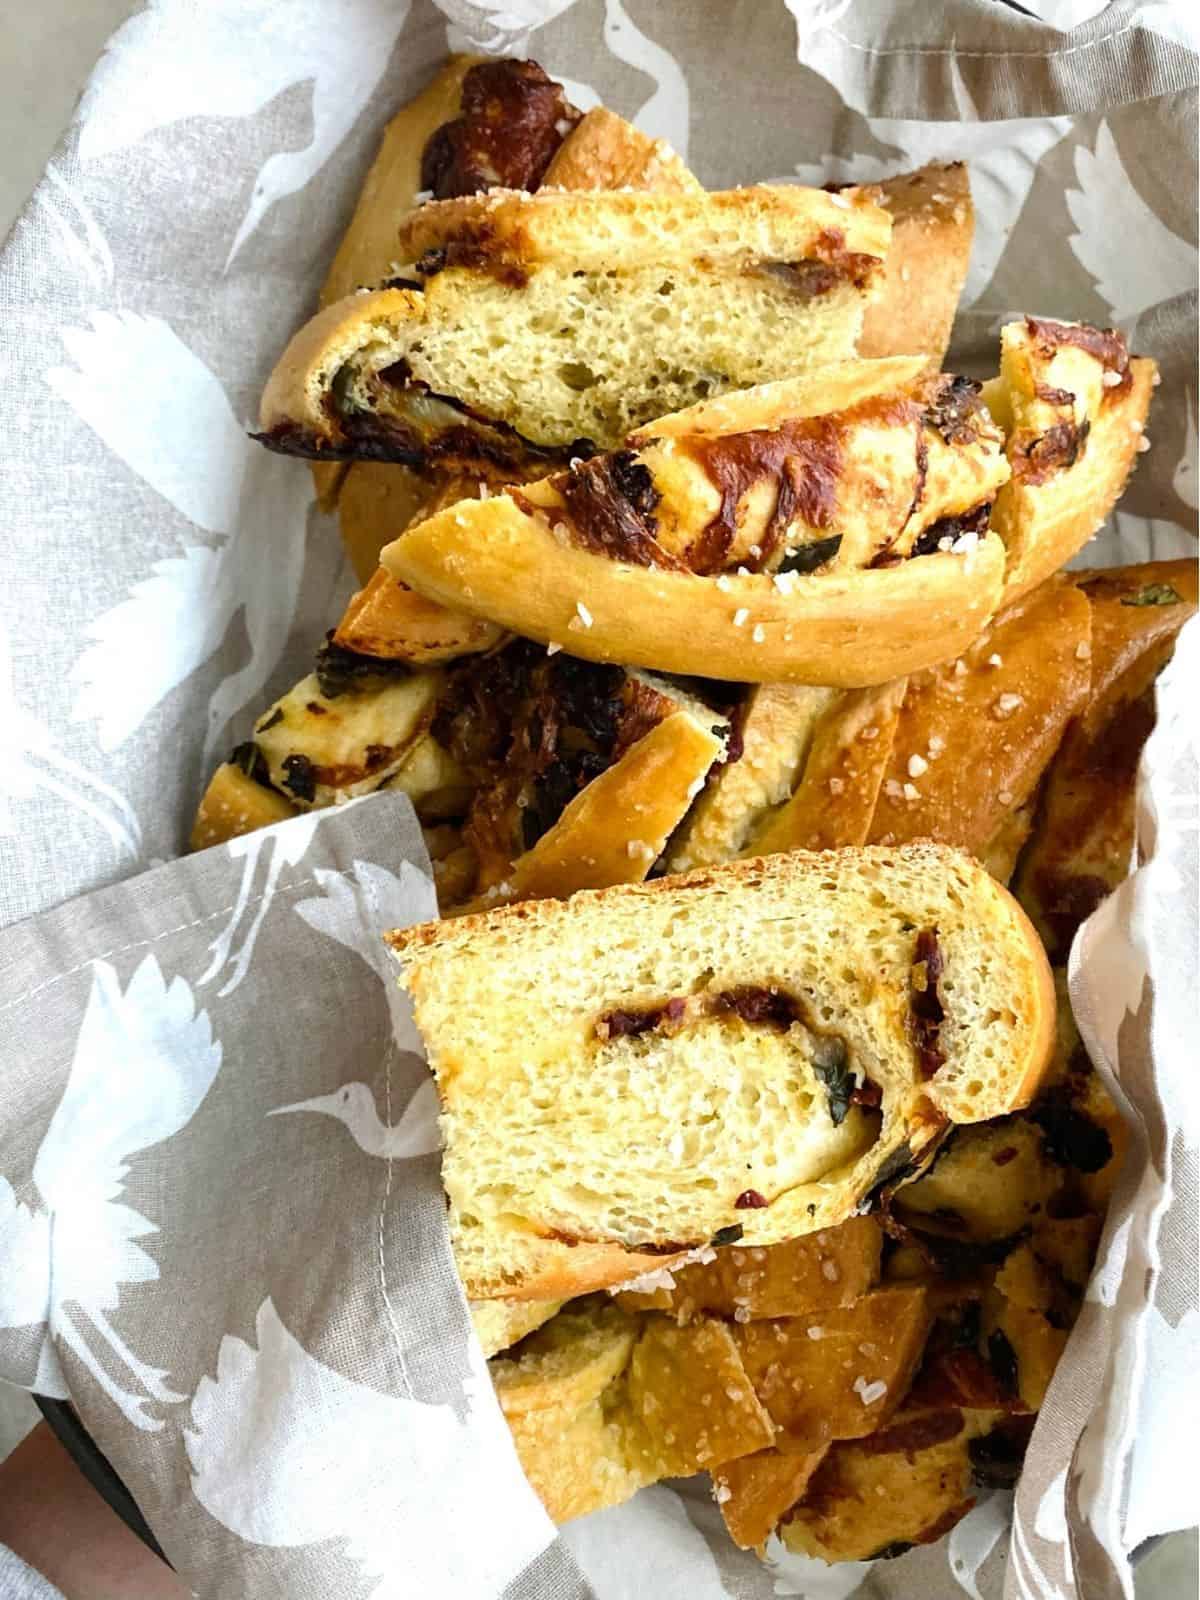
And I’d love to hear about YOUR Pane Bianco…what fillings did you use? Share in the comments or tag me on Instagram @breathingandcooking!
Pane Bianco 3 Ways
Ingredients
- 3 cups (361 g) unbleached all purpose flour (*see notes )
- 2 1/2 tsp active dry yeast (see notes if using instant yeast*)
- 2 tsp diamond kosher salt (*see notes if using fine salt!)
- 1 large egg
- 1/2 cup lukewarm milk
- 1/4 cup lukewarm water
- 3 Tbsp olive oil
For Baking
- egg wash (1 egg whisked with 1 Tbsp water)
- Coarse seas salt for sprinkling
Filling for sundried tomato pesto bread
- 3/4 cup shredded Italian blend cheese
- 1/2 cup prepared pesto
- 1/2 cup oil packed sundried tomatoes, drained, patted dry of excess oil and cut into small pieces
Filling for Caramelized onion bread
- 3/4 cup shredded gruyere cheese
- 3/4 cup caramelized onions
- 1 Tbsp everything bagel seasoning
Filling for Sun-Dried Tomato & Caramelized Onion Bread
- 3/4 cup shredded Italian blend cheese
- 1/2 cup oil packed sun-dried tomatoes, drained, patted dry of excess oil and cut into small pieces
- 3/4 cup caramelized onions
- 1/3 cup fresh basil, chopped
Instructions
You can mix this dough by hand or use a stand mixer with the dough hook
- Proof yeast by putting it in the same bowl you'll be using to mix your dough. Pour warm milk and warm water over yeast and let stand 10 minutes to activate (it should be foamy). If you're using instant yeast you can skip this step, see notes*
- Add all of the remaining dough ingredients to the proofed yeast mixture and combine until no traces of flour remain. Knead until a very smooth, soft dough has formed. This is a soft dough and If you're using your mixer it will stick a little to the bottom of the bowl, that's normal. If you're kneading by hand keep your hands lightly floured and I find it helpful to use a bench scraper to lift and turn dough during kneading.
- Once dough is smooth, place it in a lightly greased bowl and cover with a clean towel until doubled in size. This should take 45 min-1 hour, but go by the size of the dough over the amount of time it takes. If you're kitchen is warmer it may rise faster, if it's cool it could take longer.
- While dough is rising get whichever topping you've decided on ready and line a baking sheet with parchment (if you don't have parchment, use a greased baking sheet)
- Once dough has doubled, push on it gently to deflate and place on a floured work surface. Pat dough into a rectangle about 22" long by 8" wide.
- Cover dough with your selected topping, leaving a 1" border around the edges. Starting on long side, roll dough up making sure to keep filling inside. Pinch seam to seal and place, seam side down, on prepared baking sheet.
- Starting 1" from the end of the log, use kitchen shears or a sharp knife to make a 1" deep cut down the center of the dough to within 1" of other end.
- Keeping the cut side up gently shape dough into an "S" shape, tucking the ends under the center of the "S". You can use your fingers to slightly "open" the cut portion for a more spread out final look once baked or leave it as is.
- Cover and let rise in a warm, draft free place until doubled (again, go by size rather than time), 45-60 minutes. prepare egg wash by beating one egg with one Tbsp water in a small bowl.
- While rising preheat oven to 350. Once doubled, brush all over with egg wash and sprinkle with coarse sea salt (skip salt and use Everything Bagel seasoning if you're making the caramelized onion version).
- Bake 35-40 minutes. You may want to tent it with foil after 20-25 minutes if it looks like the filling is getting too dark.
- Transfer to a wire rack to cool.
Notes
- The original recipe calls for unbleached bread flour. If you'd prefer to use bread flour, increase water to 1/3 cup.
- I use Diamond kosher salt in all of my recipes. If using fine salt reduce to 1 1/4 tsp.
- If using instant yeast reduce to 2 tsp and skip the proofing step. You can just start at step two combining all of the dough ingredients at the same time.
- This bread can be stored, well-wrapped, at room temperature for a couple of days (if it lasts that long!). You can also double wrap and freeze for longer storage.


Leave a Reply