Do you like your green beans best when they’re crisp-tender, bright green and taste like summer? Me, too! That’s why blanching green beans will become your favorite way to prepare them.
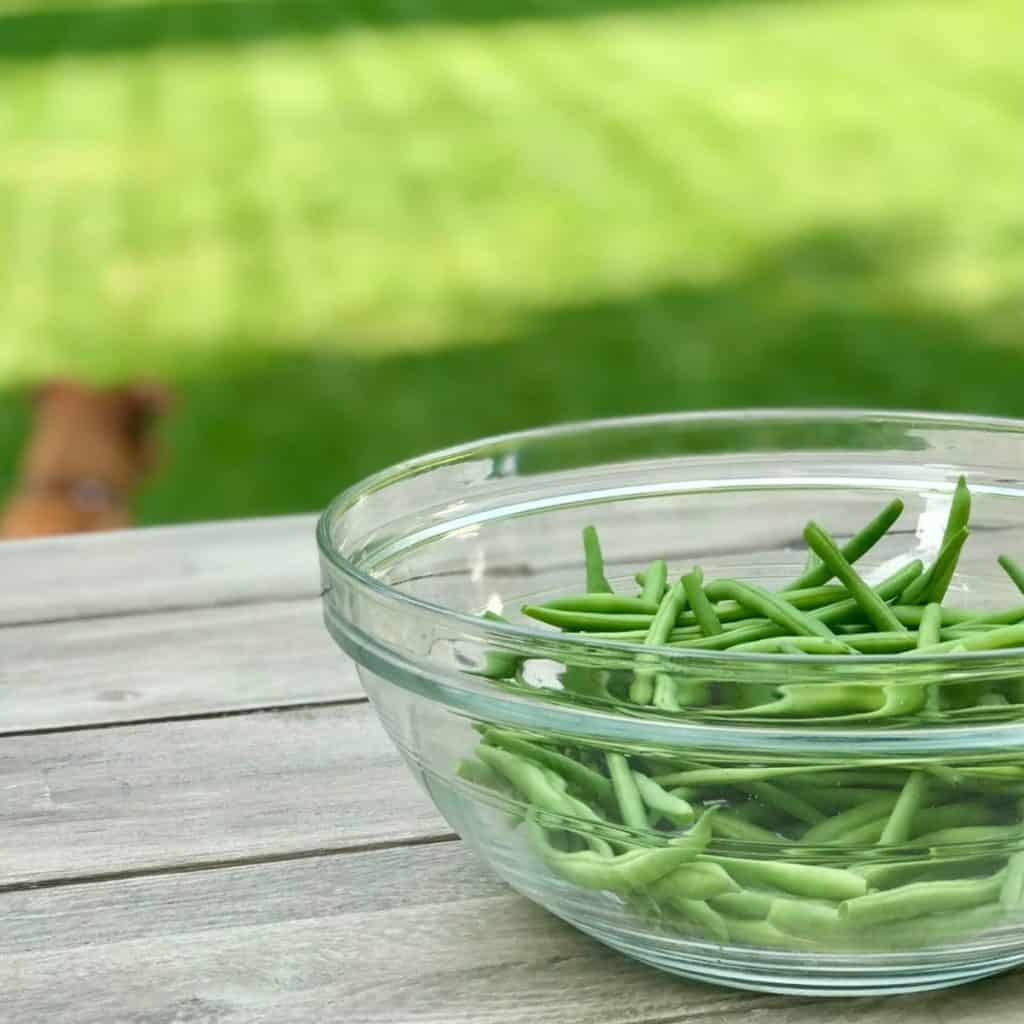
Crisp or soft beans is a personal preference
Whichever camp you fall into, it probably has a lot to do with how they were served to you growing up. I grew up eating crisp, bright-green beans when my mom cooked- and the long stewed, soft, bacony kind that were less green when we ate at my grandma’s house. While soft green beans do hold some happy nostalgia for me, my preference is the kind my mom made. Crisp, colorful and holding onto their natural, fresh bean taste. Cooked this way, they retain more of their nutrients, too.
Green beans are versatile & easy to make
Green beans are the laid back, go-with-everything vegetable. They have a delicate, fresh flavor, they’re nutritious, available year round and they add a gorgeous burst of color to your dinner plate.
And, when they’re this simple to prepare, what’s not to love???
- They’re great simply served with a little olive oil or butter, salt and pepper (maybe a squeeze of lemon?)
- They’re wonderful cold in a salad- try my Salmon Salad with Green Beans & Caesar Dressing or this Marinated Green Bean Salad
- You can dress them up with toasted almonds, caramelized onions, crispy bacon- you name it, get creative!
- Add them to a veggie tray served along side your favorite dip
- True story. My very Italian Father-in-law’s very Italian mother didn’t like pasta (!!!), can you imagine?? She’d make homemade pasta but sub green beans on her own plate and top them with marinara and shaved parmesan. Now I do this, too, when I feel like going light on the carbs 🙂 and it’s delicious!
- Want an easy weeknight or company side dish that literally takes just a couple minutes to finish? Make a batch ahead and keep them in the fridge, preserving that beautiful color and crispness. Quickly reheat just before serving!
Size matters
Green beans range from slender, delicate varieties that need very little prep to thicker beans with strings running down the sides and ends that need removed before cooking. The slender beans, referred to as French beans or haricot verts, are my personal favorite and are perfect for blanching because they cook quickly. The thicker beans are good, too, but take a little more time to prep and cook.
I stay away from really thick beans for blanching. They do better in soups or with longer cooking methods like stewing or braising that produce soft beans like my Grandma made.
How to prep your beans
First, wash and sort your beans. Throw out any that have bad spots- you’re bound to have a few.
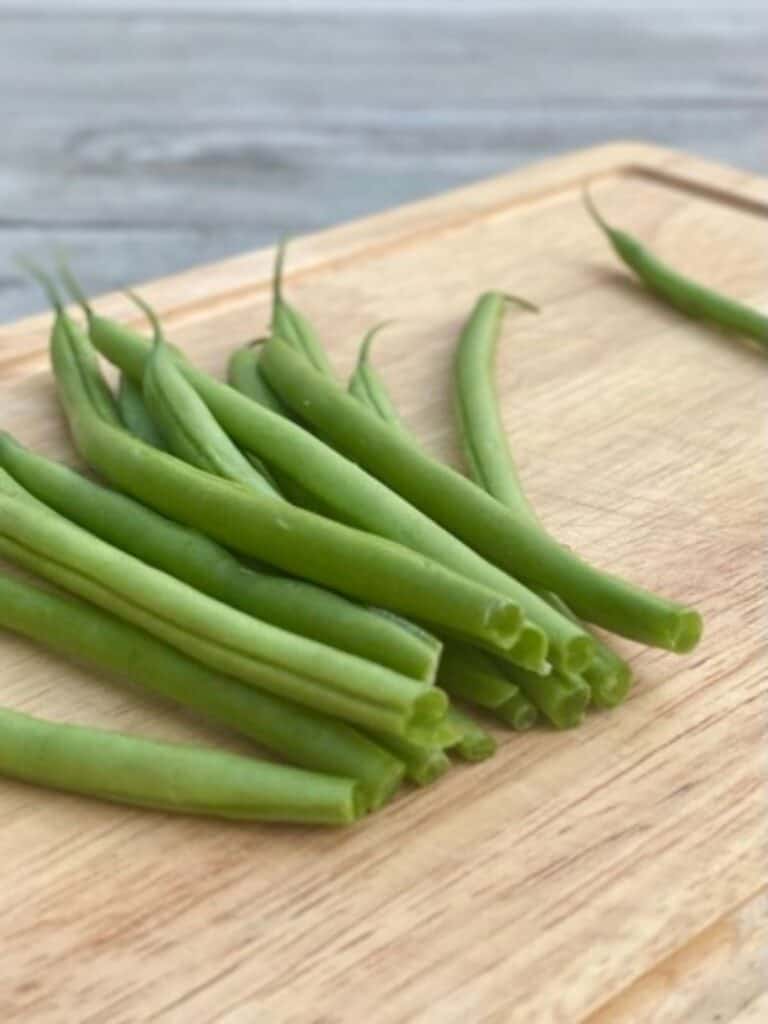
trimmed beans 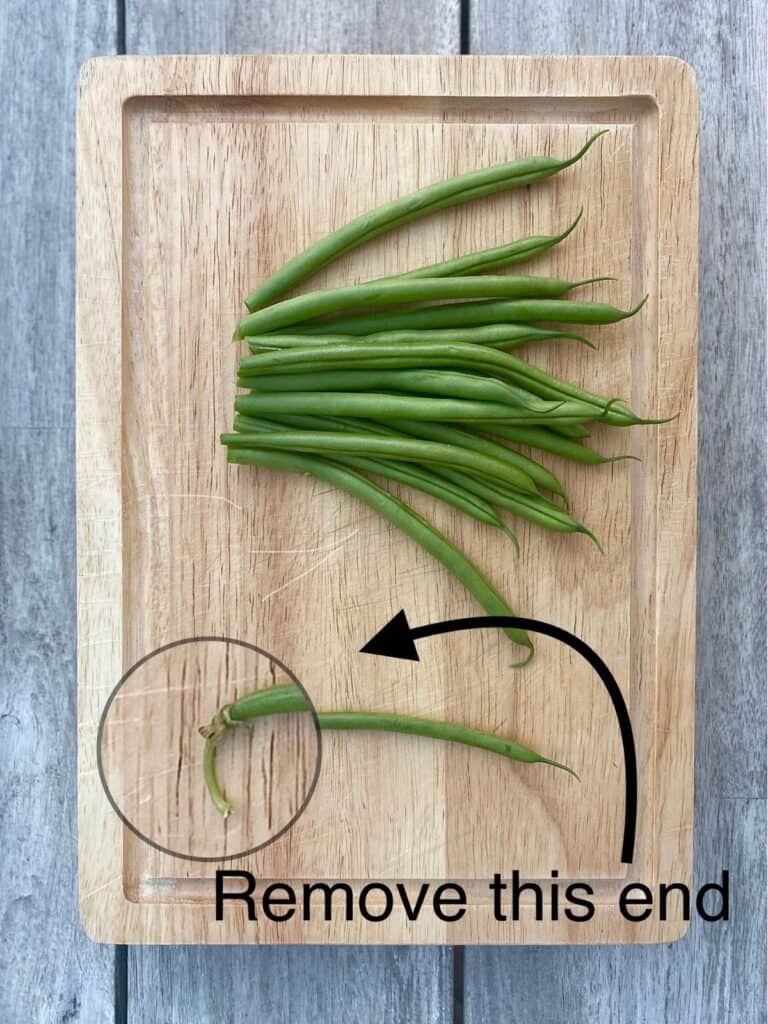
remove the woody stem end
Whichever type of bean you have, you’ll need to trim the woody stem end. You can do this one at a time, simply snapping the ends off with your hands. Or, take a handful of beans all facing the same direction, line them up on a cutting board with the stem ends even and use a knife to cut off the woody stems. The non-stem end has a thin point that is fine to eat. You can remove it if you want to but there’s no need. Personally, I like the way it looks 🙂
Some older varieties may have a fibrous string running down the side that you need to remove. But most beans are now bred to be stringless.
Kids, veggies & picky eaters
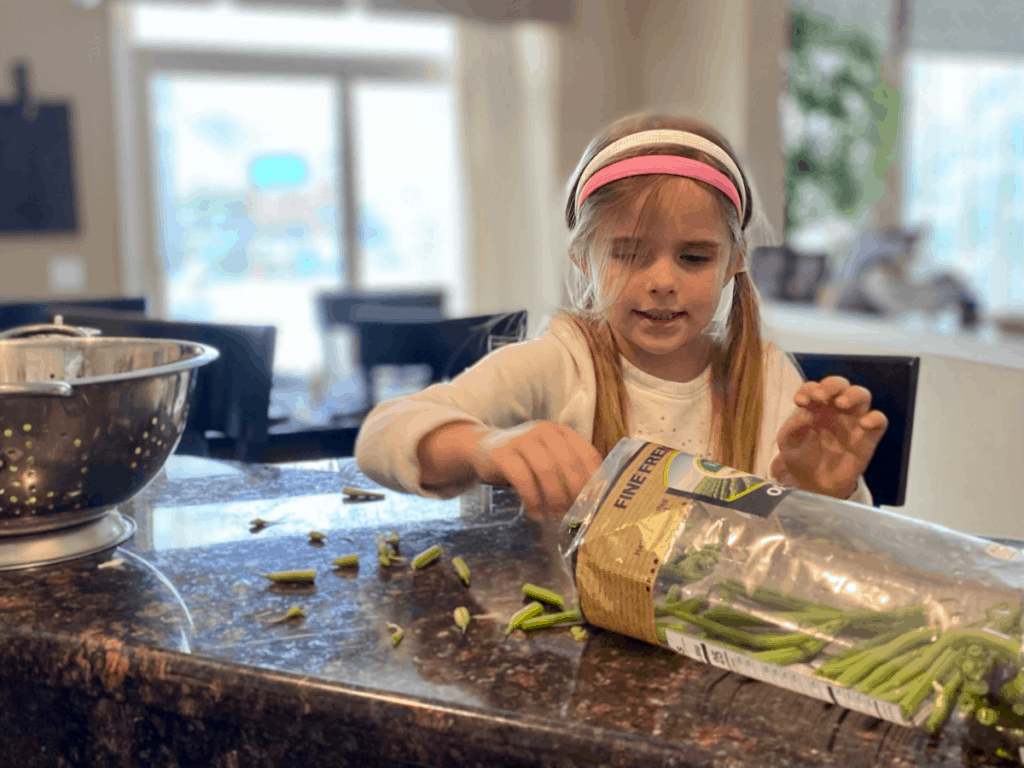
I can’t NOT include this picture of my favorite little chef & helper prepping our beans the other night. She did not agree with me about keeping the little pointy ends, but I suppose she’s not alone in that, to each their own! I just loved seeing how much she was enjoying the process.
Snapping beans is a great way to involve kids in cooking. Growing up on a farm, with a big vegetable garden, my daughters were lucky to be involved in everything from planting, to nurturing, to (not so enthusiastically) weeding and ultimately filling a basket with beautiful, colorful produce they were so proud of! It’s given all of them an appreciation of where food comes from and a love of vegetables.
We can’t all grow our own food, but introducing kids to fresh produce early and letting them be involved in the prep does wonders for expanding their palates and getting them excited to eat vegetables. Most adults I know who don’t like vegetables grew up eating canned and frozen vegetables that were overcooked, mushy and tasted very little like their fresh counterparts.
Seek out fresh whenever you can. Look for farmer’s markets and talk to the vendors. Involve your kids in selecting and in prepping. Real, fresh food is as good for the soul as it is for your body 🙂
Here’s how to make them
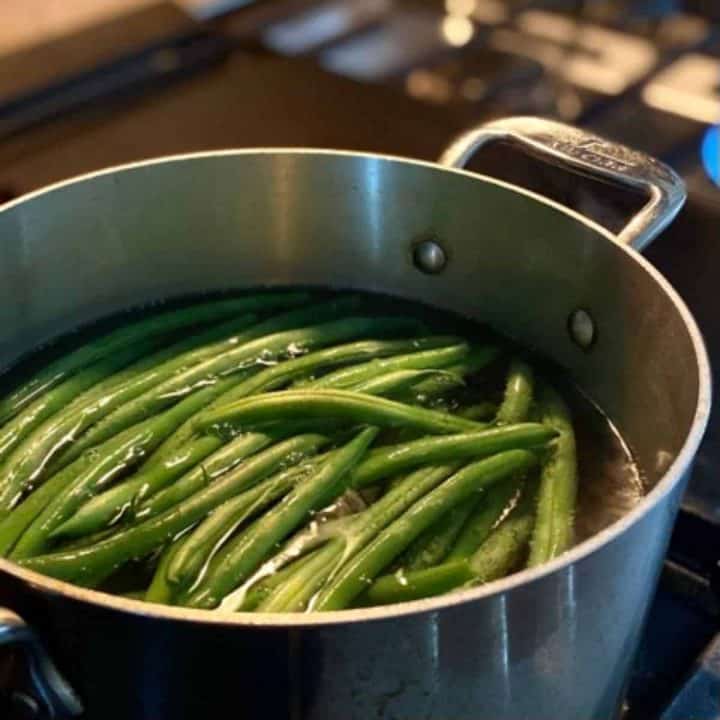
- Salt the water. It really doesn’t get simpler than this. Bring a large pot of salted water to a boil while you prep the beans. Salting the water is important because it makes the beans more tender and enhances their flavor. Use 1 Tablespoon of kosher salt for every quart of water (if using table salt reduce to 1 tsp per quart*). If this seems like a lot to you, and you’re worried the beans will end up super salty, I promise they won’t!
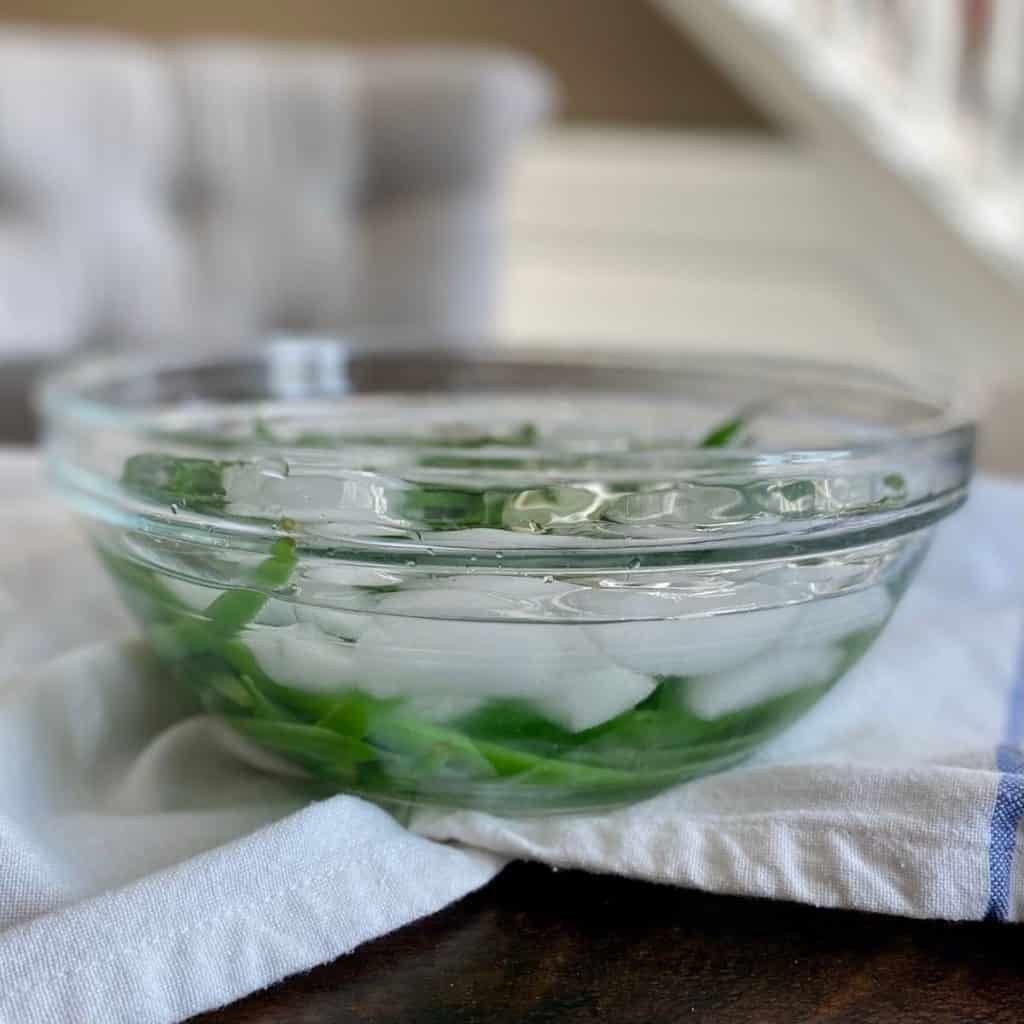
- Prepare an ice bath if you’re making them ahead. If you’re making them ahead or want to serve them cold (like in a salad) you should have a bowl of ice water ready when you start. I fill a bowl partially with ice and stick it in the freezer. Just before the beans are done, I take it out and add cold water. If you’re serving right away skip the ice bath.
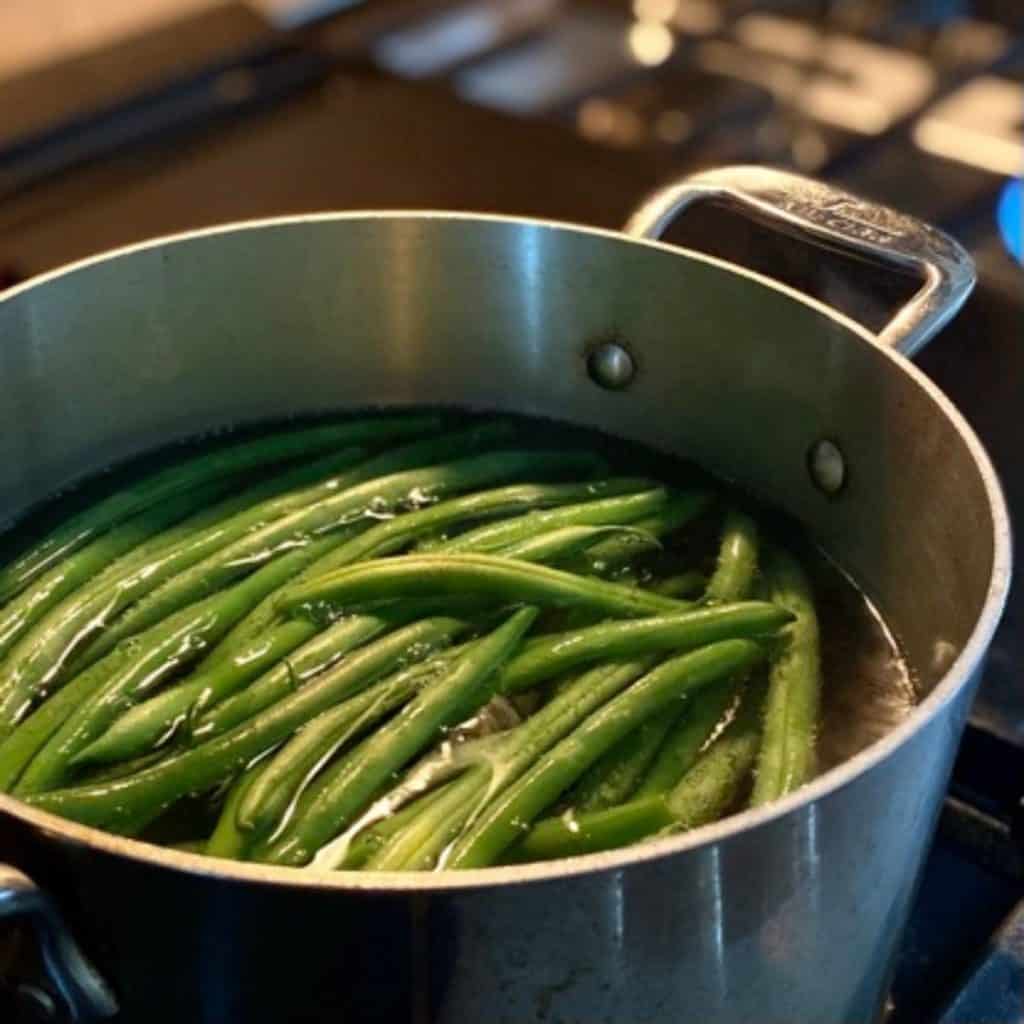
- Boil until crisp-tender. Once the water is boiling add your beans, return to a boil and cook for 2-5 minutes, depending on the thickness of your beans. If you’re not sure how long to cook them just pull a bean out at 2 minutes and cut it with a knife to judge the crispness.
*If you’re blanching the beans ahead to reheat later, undercook them just slightly.
Are you serving them right away?
If serving immediately, you won’t need an ice bath. Just drain the beans, return them to the pot or a serving bowl and toss with a little butter or olive oil and a sprinkling of kosher salt and pepper.
Are you making them ahead (or serving them cold)?
Then you have one more step!
Remember that bowl of ice we talked about earlier? Now’s the time to fill it with cold water. As soon as the beans are done, remove them with tongs and place them directly into your ice bath. Let them cool completely, about 5 minutes, and drain.
Taking them directly from hot water to ice cold water stops the cooking process and shocks the beans. This step is really important because it helps preserve their bright green color and crisp-tender texture.
Simple blanched green beans are perfect for making ahead!
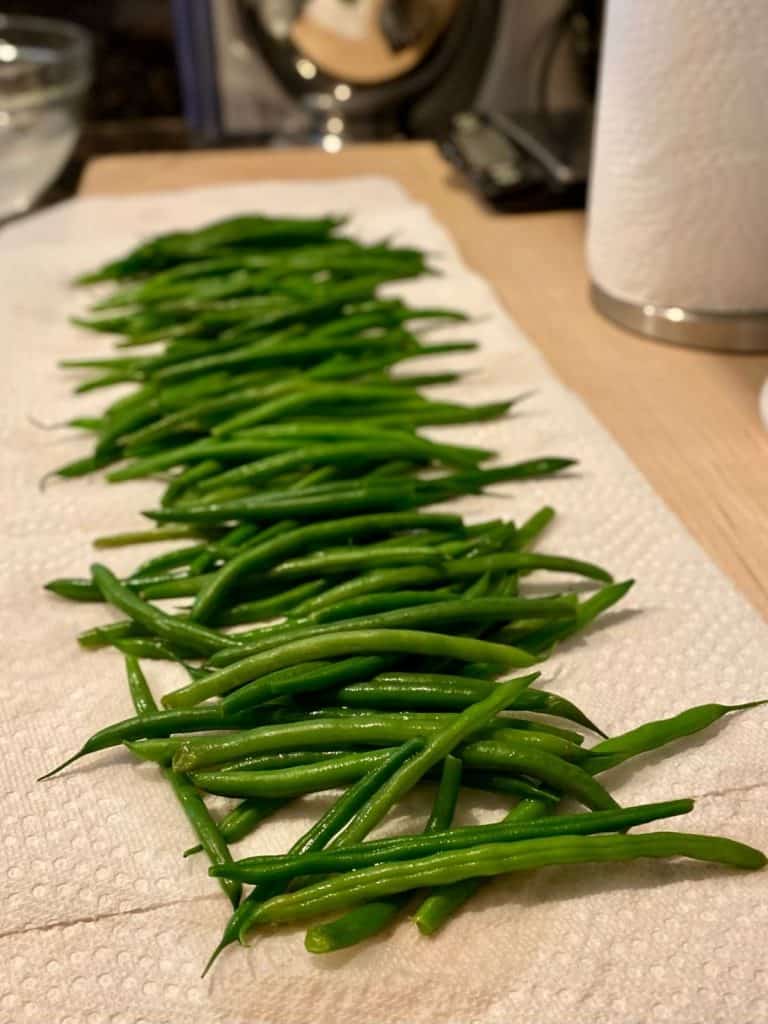
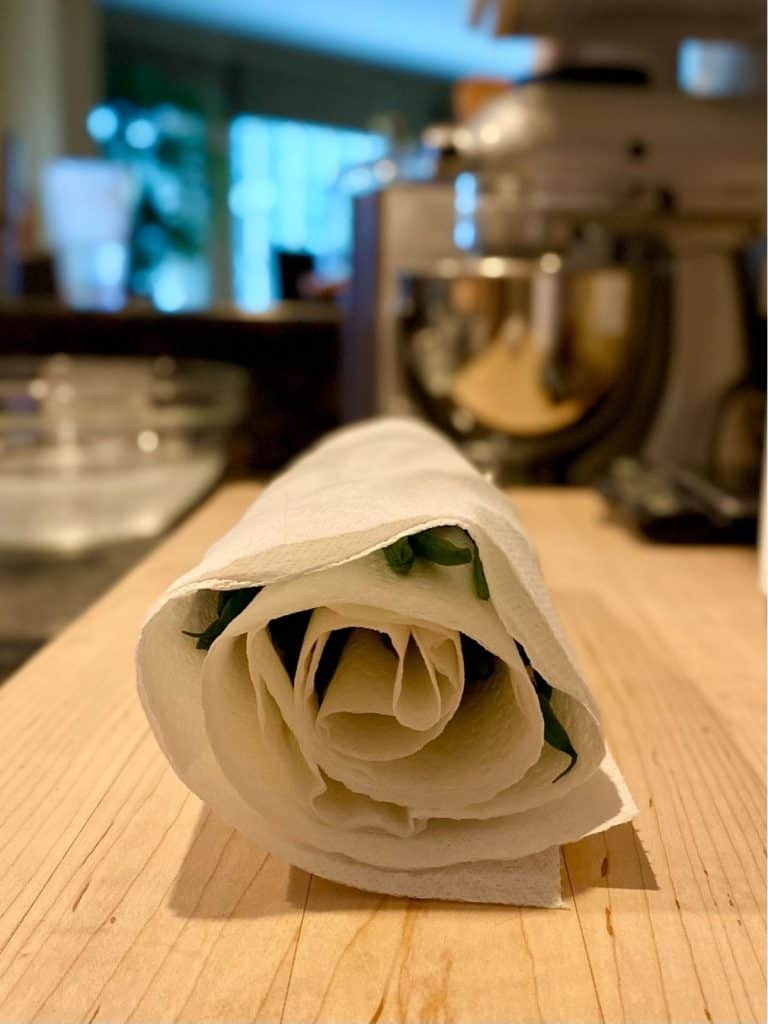
Once they’re cold and drained I like to lay them out on a layer of paper towels and blot dry. You can also use a clean cloth towel. Roll them up in the towel and put the whole thing in the refrigerator until you’re ready for them. If you’re making them more than a few hours ahead, put them in a bag or container (still wrapped in the towel) and they’ll keep in the fridge that way for up to 5 days.
Finishing beans that you make ahead
So, you made your beans ahead, they’ve been chilling in the fridge for a couple hours (or a few days) and you’re ready to finish them? You have options:
- My go-to is to sauté them. Heat a little butter or olive oil in a large, wide skillet. When melted/hot add the beans and toss or turn with tongs just until heated through. It should take just a couple of minutes. Season to taste and you’re all set!
- For slightly softer, but totally delicious beans roast them in the oven. Preheat the oven to 400. Dry blanched beans well and toss with a little olive oil, salt and pepper. Spread on baking sheet and roast for 8-10 minutes. You can also top with some fresh grated parmesan during the last 5 minutes (because… cheese)
One last thing…
Wondering how many green beans to buy? A general rule is 4 oz per serving (so that’s 1lb per 4 people)
And that’s it! Super easy, convenient, delicious green beans that turn out perfect every time! Enjoy 🙂
Simple Blanched Green Beans
Whether you're serving them right away or making them ahead, this is a foolproof way to cook perfect green beans that retain their crunch and their beautiful color every time!
Ingredients
- 1 lb fresh green beans, preferably thin
- kosher salt
- water
Instructions
- Bring a large pot of salted water (1 Tbsp kosher salt for every quart) to a boil while you prep your beans
- Wash beans and remove the woody stem ends (it's ok to leave the little "tail" end)
- When water is at a rolling boil, add the beans, return to a boil and let them go until they're crisp tender and still bright green. This will take from 2 to 5 minutes, depending on the thickness of your beans.
- If serving immediately, drain, season with olive oil or butter, salt and pepper and enjoy!
- If you're making them ahead or want to serve them cold (like in a salad or as crudites), remove with tongs and immediately plunge them into an ice bath until completely cooled. see notes*
Notes
How many beans to make? The rule of thumb is 4 oz per serving. Scale up or down accordingly!
For ice bath: fill large bowl with ice water while beans are boiling. Using tongs, place beans directly into the ice bath as soon as they're crisp-tender (a little earlier if you'll be reheating and finishing later). Leave them in ice water until they're completely cooled. They should be crisp and retain their bright green color.
To make ahead: After the blanched beans are cooled from their ice bath, drain them and lay out on a clean paper or cloth towel. Pat dry and roll up in the towel. Place in the refrigerator until ready to use. If you'll be storing them longer than a few hours, place the entire roll in a large plastic bag without sealing
Storage: blanched and cooled beans can be stored, rolled up in paper towels, in a bag for up to 5 days
To finish on stove top: heat a little olive oil or butter in a large sauté pan. When melted/hot add blanched and cooled beans and toss a few times with tongs until heated through (just a couple minutes). Season to taste
To finish in oven: Preheat oven to 400 f. Place blanched and cooled beans on a baking sheet, pat dry, drizzle with a little olive oil and season with salt and pepper. Roast in the oven for 8-10 minutes, shaking pan half way through. You can also add a little freshly grated parmesan the last 5 minutes 🙂


Leave a Reply