Are you looking for something really spectacular and delicious for the centerpiece of your holiday dinner this year? Would it be a huge bonus if it didn’t require all of your attention, allowing you to relax and enjoy your family and friends? Yes? Then look no further than this absolutely TO DIE FOR herb crusted pork rib roast! It’s incredibly succulent, juicy and tender and develops the most gorgeous, crispy-golden melt-in-your-mouth crust.
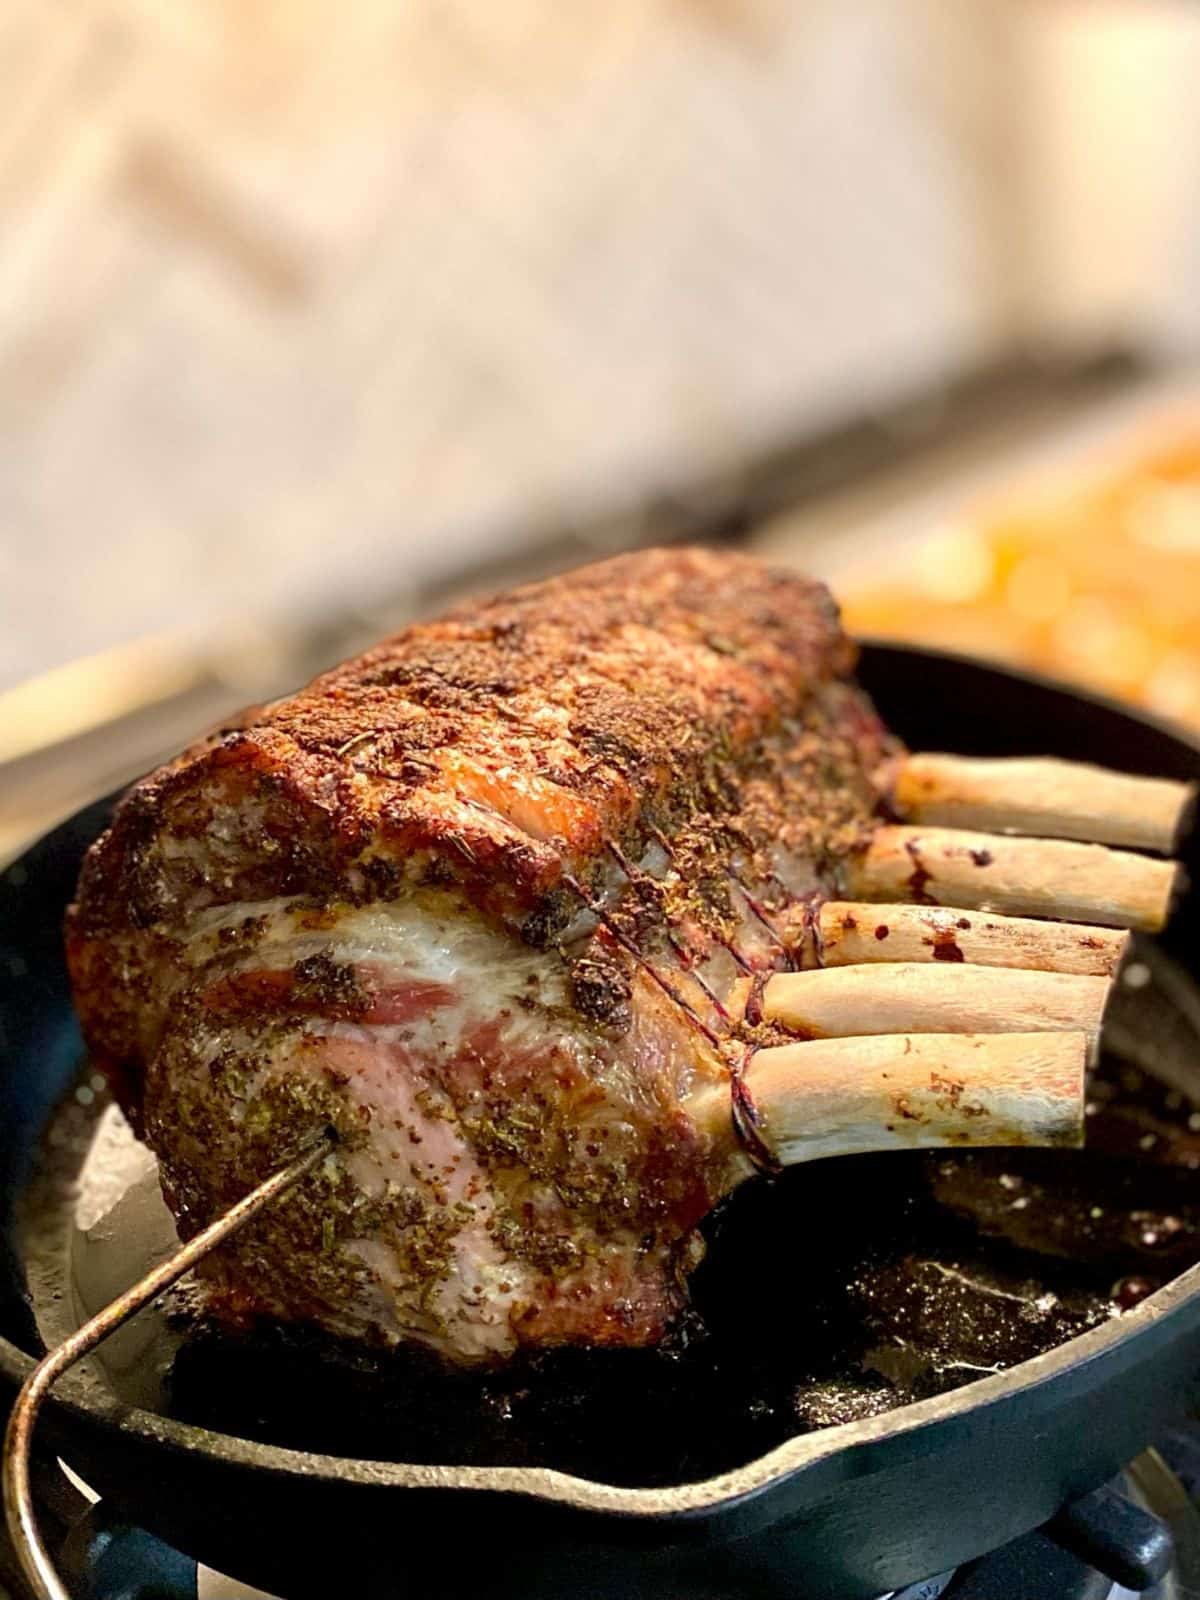
And the flavor???? It’s NEXT LEVEL. I mean… just look at that crackling, flavor bomb of a crust! It’s EVERYTHING!
I used to be Team Prime Rib
Every Christmas, for years, I would make a big, beautiful prime rib. It was my annual food splurge- and it always felt so special and festive. But last year I wanted to try something different. So I made the pork equivalent of a beef prime rib- a pork rib roast- and I couldn’t have been more thrilled with how it came out. I loved it so much actually, that I made it again two weeks later for another big family get together.
In addition to incredible flavor here are just a few more reasons this should be the star of your next celebration dinner:
- Compared to a prime rib, this is very budget-friendly (less than half the cost)
- It’s deceptively easy on the cook (literally about 15 minutes of prep!) even though the finished roast looks and tastes really impressive!
- All of your prep is finished one to three days before, so that all you need to do is slide it into the oven a couple hours before you plan to eat
I’ve been converted to Team Pork Prime Rib…and once you try it, I think it will convert you, too!
What Ingredients Do You Need?
This is a simple recipe and only calls for a handful of ingredients. That said, the quality of those ingredients is important and will make all the difference in the final outcome! Here’s what you need:
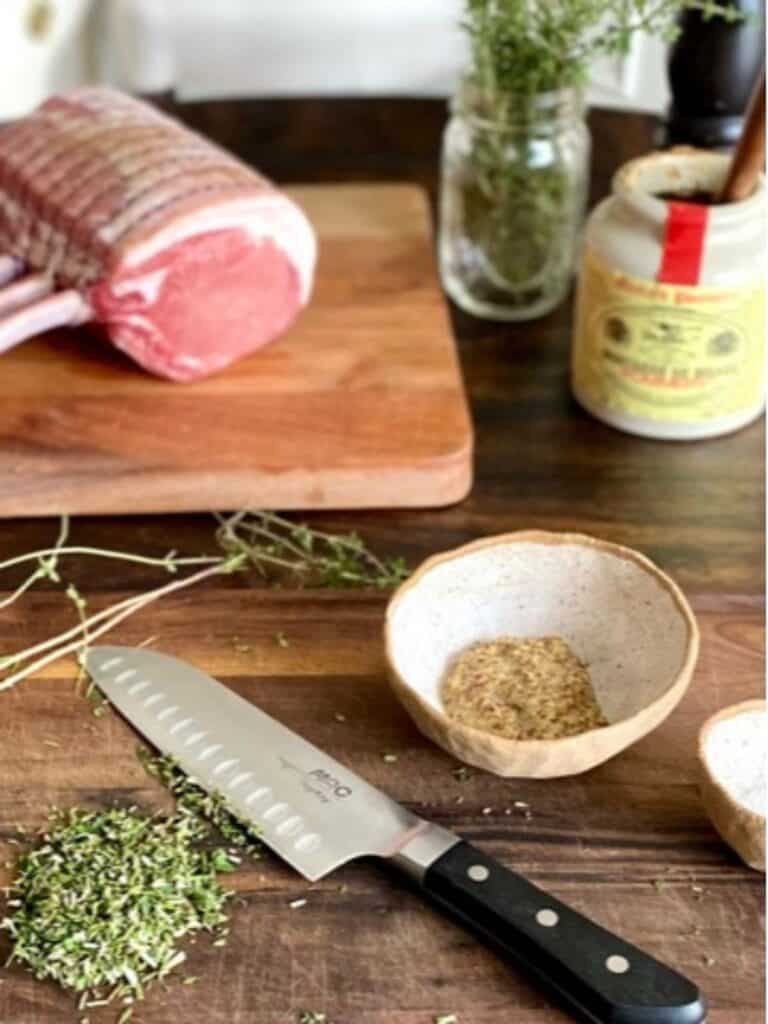
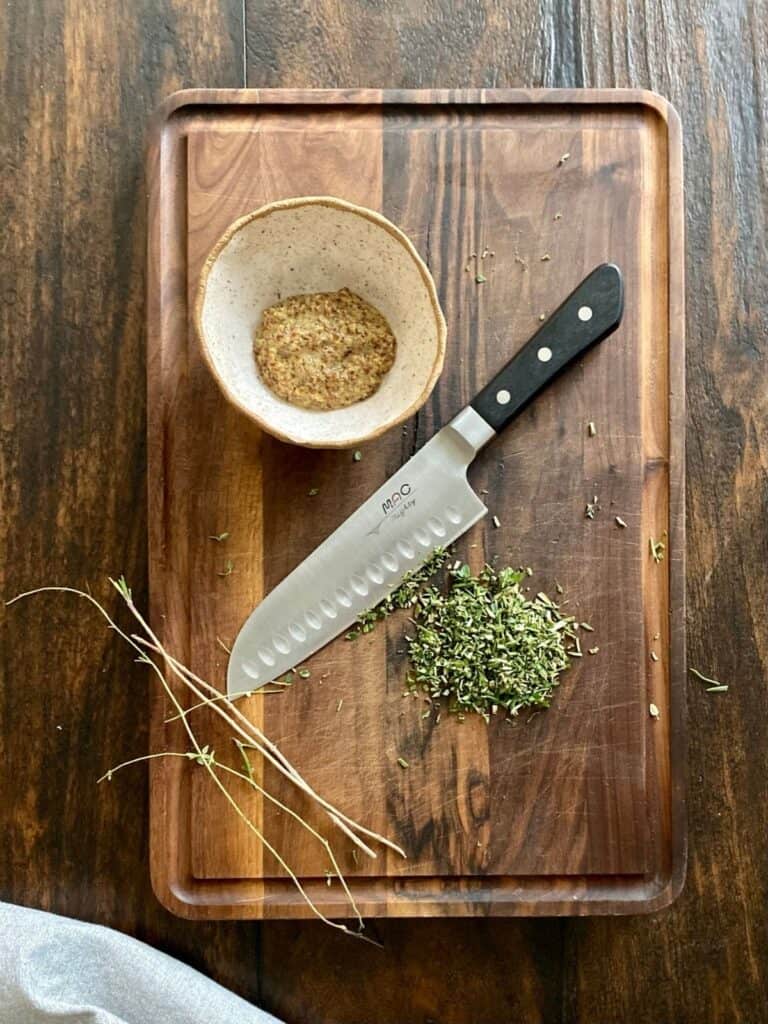
- Good grainy mustard– I LOVE the flavor of Pommery Meaux mustard and use it for all kinds of things! I order it from Amazon and each crock lasts me about 6-8 months (they’re 17.6 oz each). They come in stoneware crocks with tight sealing lids and don’t need to be kept refrigerated. I keep mine on a shelf in my pantry. When you’re done with them they’re great for holding fresh herbs or utensils. You don’t have to use Pommery, but use something with wonderful flavor.
- Fresh Rosemary and Thyme– Use fresh herbs for this, not dried. Rosemary and thyme are sturdy herbs so they’ll keep for a week or more to use in other things. Rosemary especially makes a really pretty garnish.
- Olive oil, kosher salt and cracked pepper– I always use Diamond kosher salt. Grinding pepper fresh makes a difference. If you don’t have a pepper mill use coarse cracked pepper from the spice aisle.
- 6-10 bone Heritage Pork Rib Roast– So this is the first time I’ve specified “heritage pork”. You can make this with a standard pork rib roast from the meat case of your local grocery store and it will still be good. BUT…FRIENDS…please do yourself a favor and seek out quality heritage pork. Once you taste it you will struggle to ever buy mass produced pork again. The flavor, the texture, EVERYTHING about it is just SO MUCH BETTER!
Why Seek Out Heritage Pork?
Most of us grew up eating dry, flavorless pork so we think that’s just what pork IS. But, pork isn’t supposed to be like that.
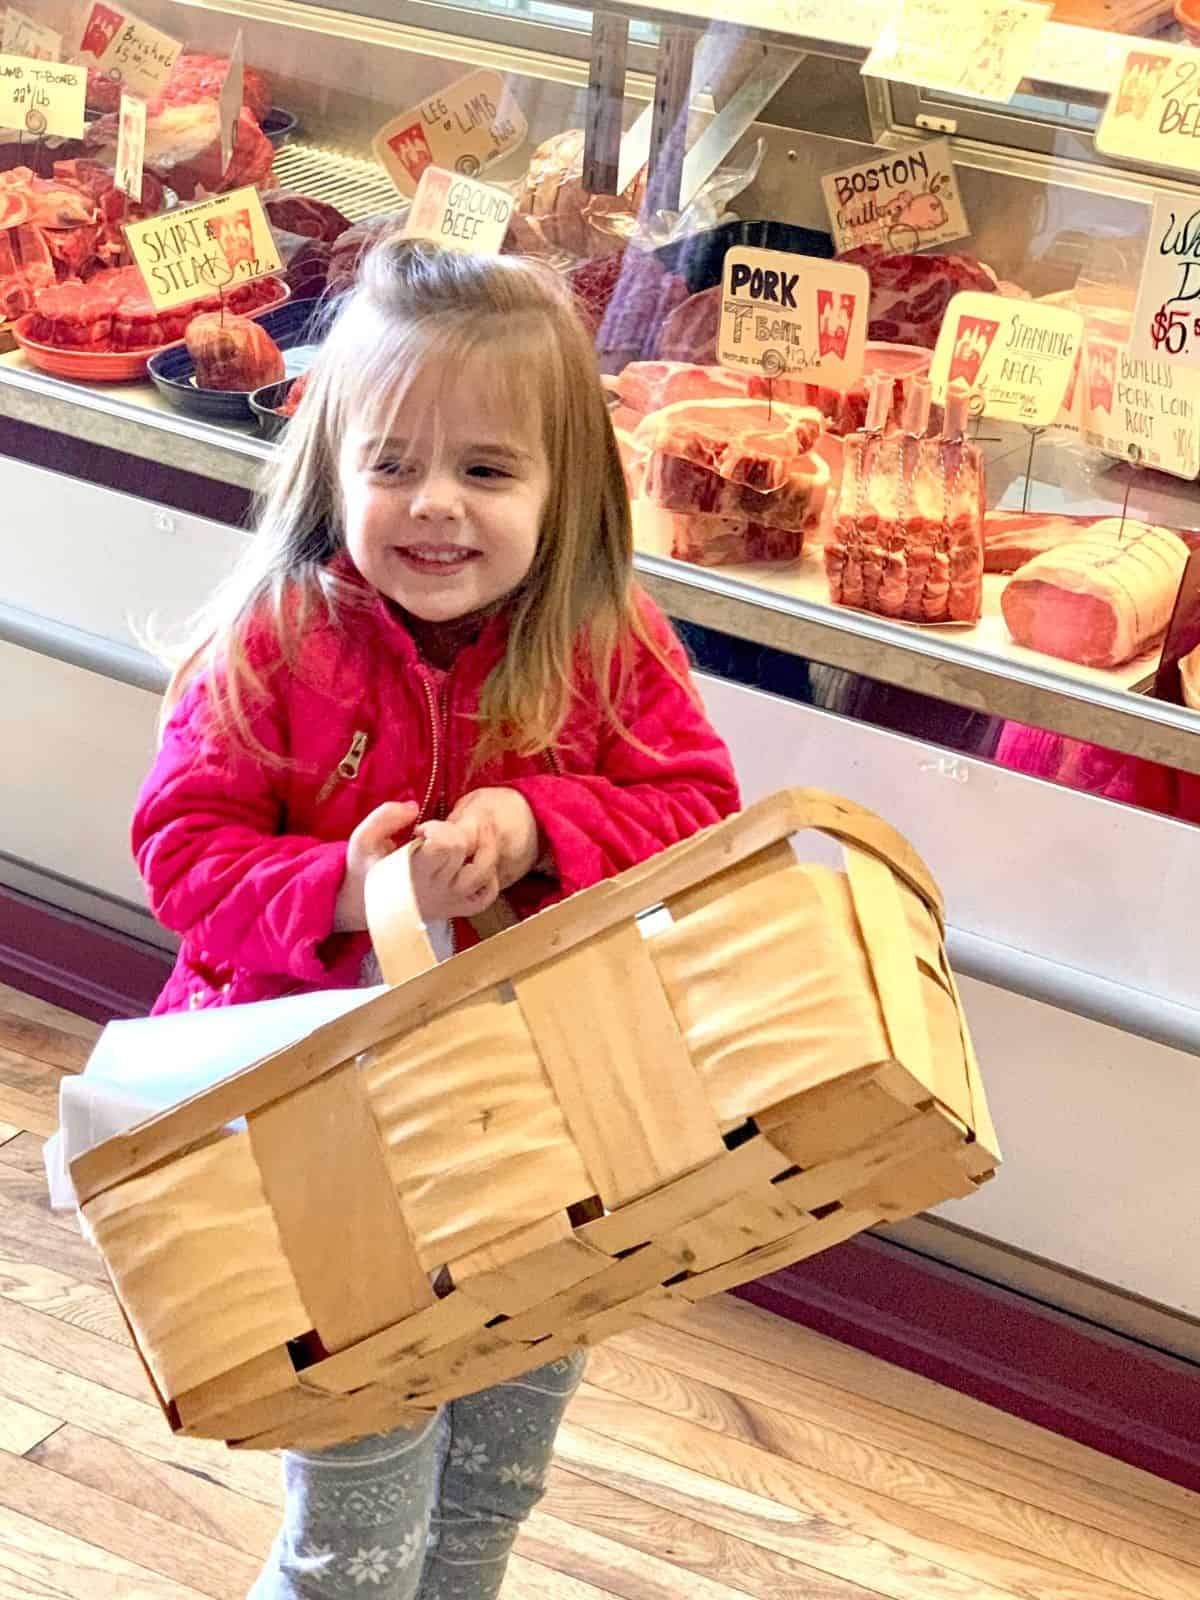
A couple years ago I had my first taste of heritage pork from one of my very favorite places, Ohio City Provisions. As I scanned their butcher case I was immediately drawn to a pair of thick cut pork chops that were swirled with beautiful white marbling. They were almost red, like beef rather than the pale pink I was used to.
I took them home and reverse seared them, seasoned with nothing more than salt and pepper, and honestly? They were like no pork I’d ever tasted! Turns out that’s because they actually tasted like pork is meant to, which is anything but boring. I would choose them over steak any day (and I LOVE a good steak)!
You Can See The Difference
I like to nerd-out on food info, especially when I find something I love, so after that first heritage pork experience I needed to know WHY it was so good. That also meant I needed to understand WHY the pork I’d been eating all these years had lost it’s “porkiness”.
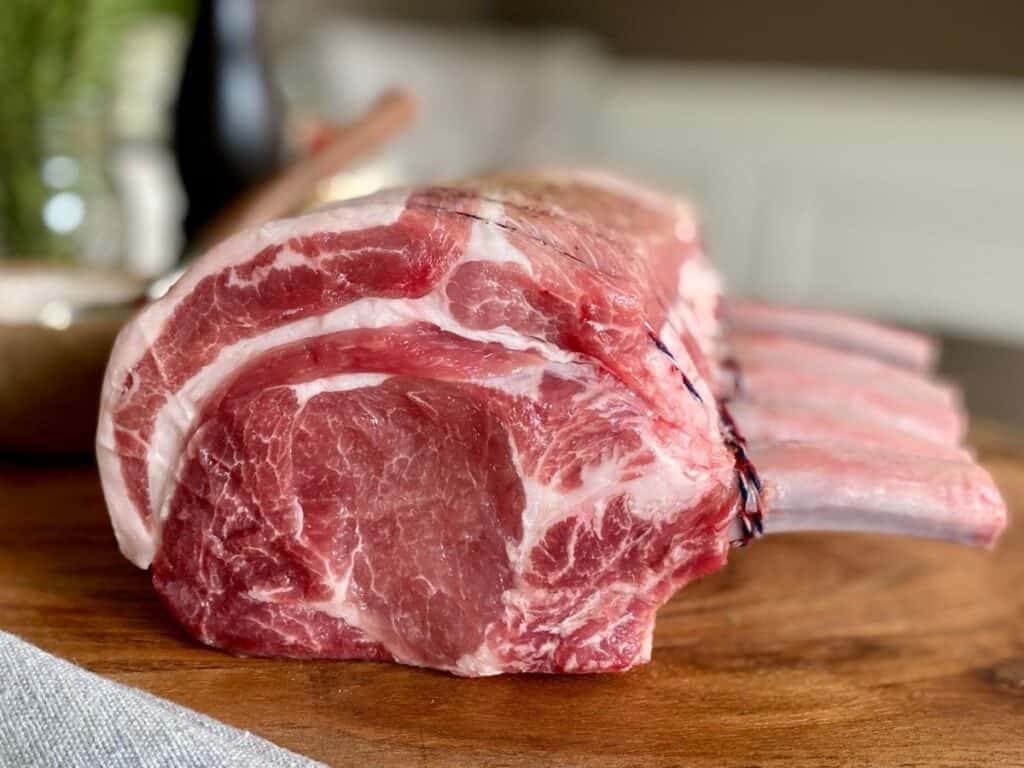
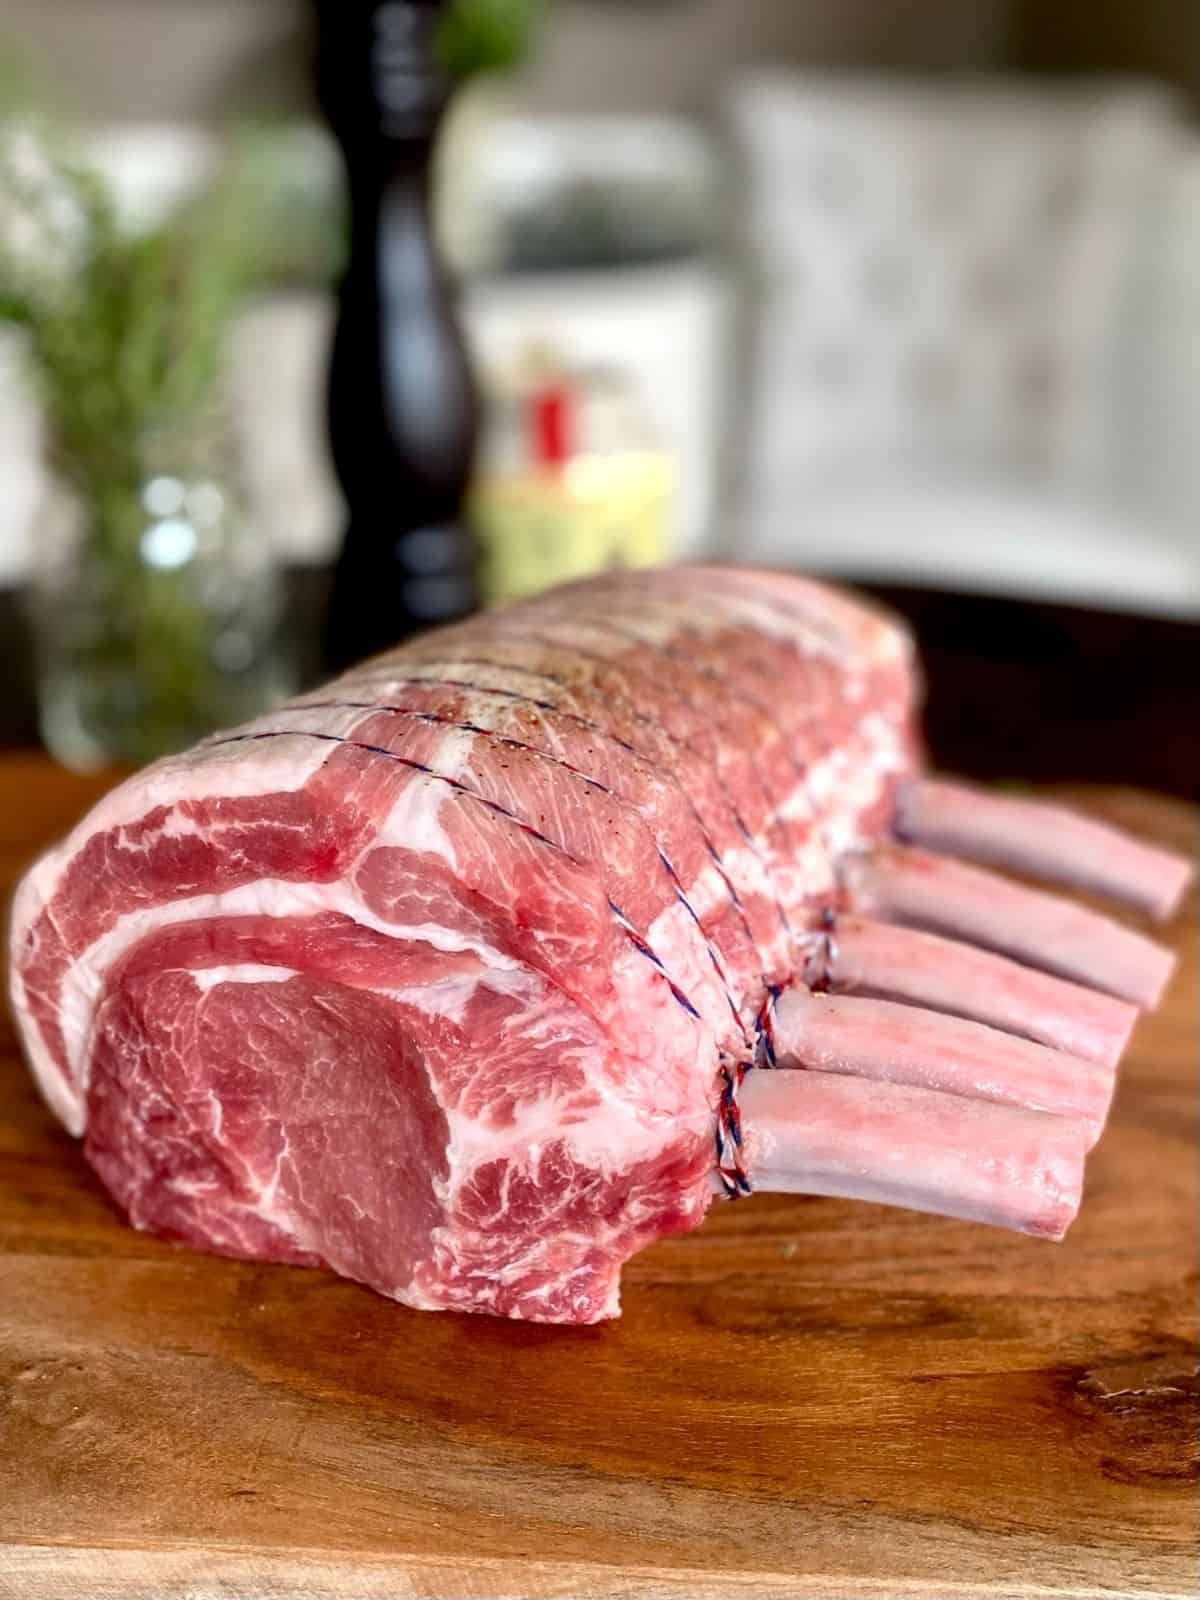
Take a look at these pork roasts. The one in the picture above is heritage pork from my butcher. The one below is the same cut but from commodity pork at the grocery store. It’s not just that the heritage pork roast is beautifully trimmed and tied (thank you OCP!)…but look at the color difference and the marbling!
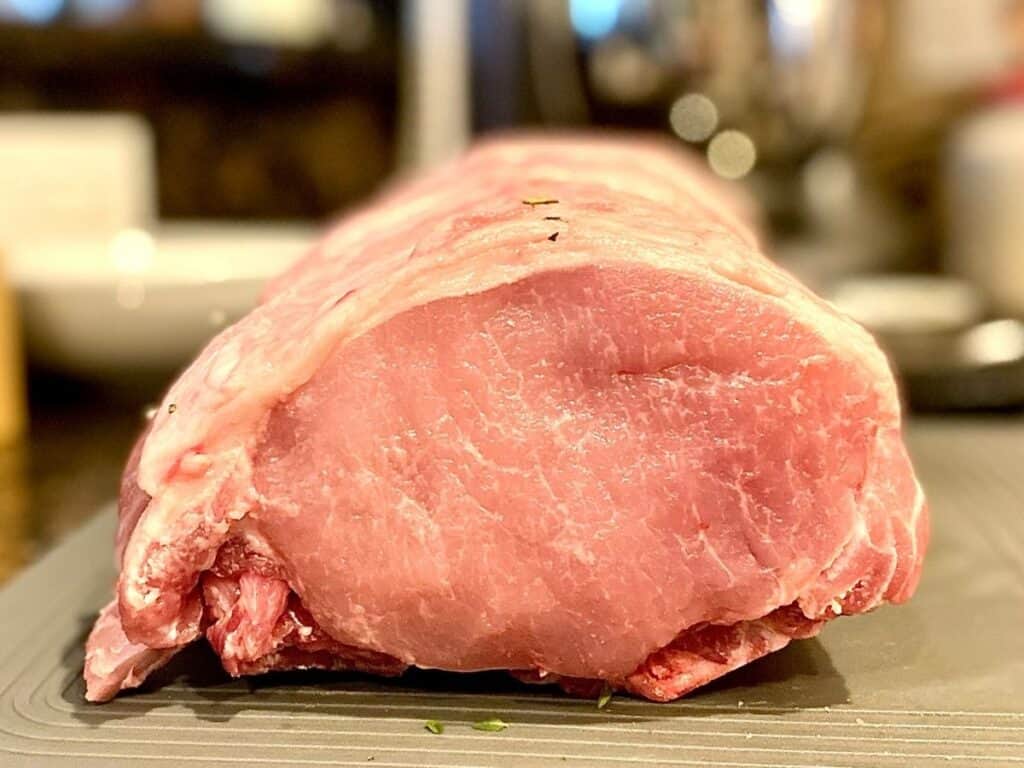
That marbling equals flavor and tenderness!
So what’s happened to pork?
Most of what you find in the grocery store is mass produced factory farmed meat. It’s been bred to be very lean..because that’s what consumers started demanding 50-60 years ago. Mass produced meat also means low quality feed for the animals and crowded, indoor, stressful living conditions. Stressed out, unhealthy animals require antibiotics, which we in turn end up consuming. Since understanding the reality of factory farming I can’t bring myself to buy it anymore. If you want to learn more, The Lost Taste Of Pork is a really interesting read and the 2009 film, Fresh, is an eye opening documentary about mass produced food in general.
Heritage pork from a reputable butcher is a totally different story. The pork I love at OCP is a cross between Berkshire and Red Wattle breeds. It comes from a family owned farm where the hogs are raised entirely on organic pasture. They have room to roam and forage which allows them to work off some of their exterior fat, turning it into intramuscular fat/marbling. They live a quality life and get to be pigs- and that’s important to me.
Get to know your butcher and ask questions, it’s the only way you can really know what you’re eating as well as what you’re supporting.
What Size Pork Rib Roast Do You Need?
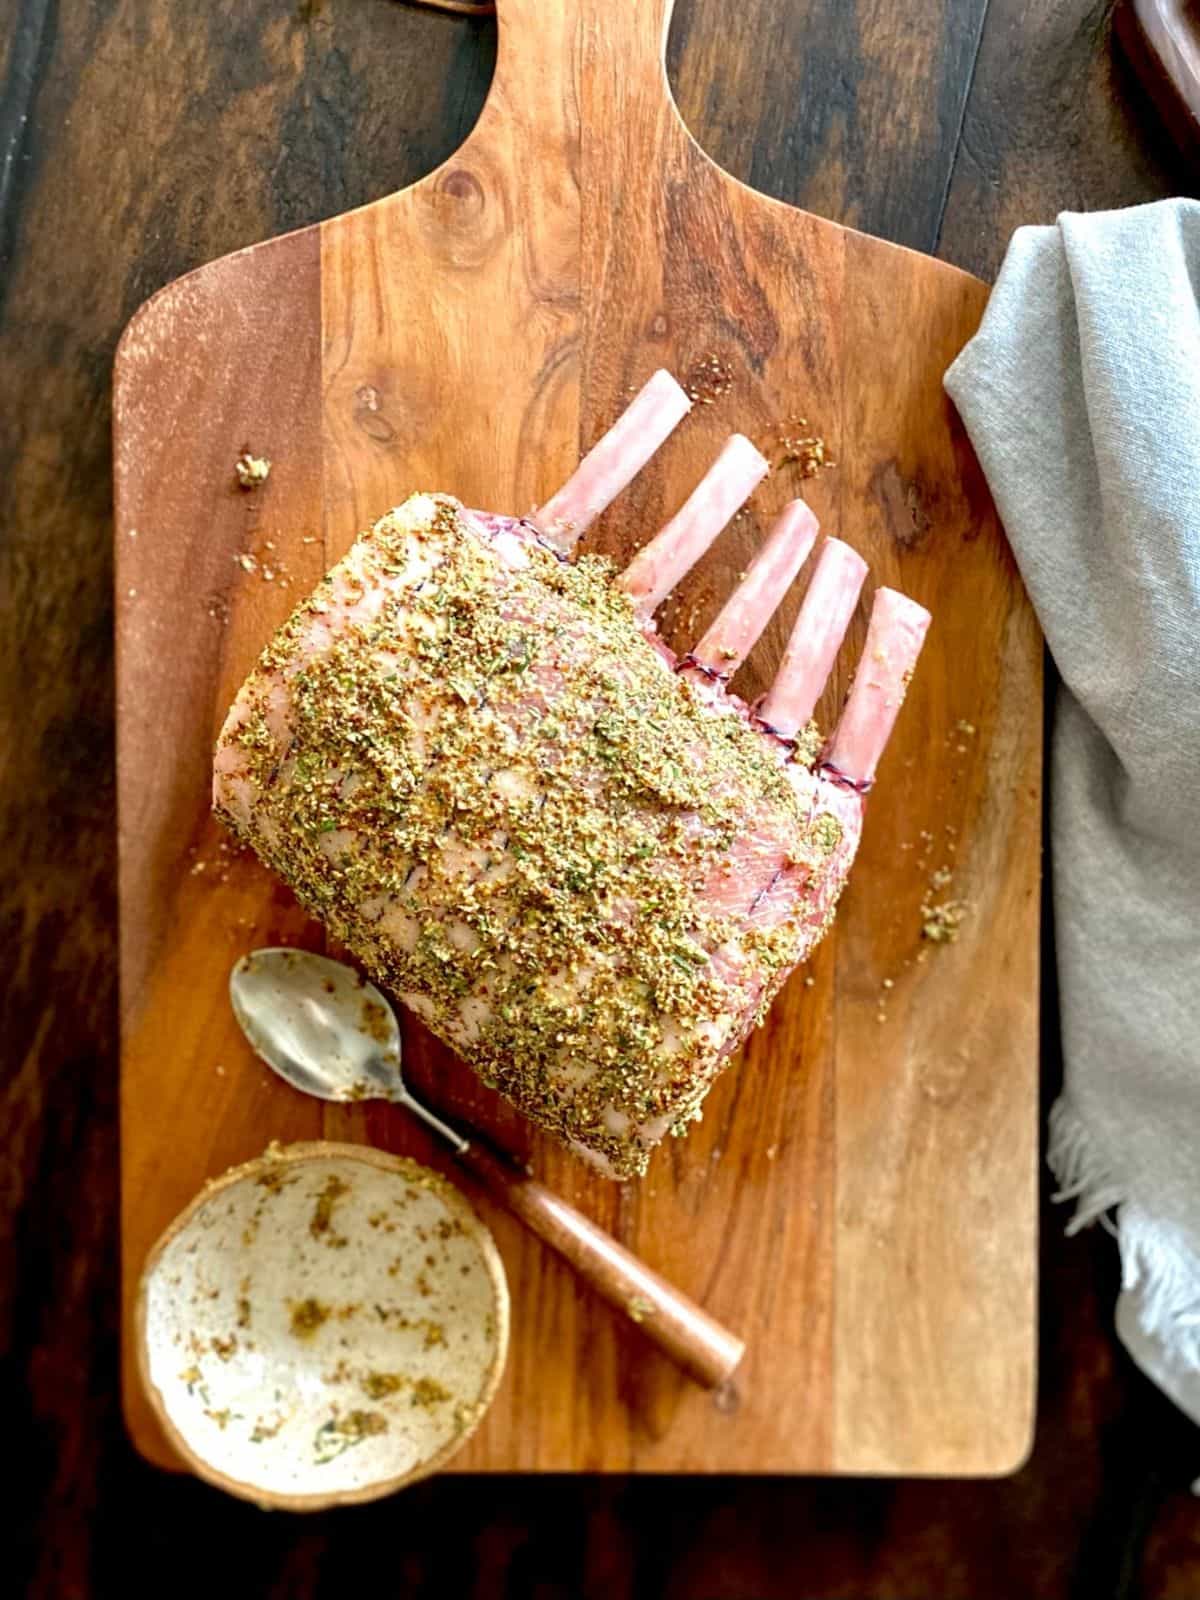
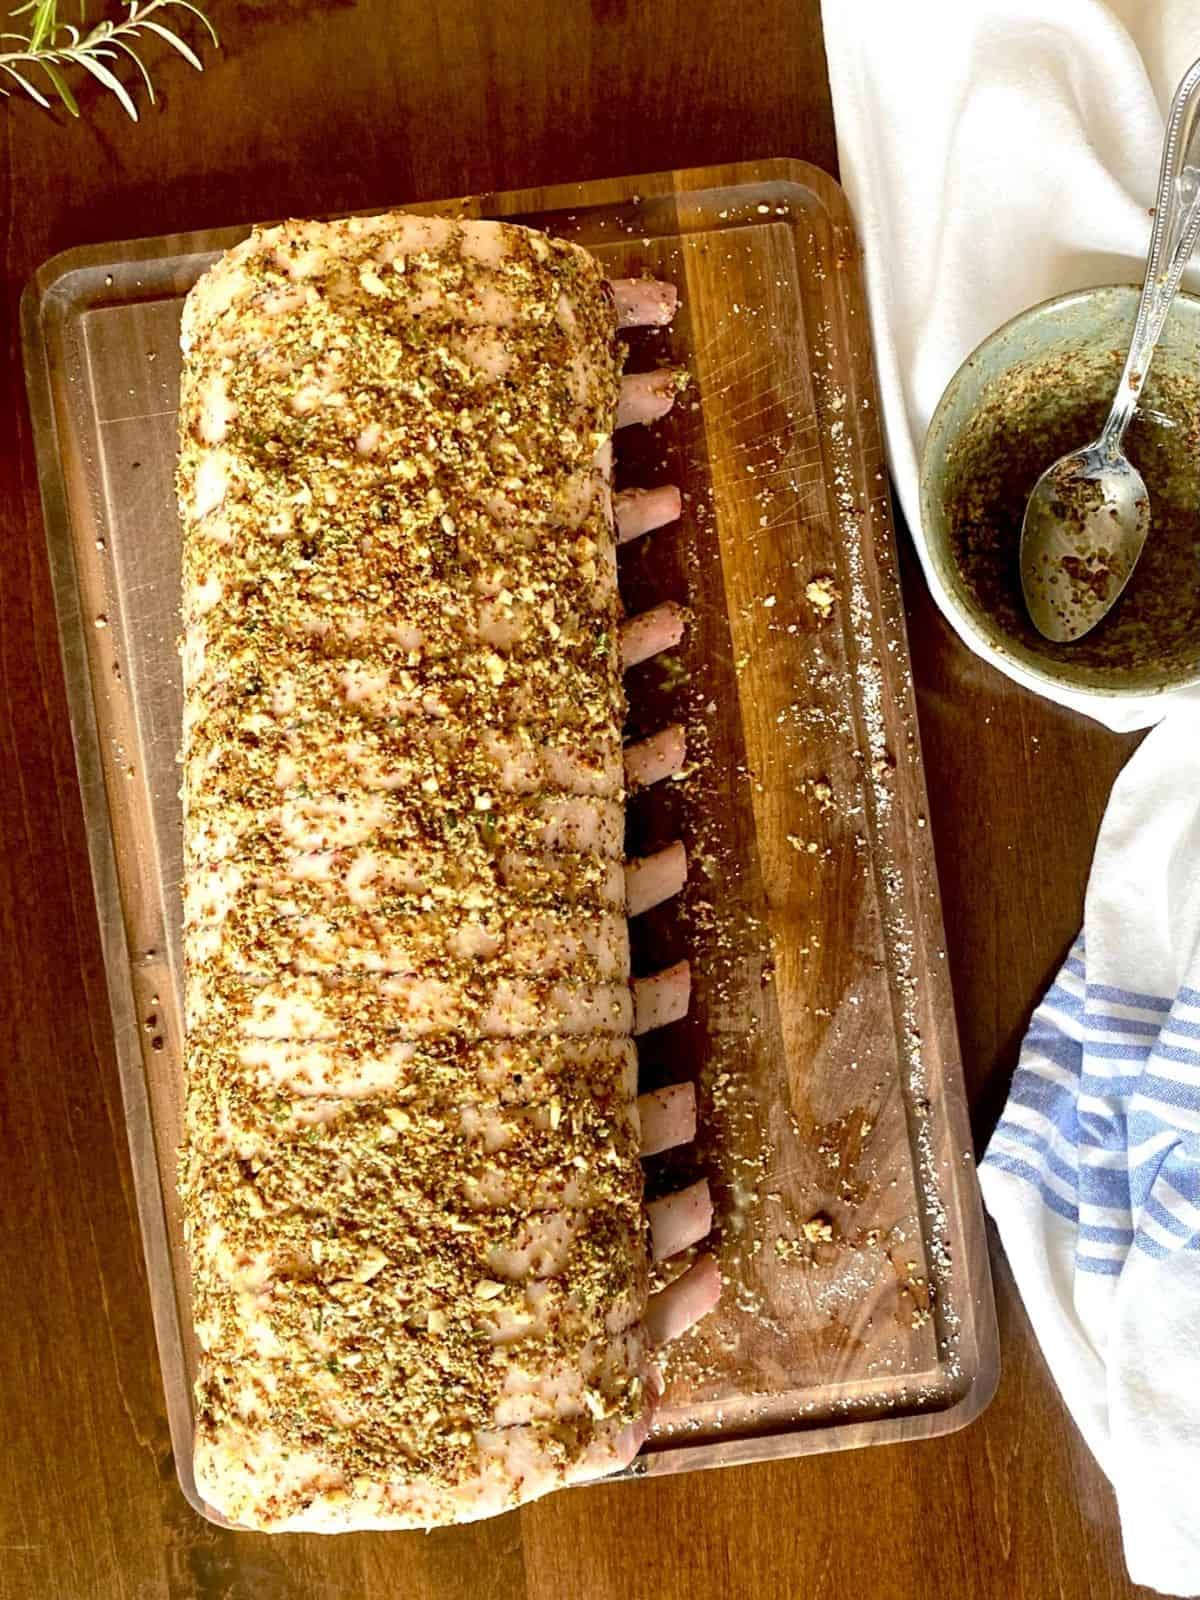
When you’re deciding how large of a roast to purchase, the general rule is to count on 8-12 oz per person. If that seems like a lot to you, remember the weight of the ribs is included in the total weight. Another thing to consider is how you’ll be carving it. You have the option of slicing evenly between the ribs so that each person gets an entire thick chop or you can remove the meat from the bone and then carve thinner slices. You can even do a combination by slicing the ribs right against the bone so that they’re thinner, which allows for another thin boneless slice in between each rib.
Season Ahead For The Best Flavor!
One to three days before you plan to serve your roast you’re going to season it. This time with the seasoning will result in really amazing flavor and moisture retention. Be liberal with the salt and pepper and make sure you use kosher salt. I always use Diamond kosher salt. If you’re using a different brand of kosher salt, like Morton’s, use a little less and please do NOT use table salt.
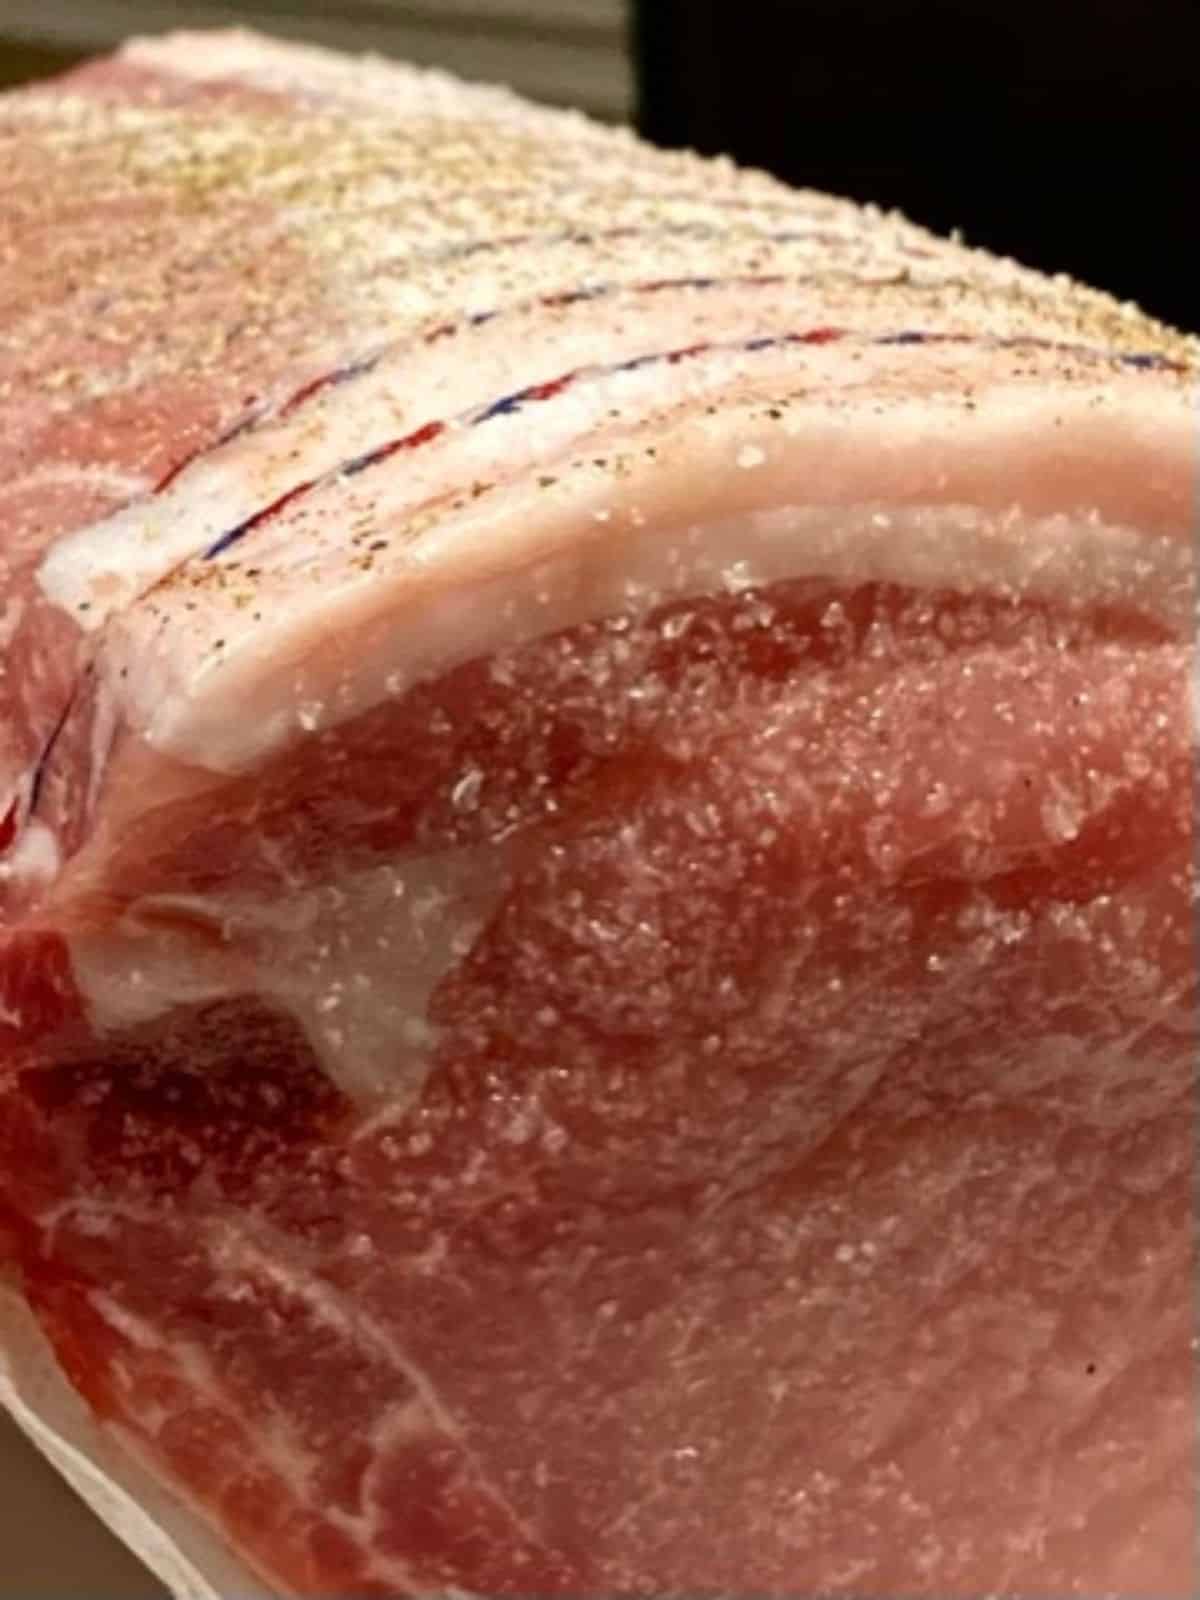
It’s difficult to explain how much salt to use, so here’s a close-up for reference. I hope it helps if you’re unsure 🙂
Next, combine the mustard and herbs. Smear the mustard mixture all over your roast- top, bottom and sides. The amount you need will depend on the size of your roast. I used about 1/4 cup of grainy mustard and 1 heaping Tablespoon of fresh chopped herbs (more rosemary than thyme)for my 4 1/2 lb roast. You want a nice thick coating.
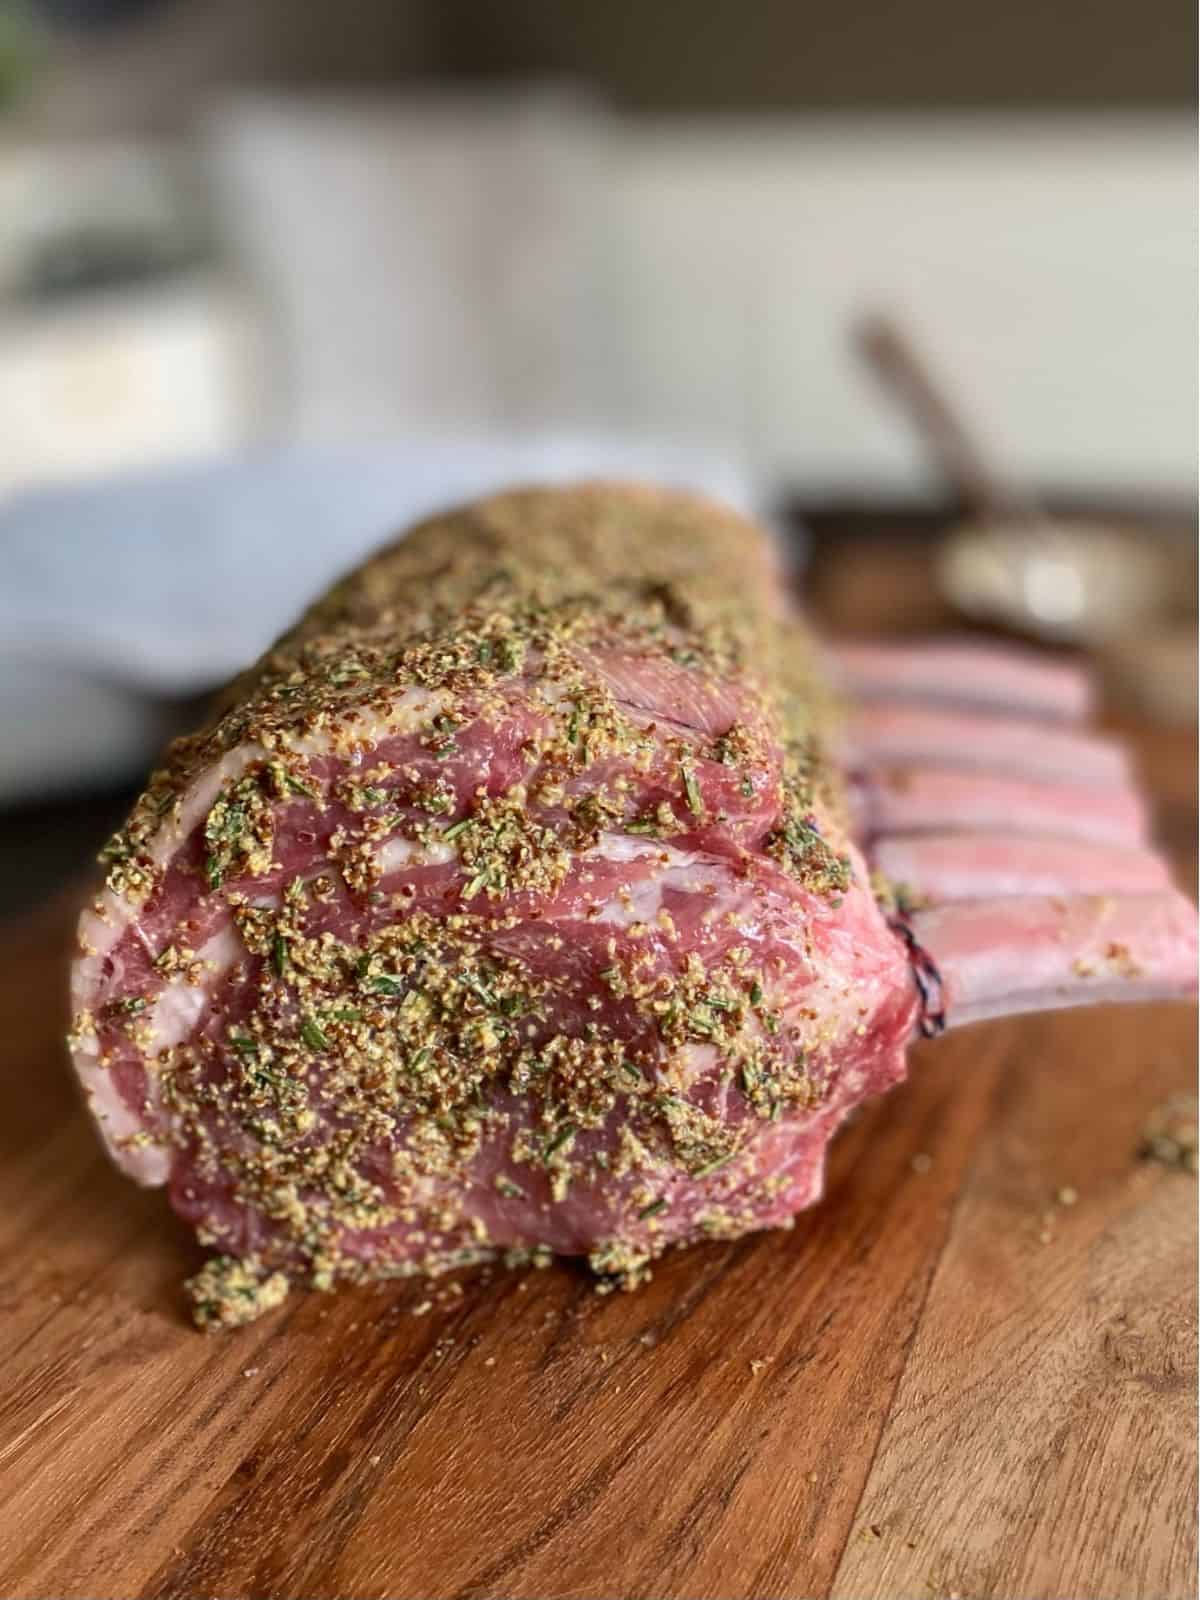
Now, cover it – loosely so the mustard stays on the roast and not the plastic- and put it in the fridge. Smile and relax because you’re done! You don’t have to think about it again until you’re ready to slide your beautifully seasoned roast into the oven.
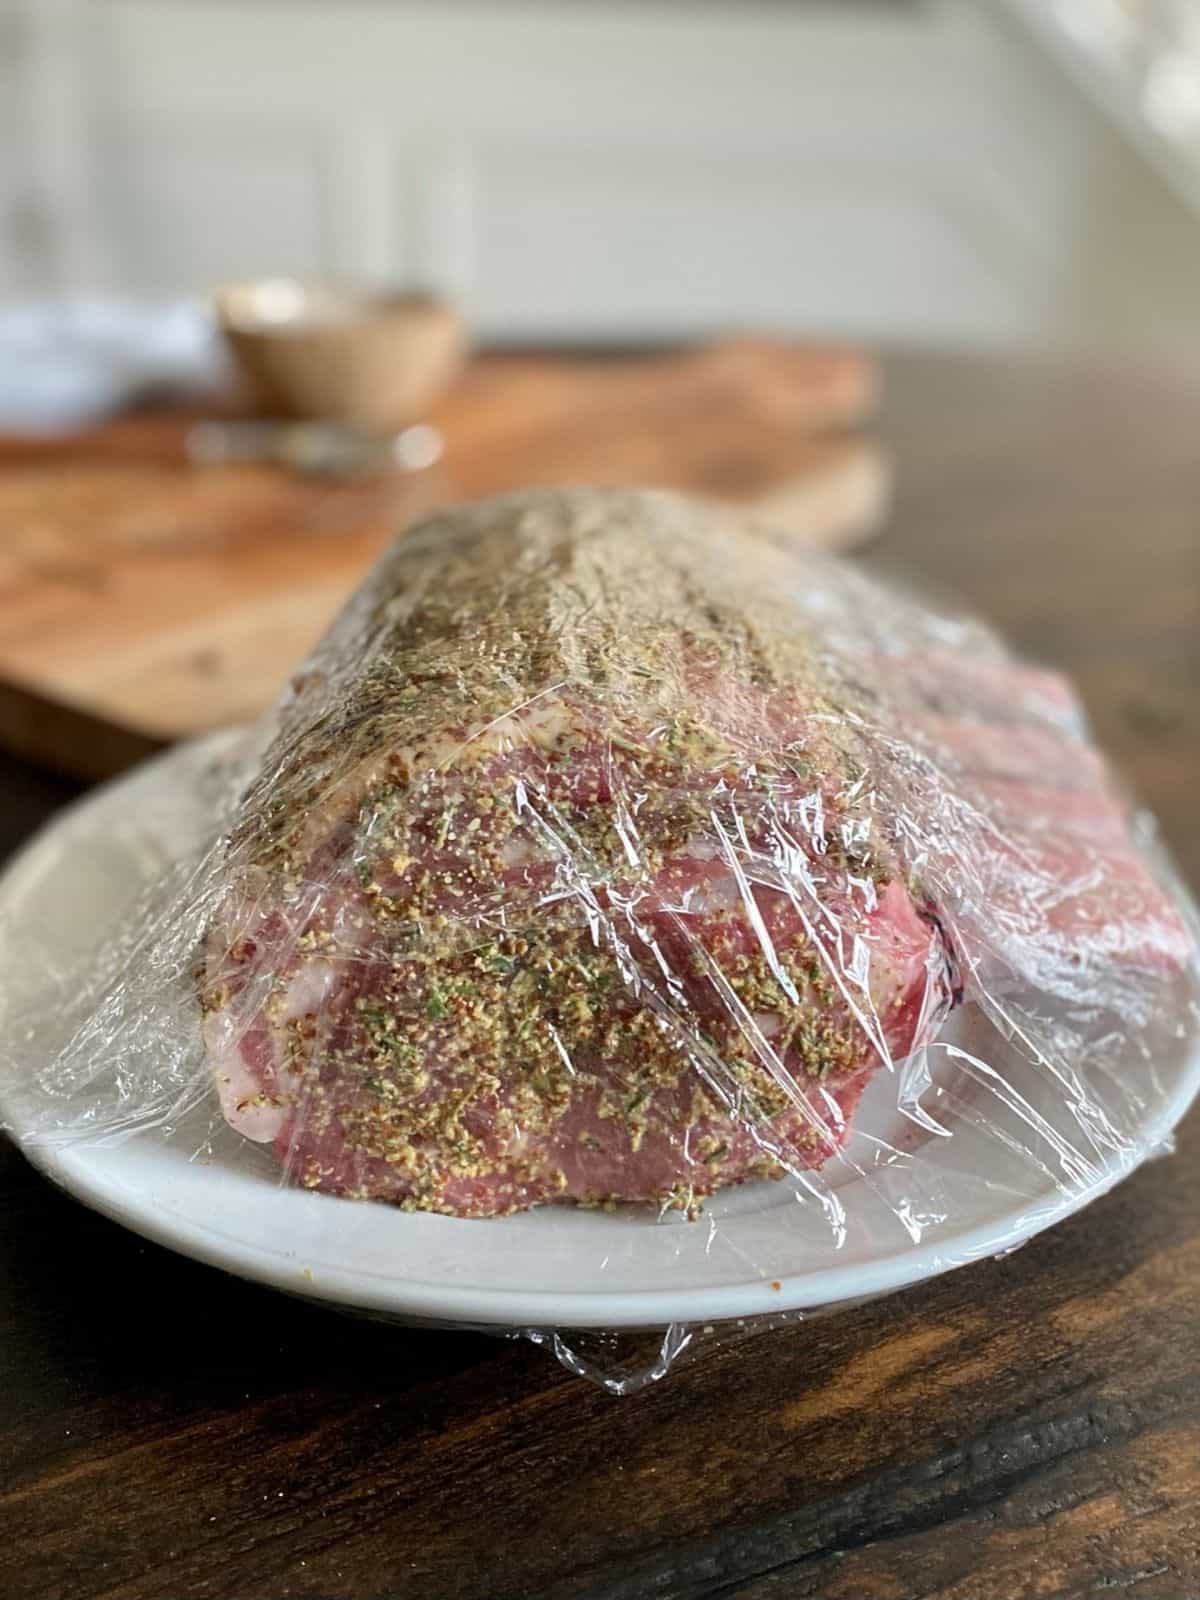
It’s seriously THAT EASY 🙂
Simple Equipment
- My favorite vessel for cooking this roast is a large, heavy cast iron skillet. It’s thick and heats evenly. It’s also perfect if you decide to make a pan sauce with the delicious, roasty bits of flavor clinging to the bottom of your skillet!
- With a larger roast you probably won’t be able to fit it in a cast iron skillet, so use a roasting pan. The key is selecting a pan that will hold your roast while leaving enough room around the meat that all of the surface area has an opportunity to get crispy. You don’t want to crowd the roast.
- I highly recommend a digital thermometer with a probe that stays in the oven. This is my favorite ChefAlarm in-oven thermometer. It’s a little pricier but I also use it to calibrate my oven so it’s been worth it for me. You can definitely find less expensive thermometers, too, like this one.
The Temperature Trinity
There’s something I refer to as The Temperature Trinity that you should keep in mind every time you’re cooking a larger cut of meat. It’s not just the temperature of your oven that matters…just as important are the temperatures before and after you cook.
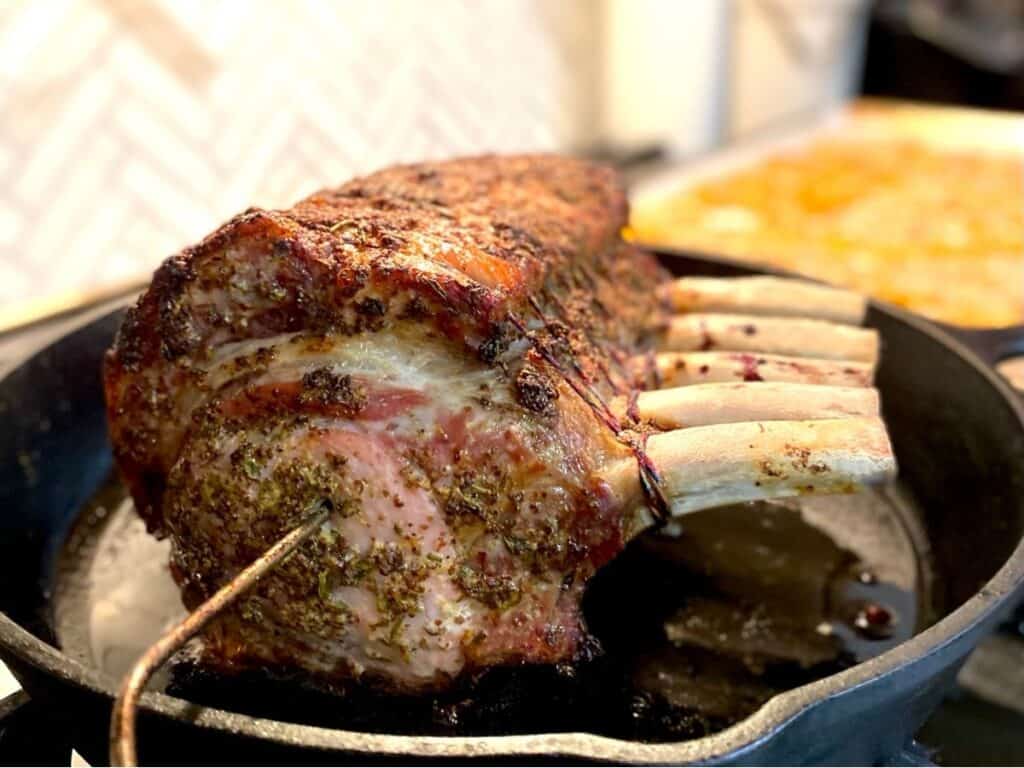
Before Roasting: It’s important that the internal starting temperature of the meat has had time to warm up before you put it in the oven. Take the roast out of the refrigerator an hour before you plan to start cooking and use part of that time to pre-heat your oven. I’ve learned that the oven beeping that it’s come to temperature isn’t always accurate. It takes a good 20 plus minutes to reach 450°f.
During Roasting: Every time you open the door you lose heat and it takes time for the temperature to build back up after you close the door. Do that a few times and you could be adding another 45 minutes to your cook time. This is where your digital probe thermometer will be so important. Place the probe in the center of the roast before placing in the oven. You’ll be able to monitor the internal temperature from the display on your counter without ever needing to open the door… it’s a beautiful thing!
After Roasting: Carry-over cooking will continue after you take your roast out of the oven- about 10 degrees (15 if you have a really large roast)! That could be the difference between perfectly cooked and juicy or shoe leather. Take the roast out 10 degrees before your goal temperature. Loosely tent a piece of foil over the roast and give it 15-20 minutes to come to temp before you even think about carving it. This rest also allows the juices to redistribute throughout the meat. If you carved it right away all of those delicious juices would spill lout onto your carving board leaving you with dry meat.
A Simple Method
To get that gorgeous and delicious crust you’ll cook the roast with the fat cap side facing up. Start the roast at a very high heat, 450°f, for the first 15-25 minutes. After that, reduce the temperature to 325°f without opening the door. Continue roasting low and slow for another 1 1/2-2 hours, depending on the size of your roast. You can count on about 15 minutes per pound.
You want to take the roast out when the internal temperature reaches 135-138°f so that after resting the final temp is 145-150°f.
Truth About Seeing Pink In Pork
The days of needing to cook pork to 160°f are over. Pork is safe and tastes SO MUCH BETTER cooked to 145°f (150°f if you like things more done). And contrary to what you might think, seeing pink doesn’t mean your pork isn’t done. It can actually be an indicator of quality in good pork. Rely on your thermometer- not the color. It will save you from overcooked AND undercooked pork!
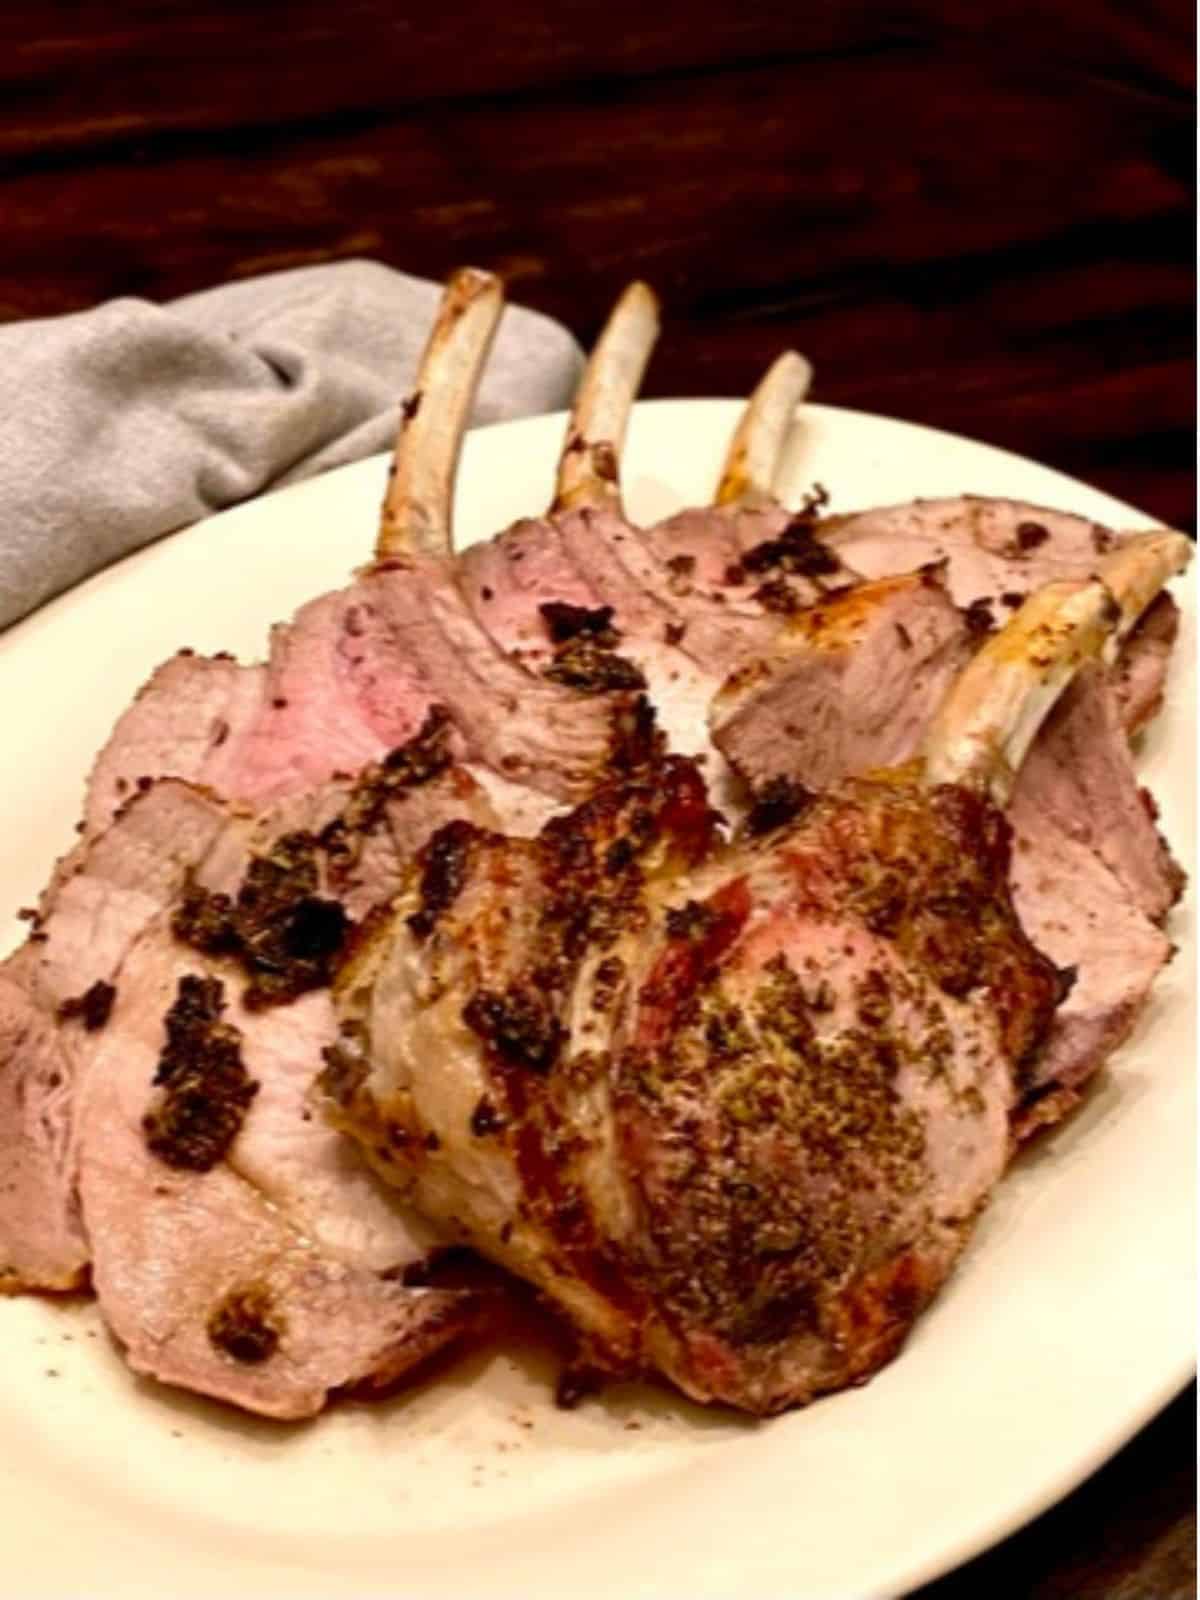
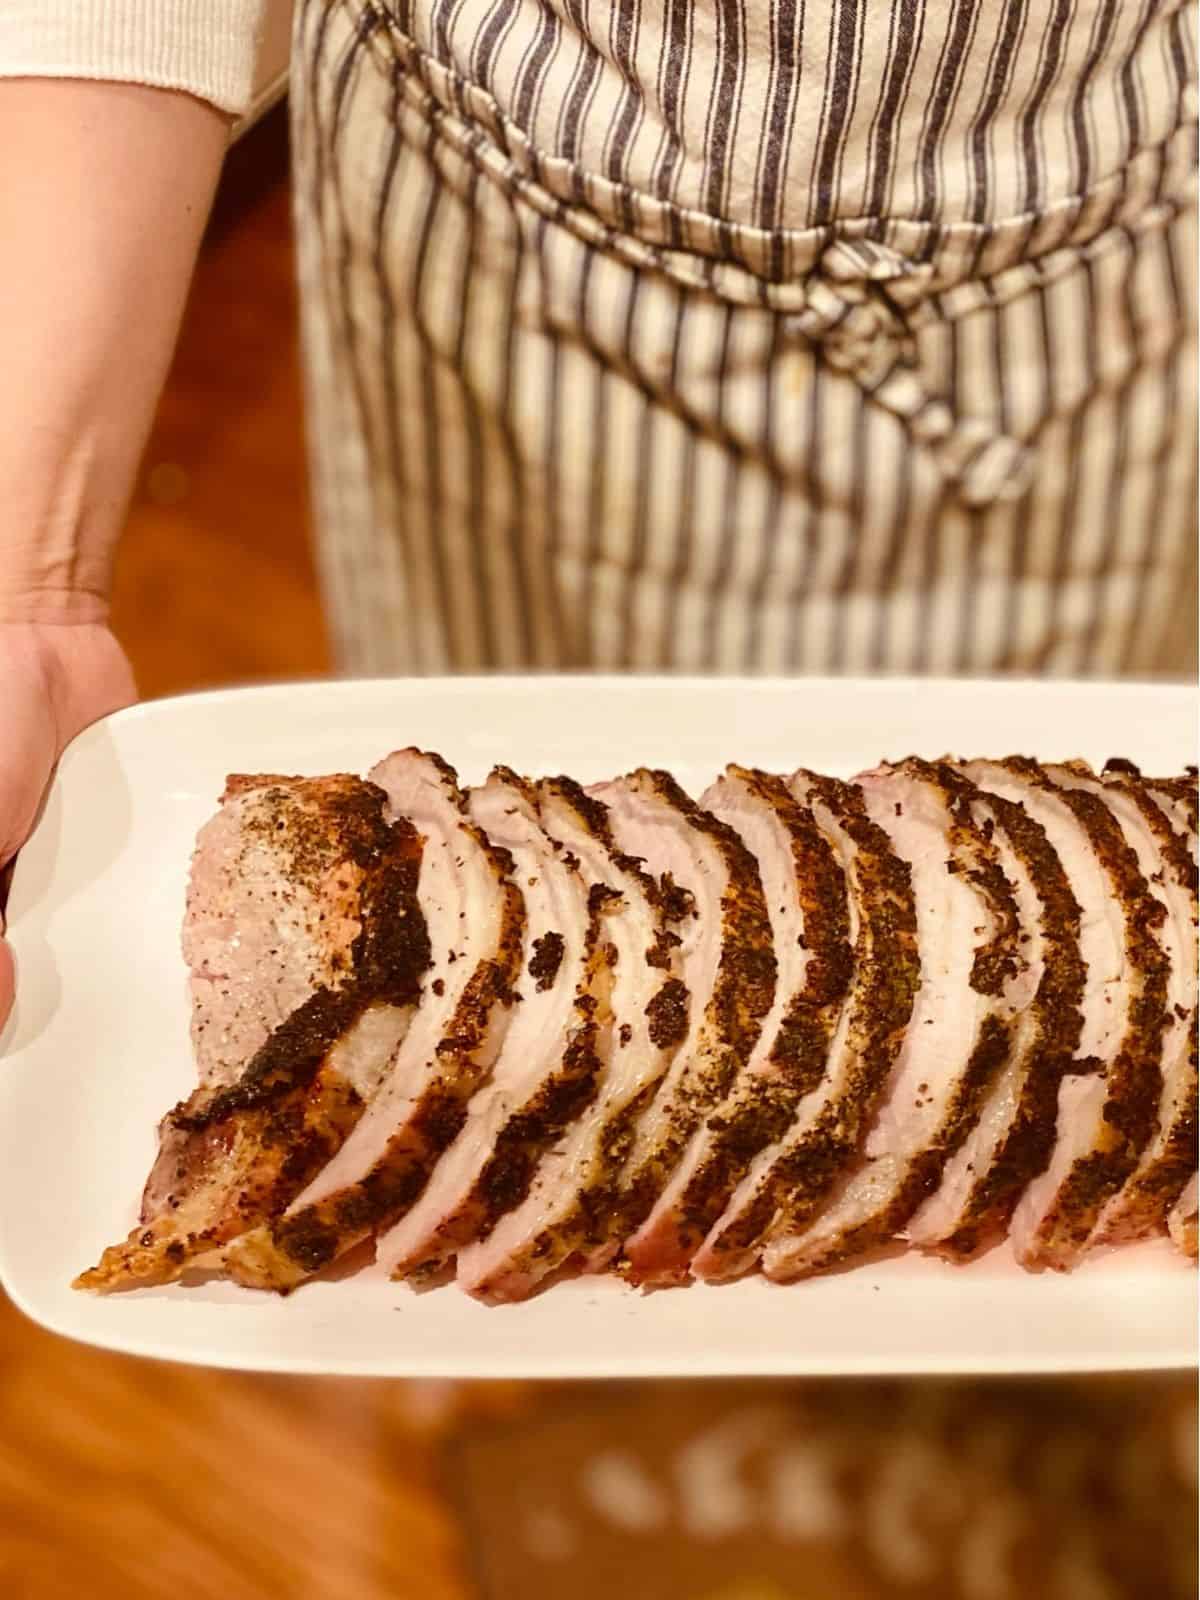
If you need further convincing that medium pork is safe read this quick blog post about the revised USDA recommendations.
Wondering What To Serve Along Side?
I love side dishes that don’t require last minute fussing when I have company. These are a few of my favorite make- ahead and mostly-made-ahead sides:
- Parmesan & Panko Butternut Squash- coming soon!
- Fennel & Sweet Potato Gratin
- Blanched Green Beans
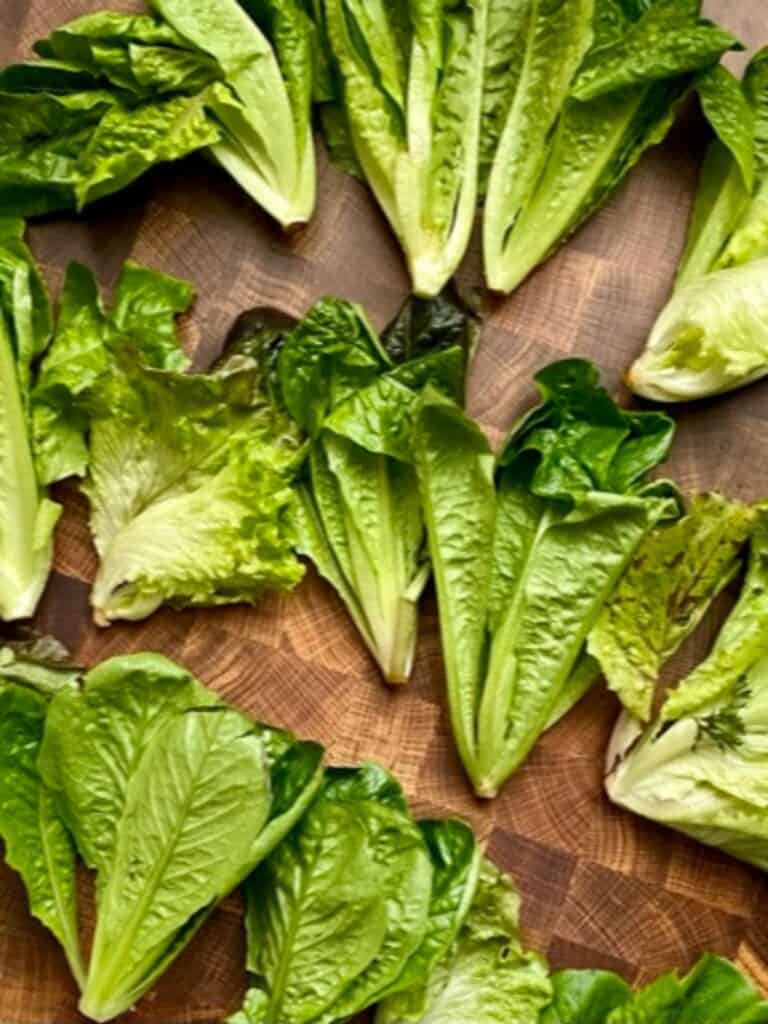
- A simple salad with the basic balsamic dressing from my steak salad recipe
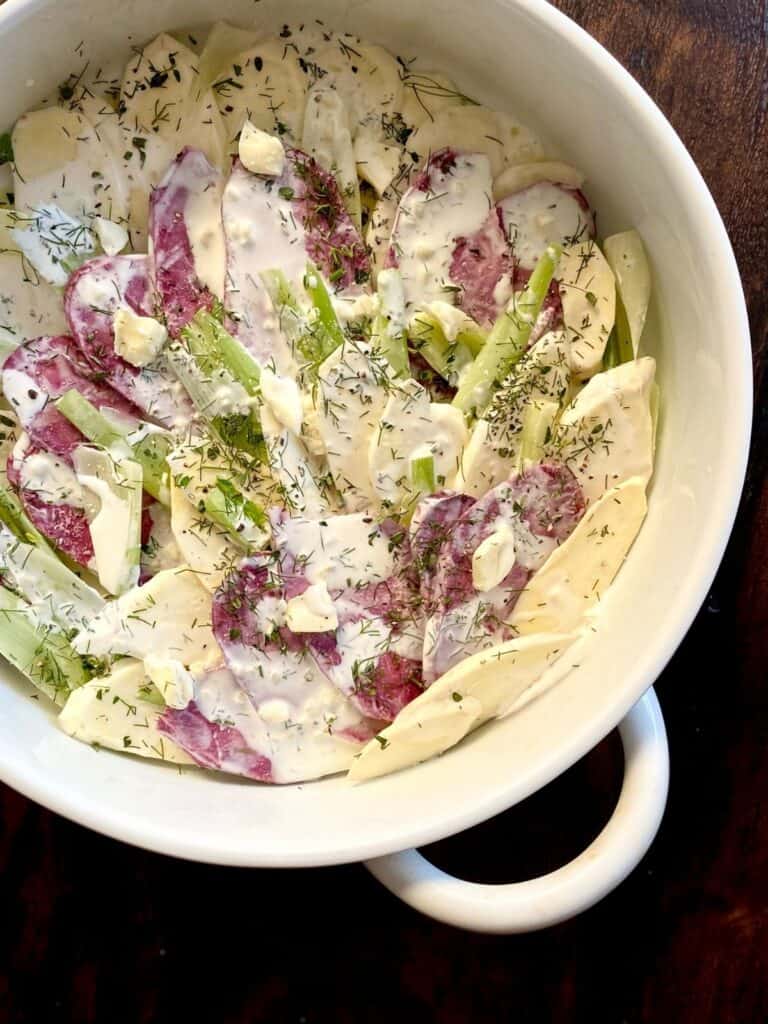
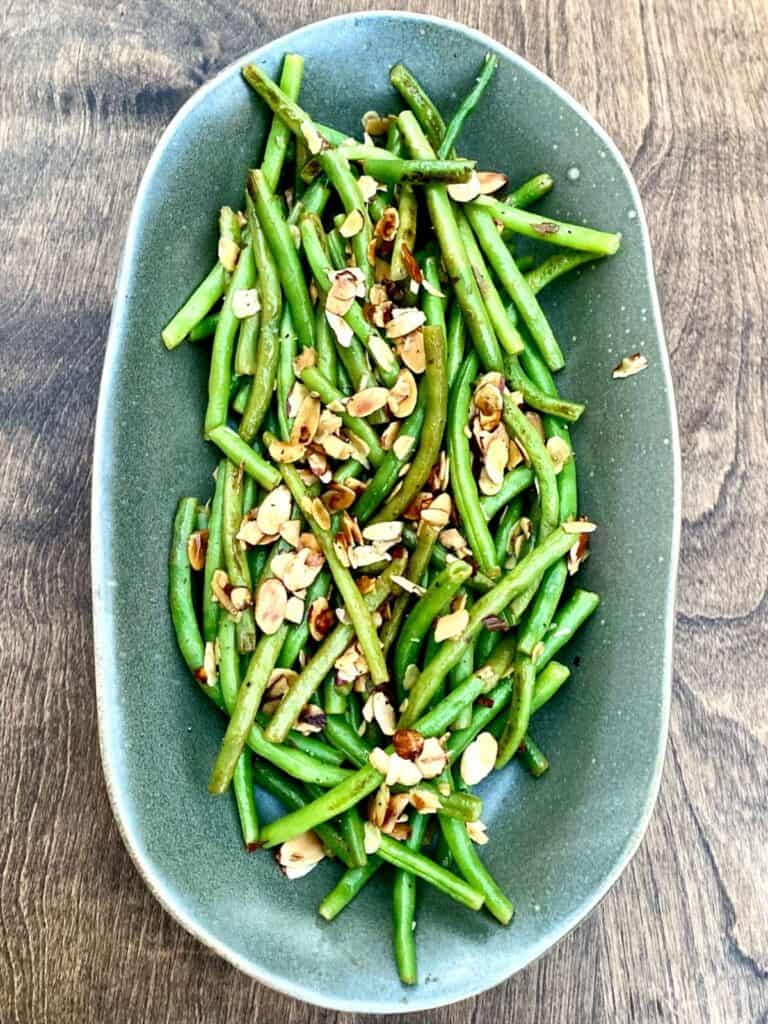
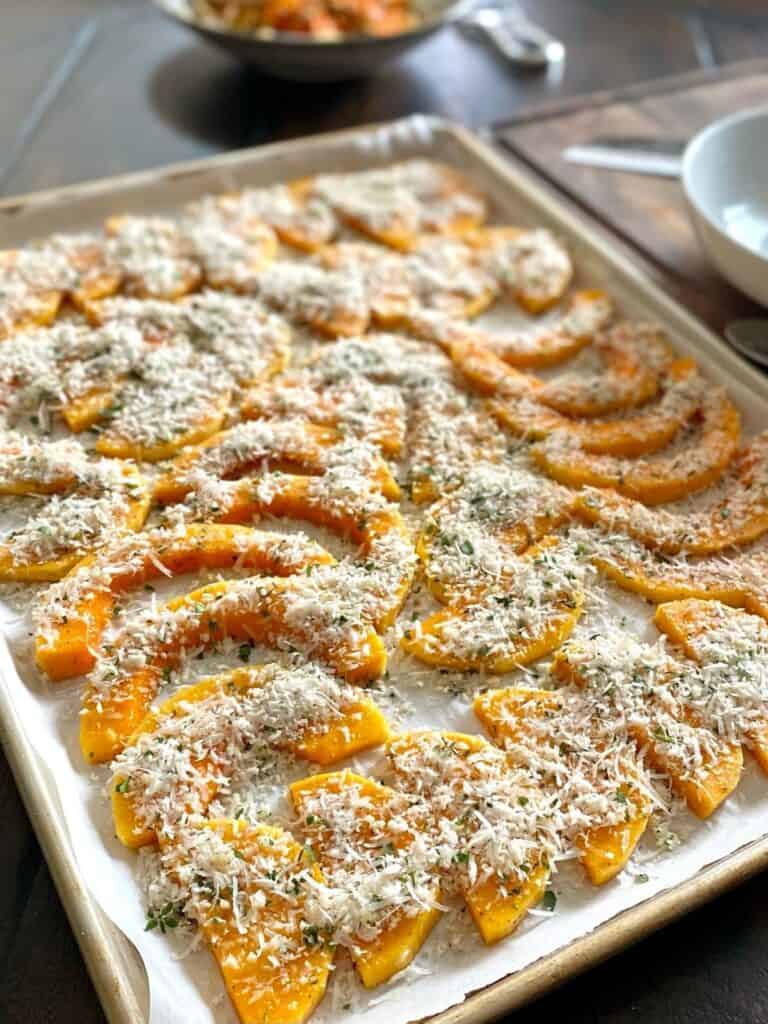
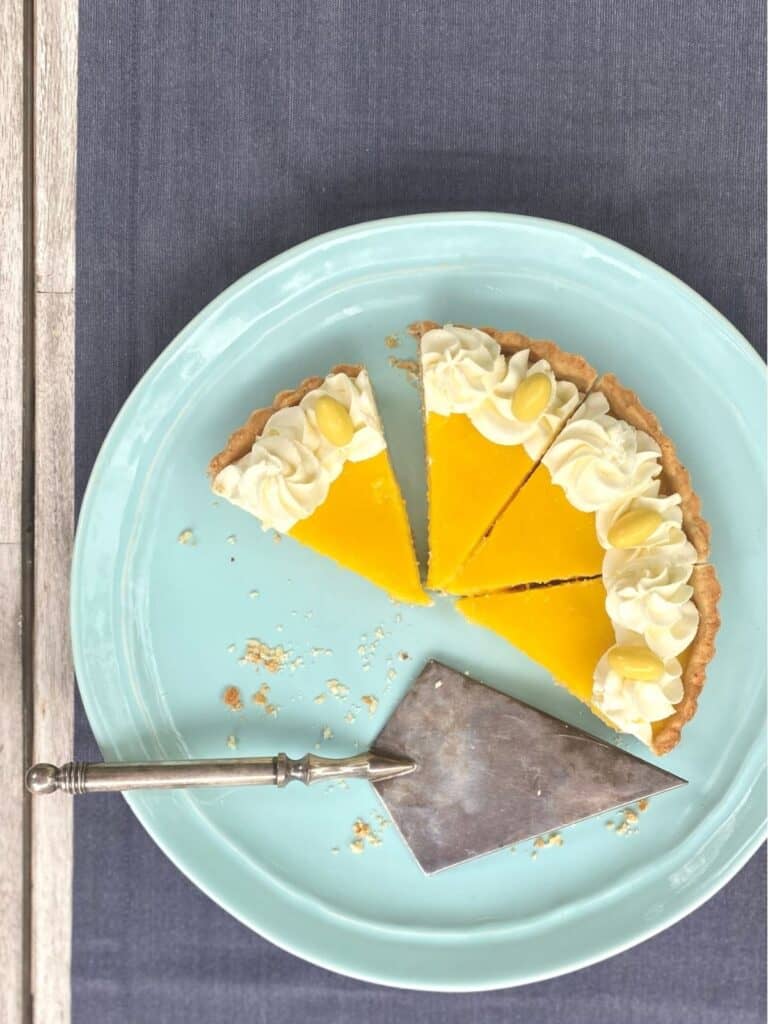
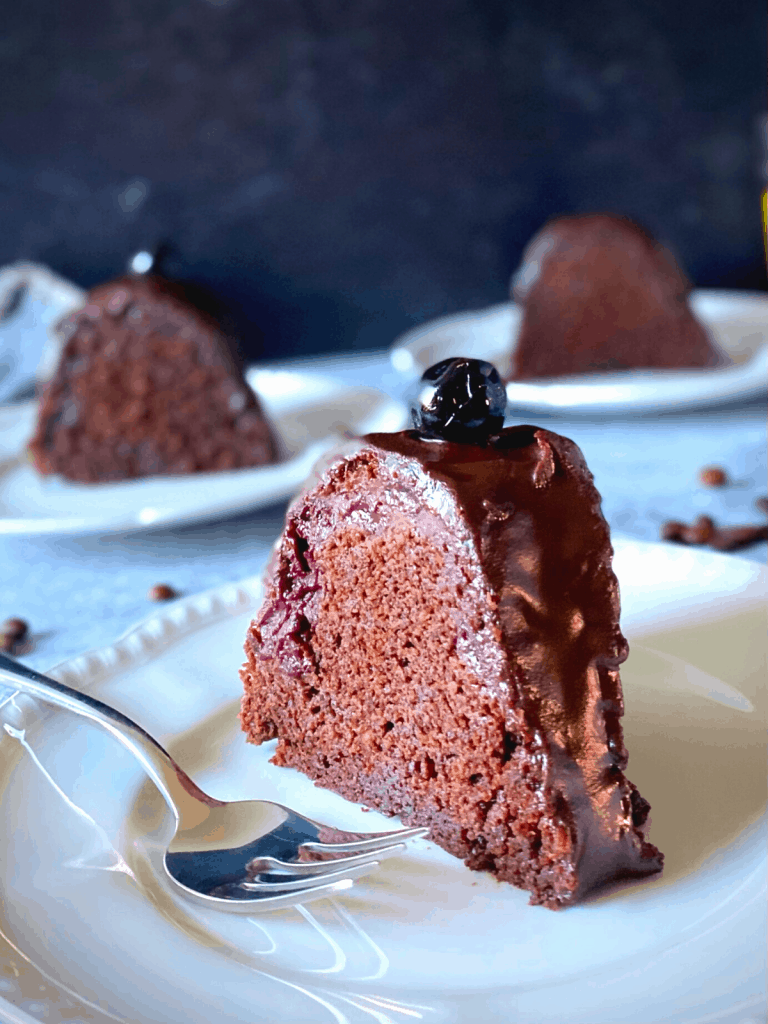
And let’s not forget dessert! Carrot Cake , Chocolate Cherry Mascarpone Bundt Cake , or this bright Lemon Tart with Almond Crust are all wonderful options!
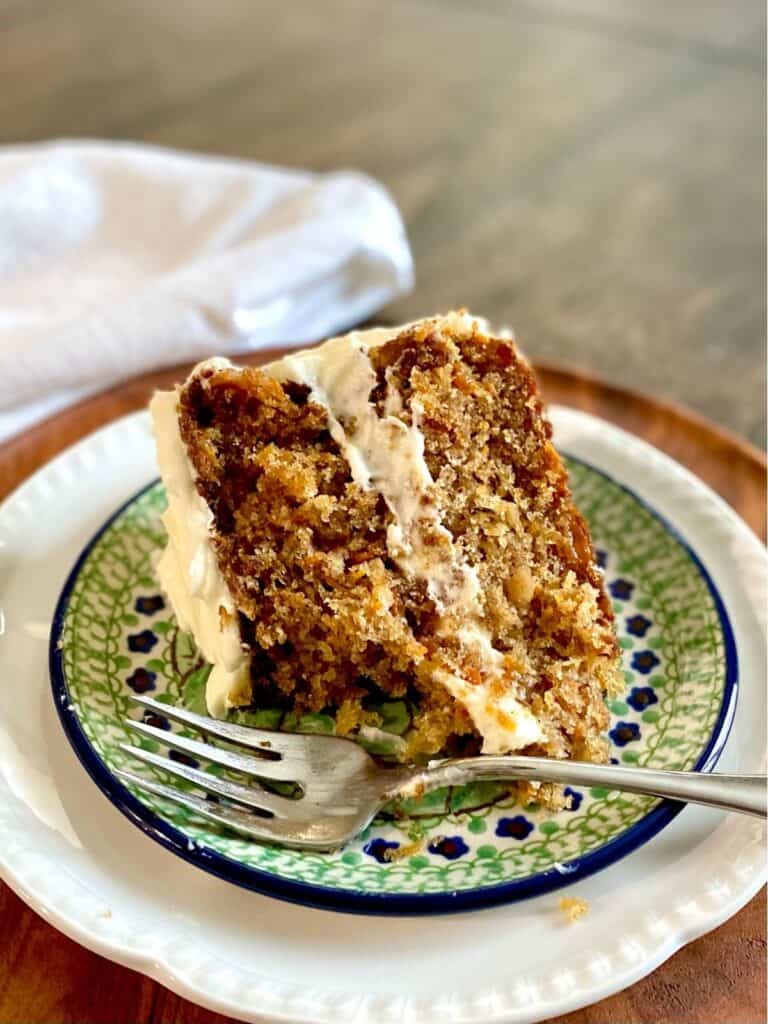
I hope you enjoy this succulent herb crusted pork rib roast as much as we do! I’d love to hear how it turns out for you so reach out on instagram or fb and let me know! And tag me @breathingandcooking with your pictures 🙂
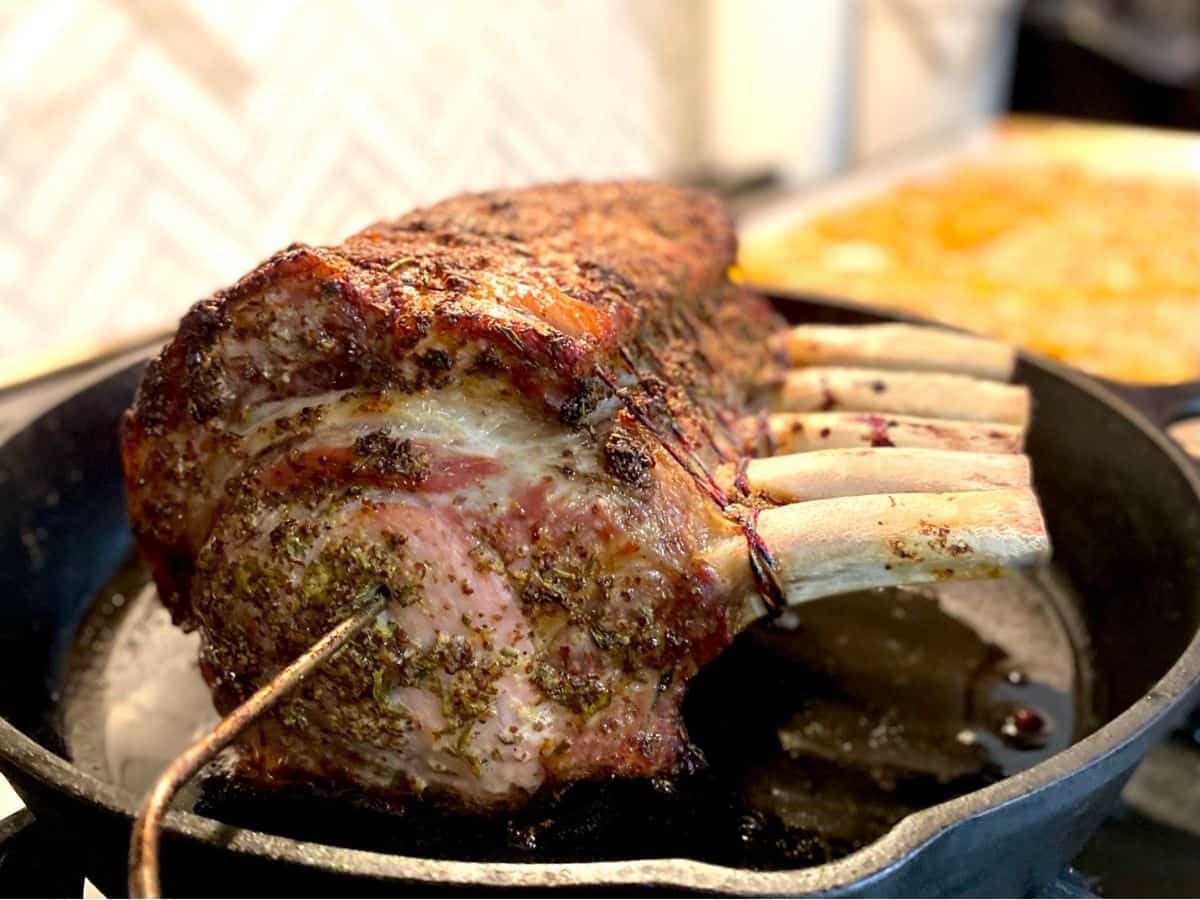
Herb Crusted Pork Rib Roast
This succulent, tender herb crusted pork rib roast is the perfect centerpiece for your next celebration! Prep it up to 3 days ahead for the most flavor and all that's left to do is to slide it into the oven the day you plan to serve it!
Ingredients
- Four to ten bone heritage pork rib roast, trimmed and tied
- Diamond kosher salt
- Cracked pepper
- 1/4 to 1/2 cup Grainy mustard, such as Pommery Meaux
- Fresh rosemary and fresh thyme
Instructions
Prep the roast 1 to 3 days ahead so that the flavor is able to penetrate the meat:
The amount of seasoning and mustard you use will vary depending on the size of your roast. I like a ratio of about 1 heaping Tablespoon of finely chopped herbs for every 1/4 cup of grainy mustard, which is enough for a 5 bone roast.
- Season pork generously with kosher salt and cracked pepper (see photo in post for reference). DO NOT USE TABLE SALT
- Chop the herbs and combine with mustard, smear a thick layer all over (top, sides, bottom) the roast making sure to get the meat in-between the ribs, too.
- Cover seasoned roast loosely with plastic wrap and let sit in the refrigerator for 1 to 3 days.
To Cook:
You'll want to use a digital meat thermometer with a cord and probe that stays in the oven so that you can monitor progress without opening the oven door.
- An hour before you want to start cooking take roast out of the refrigerator and place in a large cast iron skillet or roasting pan with the fat cap facing up. You don't need to use a rack. Let it stand at room temperature for an hour to take the chill off. Preheat your oven to 450°f during this time.
- Insert probe into the center of the roast and place in the oven uncovered. Roast for 15 minutes (20 for a very large roast) at 450°f and then reduce the temperature to 325°f without opening the oven door. Continue roasting at 325°f for another 1 1/2 to 2 hours, depending on the size of the roast. Plan for 15 minutes per pound.
- You want to take the roast out of the oven when the temperature is between 135°f and 140°f, depending on how you want it to be done. The temperature will increase another 10°f as it rests, so the temperature when you're ready to carve will be between 145°f and 150°f (see notes)
- Once roast has reached 135-140°f remove from the oven and place on a carving board. Tent loosely with foil and allow to rest for 15-20 minutes before carving. This rest time is VERY IMPORTANT because it allows for the final temperature increase as well as giving the juices time to flow back into the meat, keeping it super juicy and tender. Once rested, carve and enjoy!
Notes
Pork is technically safe to eat if it's been held at 137°f for a full 3 minutes, but tastes best served at 145°f. If you still prefer it cooked a little more it will still be moist and tender at 150°f, but please don't cook beyond that or you risk dry meat
If you don't have an in-oven digital probe thermometer I suggest following the recipe as written and waiting at least an hour before taking the roast out and checking the internal temperature with a regular meat thermometer. Don't check the temp with the roast still in the oven leaving the door open...you'll lose A TON of heat! Take it out and place it on the stove top. Close the oven door. Take the temp. Put it back inside quickly if it's not done and use your judgement on when you'll want to check again.

This recipe is absolutely delicious and so easy to make! I made it for Christmas Eve dinner and it was a smashing success! In the future it will be one of my hands down go-to’s for entertaining – thanks Erin!
Jenn, I’m so happy to hear it was a success and am honored it will be one of your go-to’s for entertaining (it’s definitely become one of mine, too)! Thank you for visiting and have a Happy New Year!