Making Beef Wellington for the first time can be an intimidating task! But these helpful step-by-step instructions with photos showing you how to assemble a Beef Wellington will give you the confidence you need to make this impressive entree yourself!
What is Beef Wellington?
There are LOTS of versions of Beef Wellington to choose from! Just google it and you could spend all day reading through the search results! The first Beef Wellington was served in 1815 and since then has been re-created numerous times by inspired cooks who either honor the classic recipe or get creative and add their own twist.
What makes a Wellington a Wellington? I’d say it’s the concept of wrapping a beef tenderloin in pastry and cooking just until the pastry is golden and the beef inside is a mouthwateringly tender, beautifully pink medium rare. The original also features a layer of duxelles between the beef and the pastry.
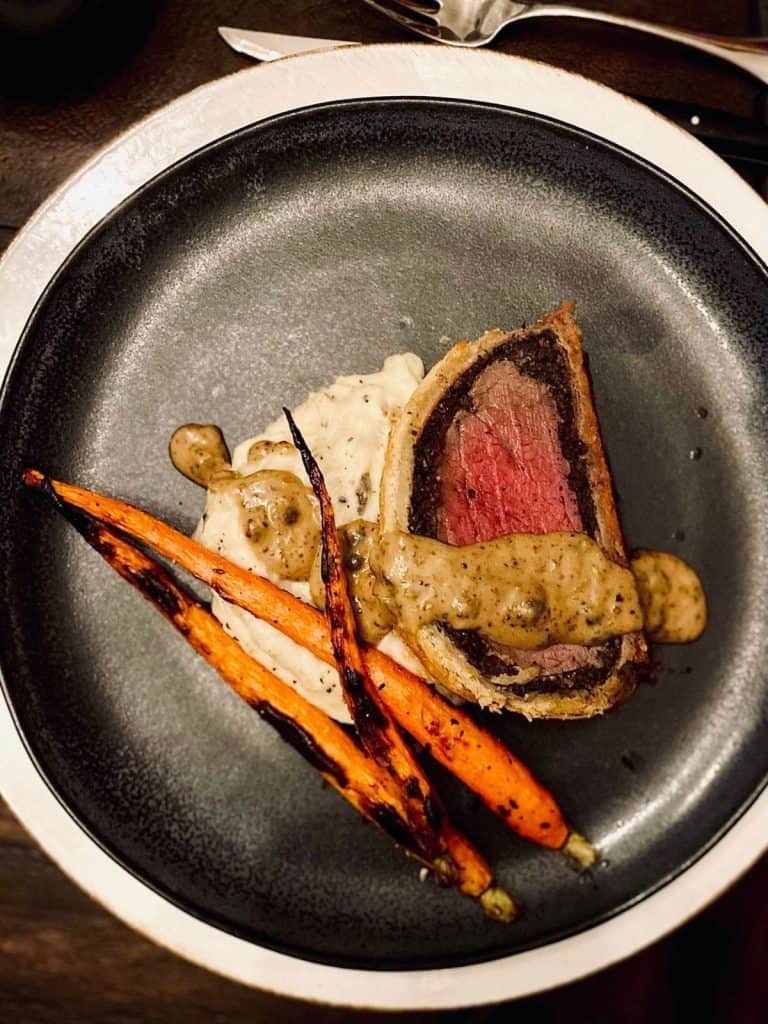
It’s the flavors beyond the beef and pastry where people like to get creative- and really that’s what kitchen therapy is all about! My version uses homemade pastry and includes the addition of caramelized onions and a lush bourbon-cream sauce.
Putting It All Together
Whether you go with the classic Beef Wellington, my Beef Wellington with Caramelized Onions or something else, it’s the assembly that intimidates most first timers. I’m breaking it down here, with pictures, to help you feel confident in assembling your masterpiece.
I’ve included a timeline, breaking down the steps over a few days. This makes it much more manageable than trying to get it all done in one day. This also means you’ll be nice and relaxed when it comes time to pop it in the oven!
Find the full beef wellington recipe here and the separate assembly instructions below…
How to assemble beef wellington
Step-by-step pictures to help you assemble a beautiful Beef Wellington!
Instructions
Find the full recipe here and follow these step-by-step instructions to assemble a delicious and beautiful beef wellington!
Making the dough

1. Make sure you're butter is chilled and cubed 2. Process to the size of peas 3. dough should look crumbly but clump together when pinched between your fingers 4. dump it all on the counter, it will be very loose 5. gather quickly with hands into a solid mass, take 1/4 of it and shape into a small rectangle, shape the remainder into a large rectangle. Wrap in plastic and chill at least 8 hours.
Assembling the Roast and Fillings

1. Have all ingredients ready 2. Shingle prosciutto on plastic wrap, slightly overlapping pieces, two slices wide by 6 slices long 3. Spread duxelles over prosciutto in a rectangle as wide as your roast and about 14" long, leaving edges bare 4. Brush beef all over with dijon and place roast on the top third of the proscuitto layers. Spread the onions in a 3" strip on top of the duxelles about 2" from the end of the roast closest to you. Using the plastic wrap to lift, bring prosciutto up and over the roast from the far end, pulling and rolling it towards you.

1. Continue rolling, pressing the filling to seal as you go and leaving the plastic wrap behind until roast is completely wrapped, paying attention to where the onions are as you roll so that when you're finished you can position the roast with the onions on top 2. Press the end of prosciutto in to completely seal and check for any gaps or tears 3. You don't want filling leaking out while it roasts so tear off little pieces of your extra slice of prosciutto and use them as "patches" 4. wrap the whole thing in plastic wrap, sealing tightly and smoothing to a nice, snug cylinder with your hands . Chill for at least 1 hour or up to 2 days before roasting.
Wrapping it all up

1. On floured counter roll out the large piece of dough to a rectangle approximately 12x14" with the short side parallel to the counter (towards you). 2. Whisk the egg in a small bowl and brush over the entire sheet. 3. Use bench scraper to make sure dough isn't sticking to the counter. Dust counter with a little extra flour if it is. 4. Unwrap chilled beef and place on the dough, long side parallel to the edge of the counter, top (caramelized onion side) down, about 4" from the edge of dough closest to you. Lift the dough closest to you over the roast, pressing it gently to seal, and start rolling the roast away from you using both hands

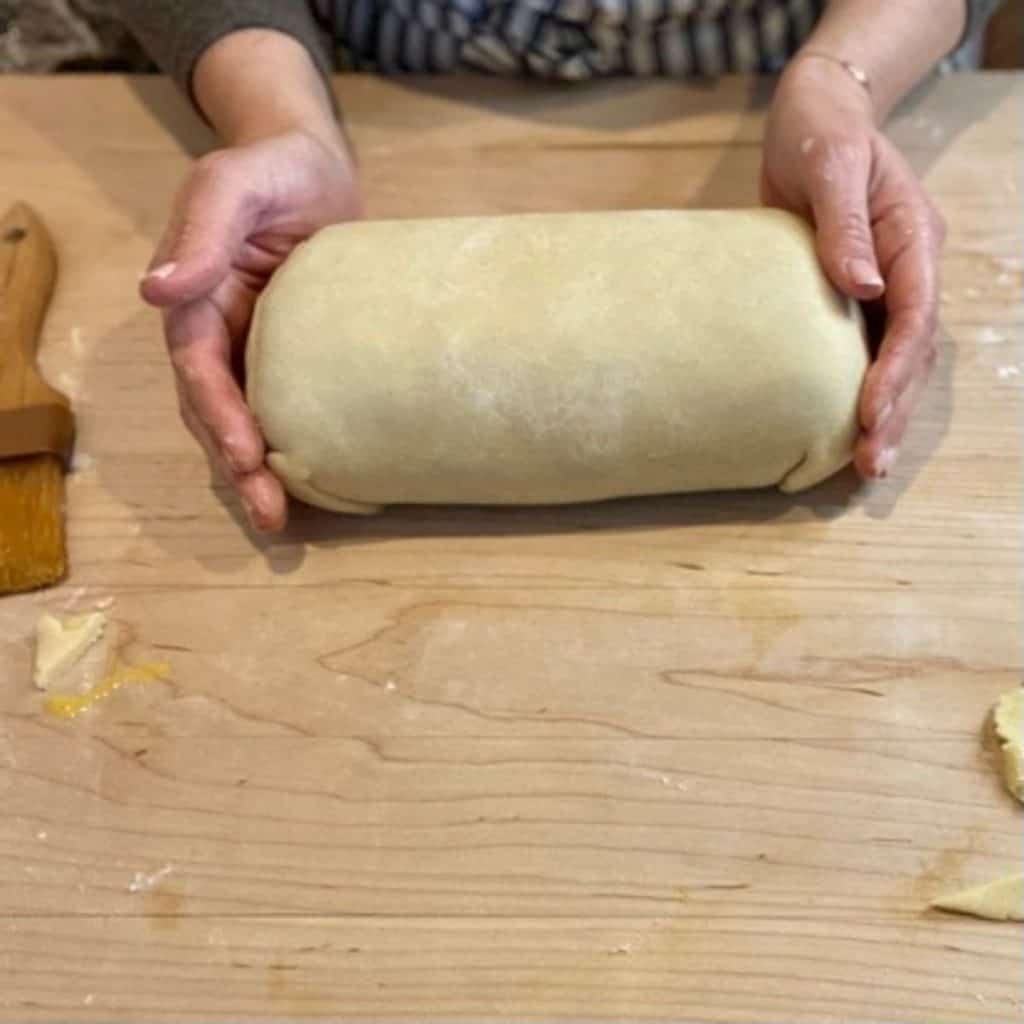
1. Continue rolling, pressing and sealing as you go, until the roast is completely covered and top is facing up. You should have overlap on the bottom of the roast by a couple inches. 2. Turn the roast over and allow a 1" overlap, trimming the excess. 3. Press to seal and turn roast back over so that the seam is on the bottom. 4. To seal the ends use your hands to gently smooth the dough down over the edge, pressing it snugly against the beef but not pulling tight enough to tear it.

1. Use a rolling pin to roll the excess dough away from the roast, sealing it and making the dough ends thinner. 2. Trim the rolled ends to 2 inches 3 & 4. Roll roast seam side up fold ends back using egg wash to seal them against bottom of roast.

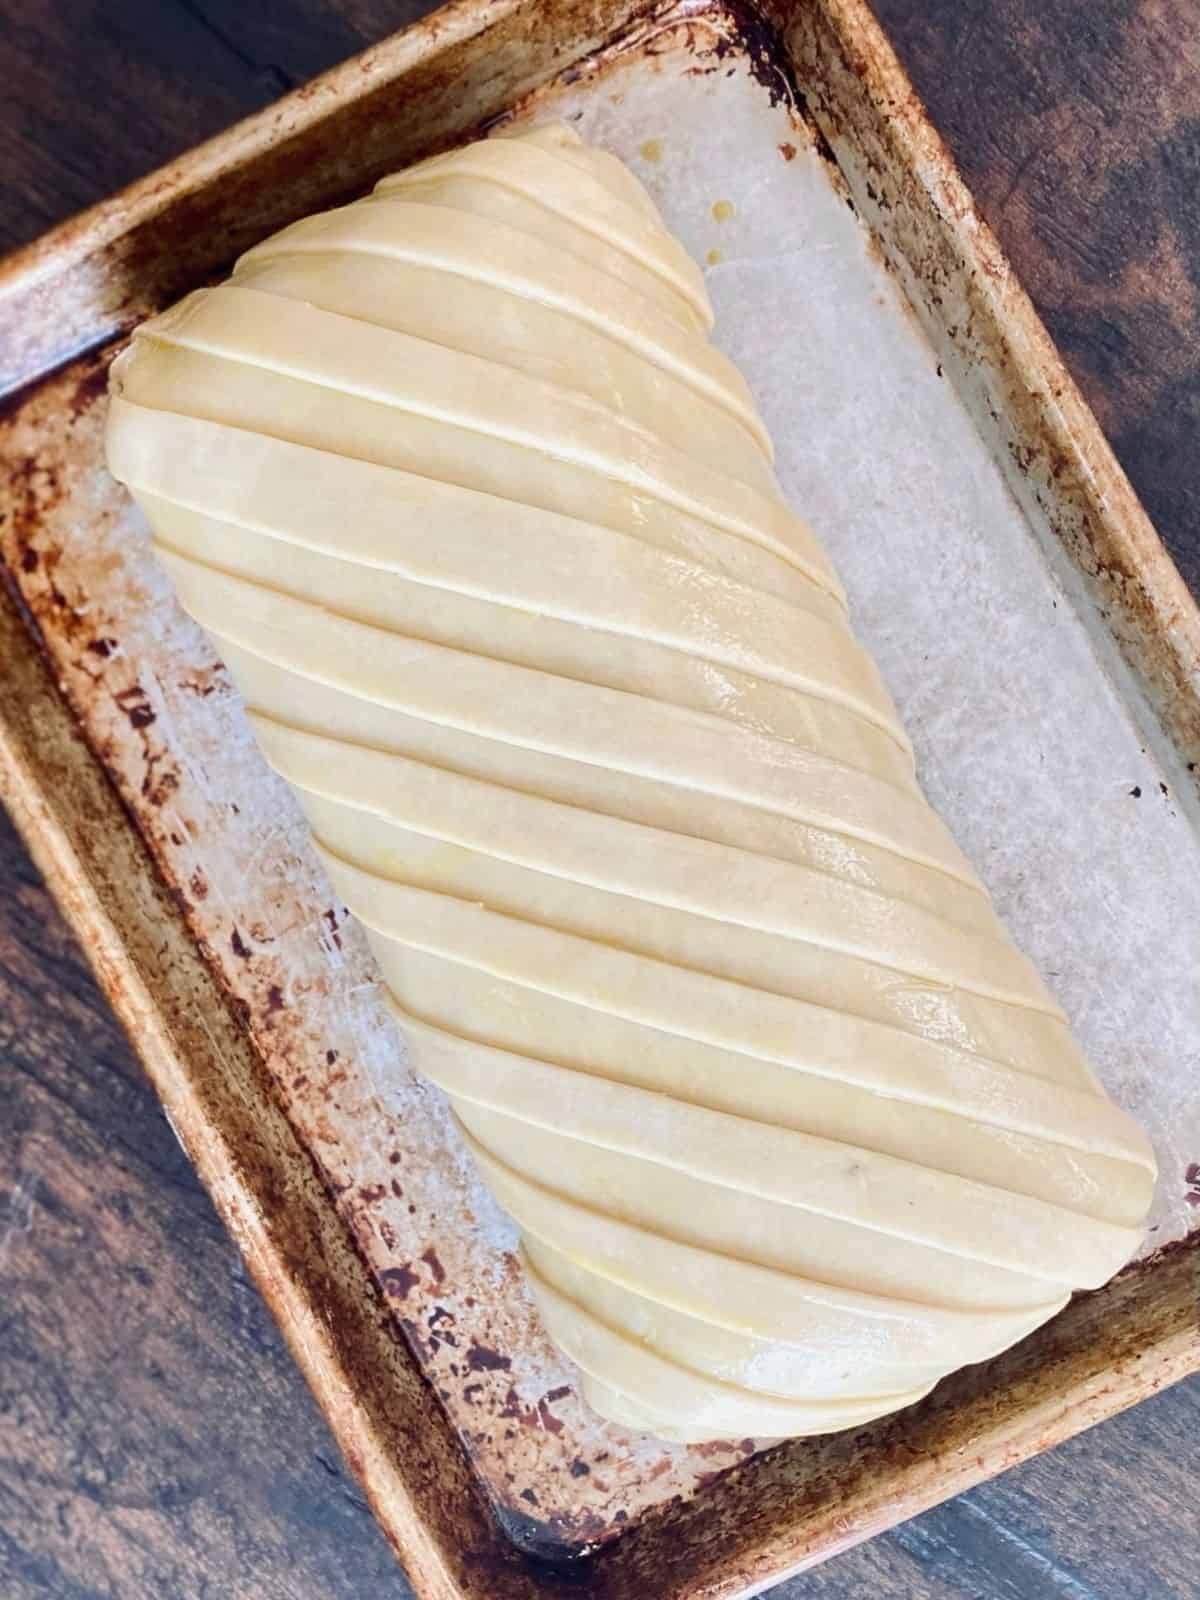
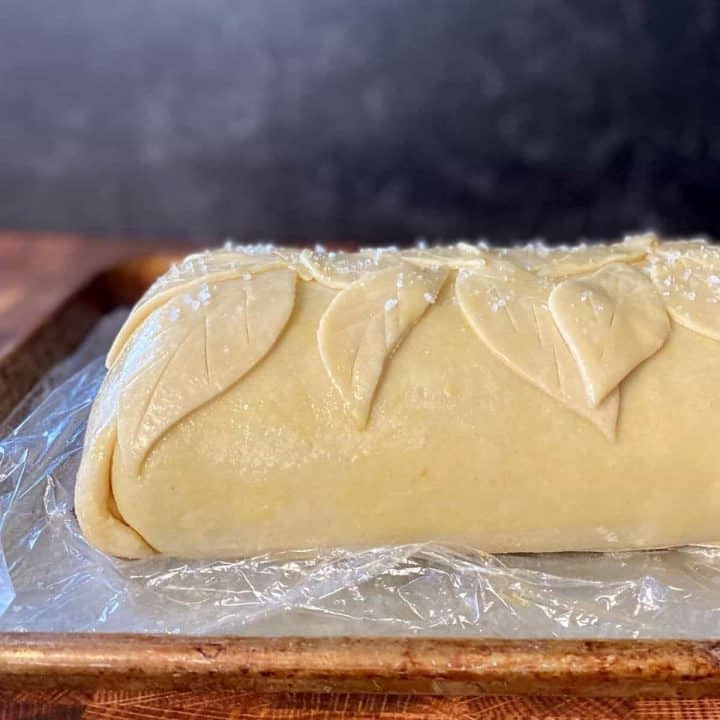
1. Turn over again so that the seam is down, smooth with your hands, and place on a lined baking sheet to chill. 2. Roll out smaller rectangle of dough 1/4 inch thick on floured counter and cut decorative shapes freehand or using cookie cutters. 3. Bring out chilled roast, brush with remaining egg wash 4. Lay pastry cutouts decoratively over and brush them with egg wash
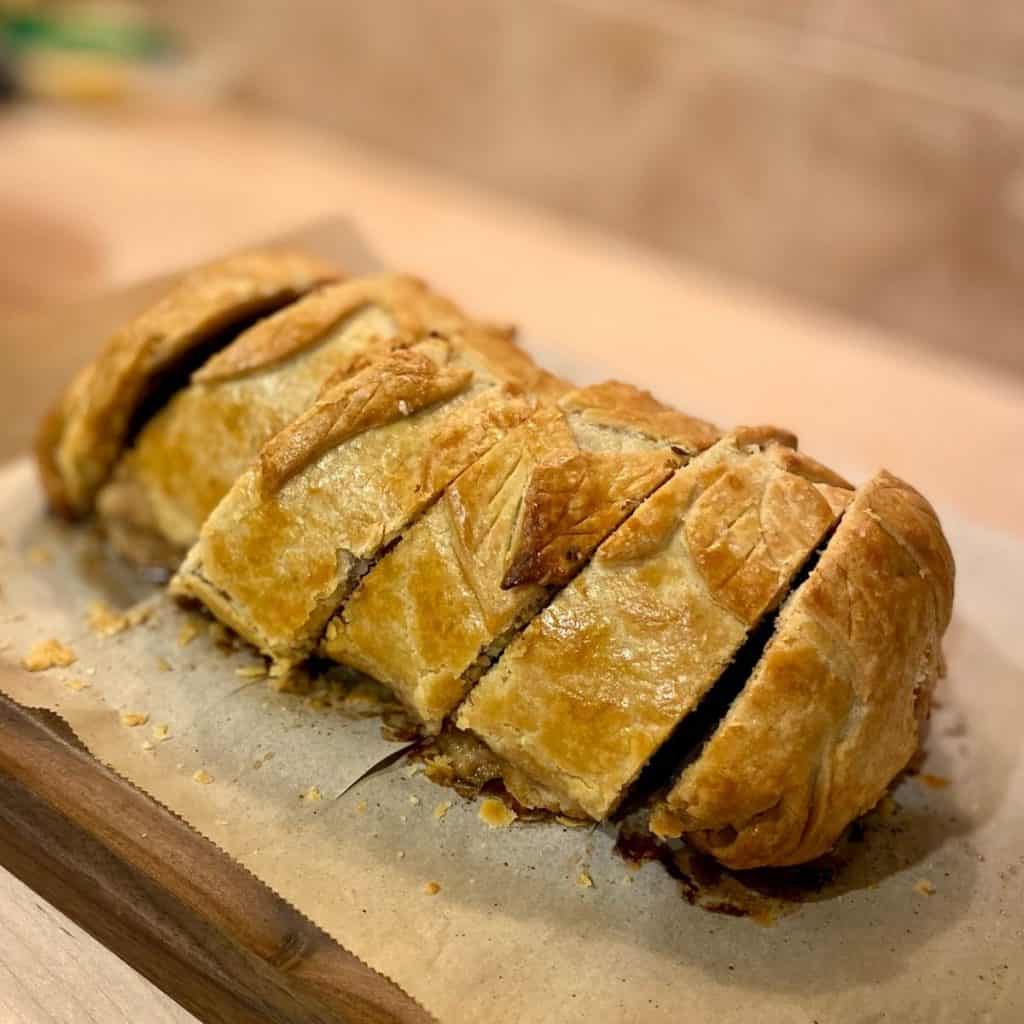
Now that you've assembled your beautiful Beef Wellington you can cover and chill it until you're ready to bake. Follow your recipe for baking instructions and don't forget to let it rest once you take it out of the oven so that those delicious juices run back into the beef. It's going to be FABULOUS!
Notes
Timeline
- Day one: Make pastry, prepare duxelles and caramelized onions, salt beef
- Day two: Prepare internal portion. Brush beef with dijon, layer proscuitto, duxelles and caramelized onions on plastic wrap. Roll beef up snugly in these layers. Wrap tightly and chill.
- Day three: Roll out pastry and wrap around prepared, chilled beef. Make design with scraps and decorate. Cover again and chill well.
- Day four: Brush with egg wash, sprinkle with salt and bake as directed in recipe!


Leave a Reply