You know those ribs that literally fall off the bone when you pick them up? The ones with tender, succulent meat and sticky-spicy-sweet sauce that clings to your fingers and stains the corners of your mouth in happily-delicious bbq-bliss? Did you think making them yourself was out of reach?
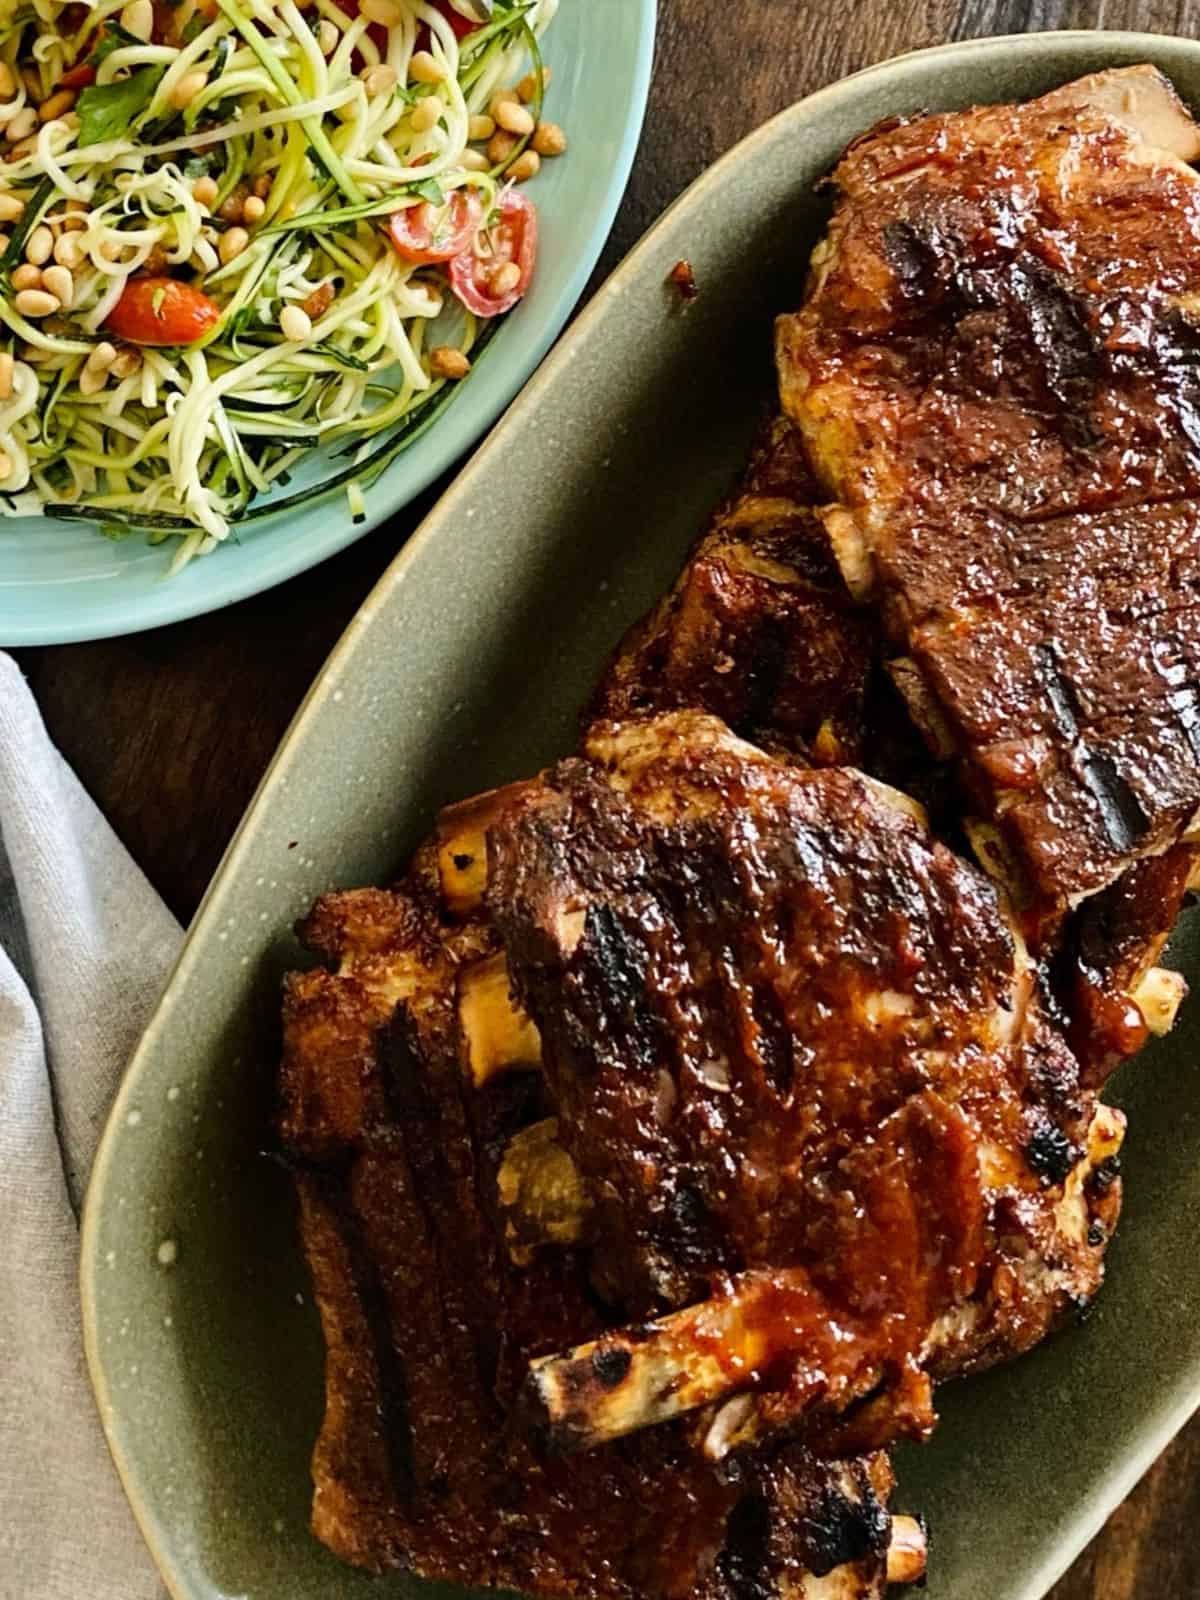
Well… stock up on wet-naps and get ready to claim your reputation for making the best ribs in the neighborhood because I’m going to show you how to make them yourself, in your oven, without any special equipment!
BBQ Ribs Are The Epitome of Summertime Food
Which isn’t to say you can’t enjoy them anytime of the year (especially with this cooking method). But there’s something extra special about eating them in the summer with all of the other messy summer foods- big slices of juicy watermelon and buttery cobs of fresh corn…ahhhhhhhh….can’t you just taste all of those sunshiney flavors???
This Is Less a Recipe and More a Method
Because this is laid back food.
I’m going to show you a method for getting the succulent, fall-apart texture you crave from good ribs…and I’m going to give you suggestions for how to flavor them. But the flavor part is ultimately up to you and that’s what’s going to set YOUR ribs apart from everyone else’s.
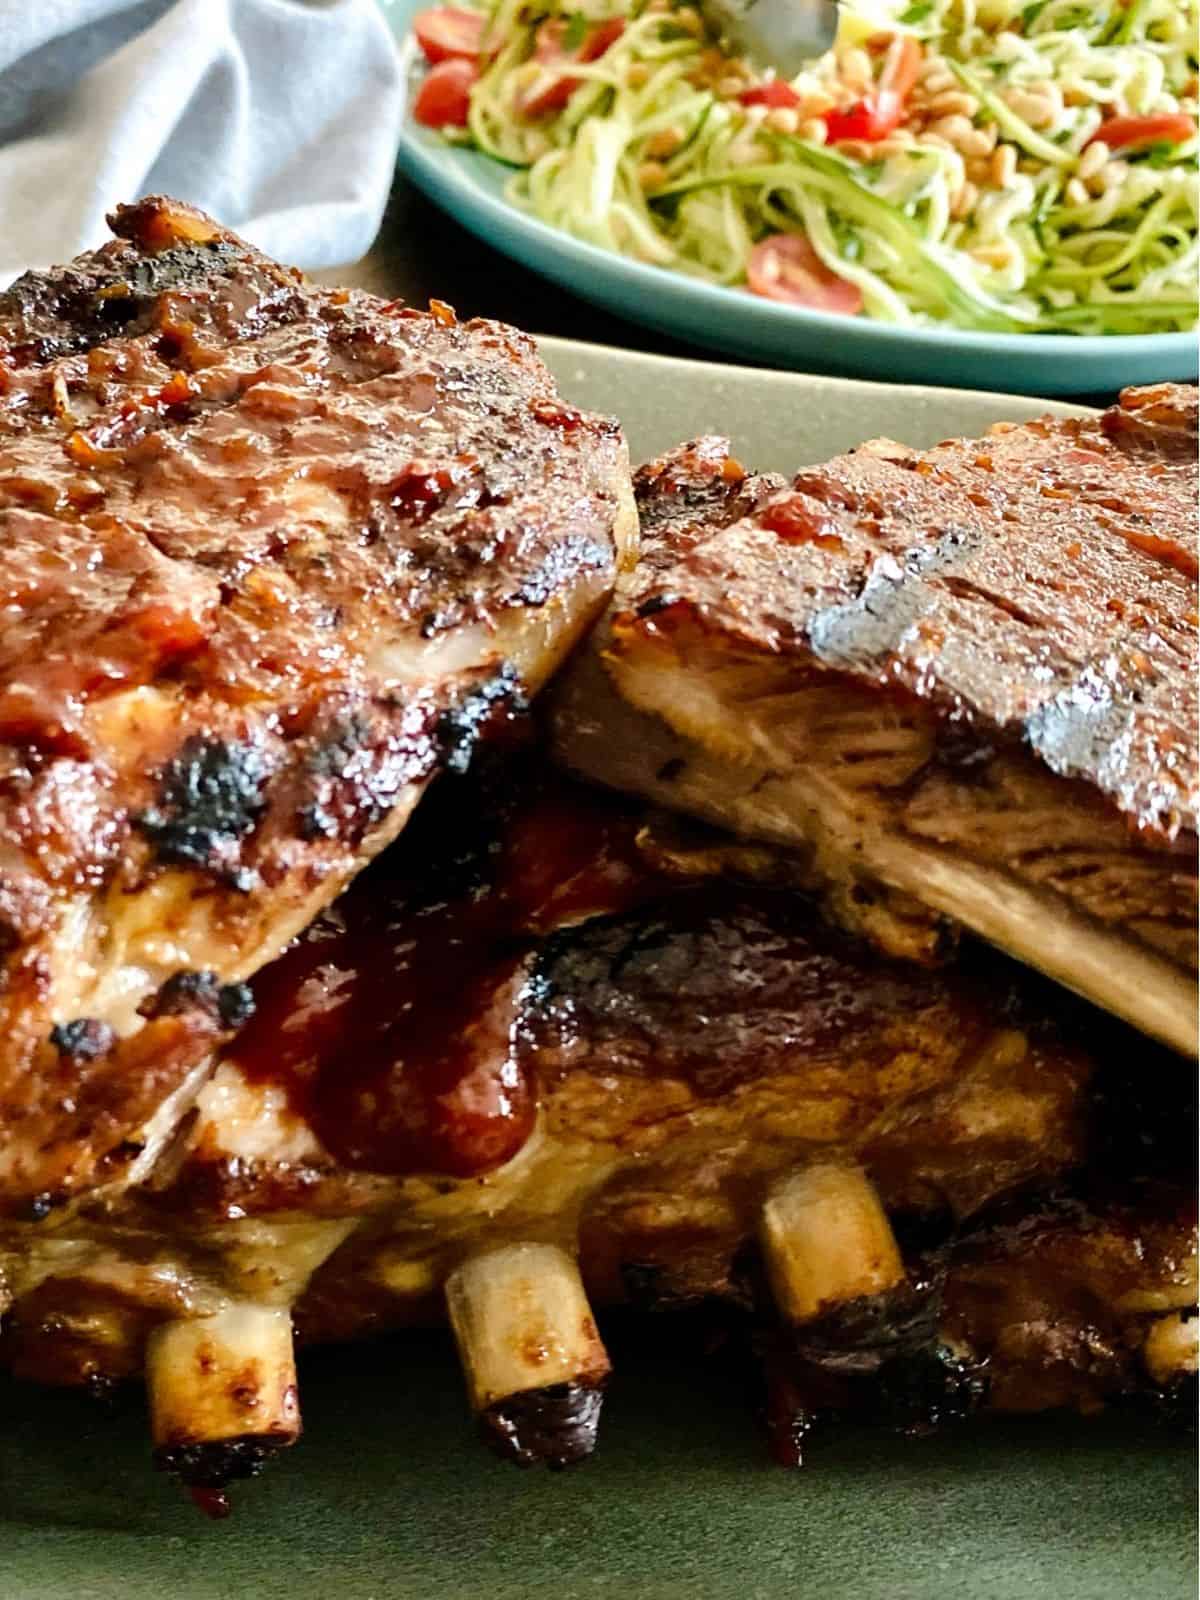
First things first, which ribs should you buy?
Spare Ribs, St. Louis-Style or Baby Back- what’s the difference?
Spare ribs and St. Louis-style ribs come from the belly of the pig. They’re bigger and lay flatter than baby back ribs and they also have more fat (fat translates to more flavor). They take a little longer to cook and the result is meltingly tender and full of flavor…So Much Flavor…
You might be wondering, what’s the difference between regular spare ribs and St. Louis-style? And is one is better than the other? Well, they both start out as the same cut. But St. Louis-style have had the breastbone and cartilage removed, which gives them a nice, neat, uniform shape and makes them easier to work with.
If both are available, I’ll usually go with St. Louis-style but either will work beautifully!
Baby back ribs come from the muscle that runs along the pig’s back. They’re smaller than spare ribs with a curvier shape. They have less fat and more meat and are known for being very tender. They’re also more expensive.
For this method we’ll be using spare-ribs or St. Louis-style ribs.
Do you need to remove the membrane?
If you flip your ribs over so the meaty side is down you may see a thick, white layer- that’s the membrane. There’s some debate about whether or not you need to remove this layer from your ribs before cooking. Sometimes your ribs will come with the membrane already removed (this is more likely if you have the St. Louis-style ribs). This layer is thinner on spare ribs than it is on baby back ribs, which is one reason I don’t worry too much about removing it. Also, we’re cooking these ribs to the point where they fall off the bone so having that extra layer can actually help hold them together for cutting and serving.
Personally, I don’t bother to remove it. But, that said, if you want to remove the membrane, here’s a video showing you how. It’s a personal preference, really.
And on a totally unrelated -but sort of related- note, now that I’ve written the word membrane so many times I can’t get this Cypress Hill song out of my head…is it just me or did you hear it, too????
Seasoning Your Ribs
The first thing you need to do is season your ribs- and you have lots of options! You can easily make your own rub- the blend I use for my pulled pork or on my pork belly tacos are both excellent on ribs! I’ve also just sprinkled with salt and pepper, garlic powder and a little brown sugar.
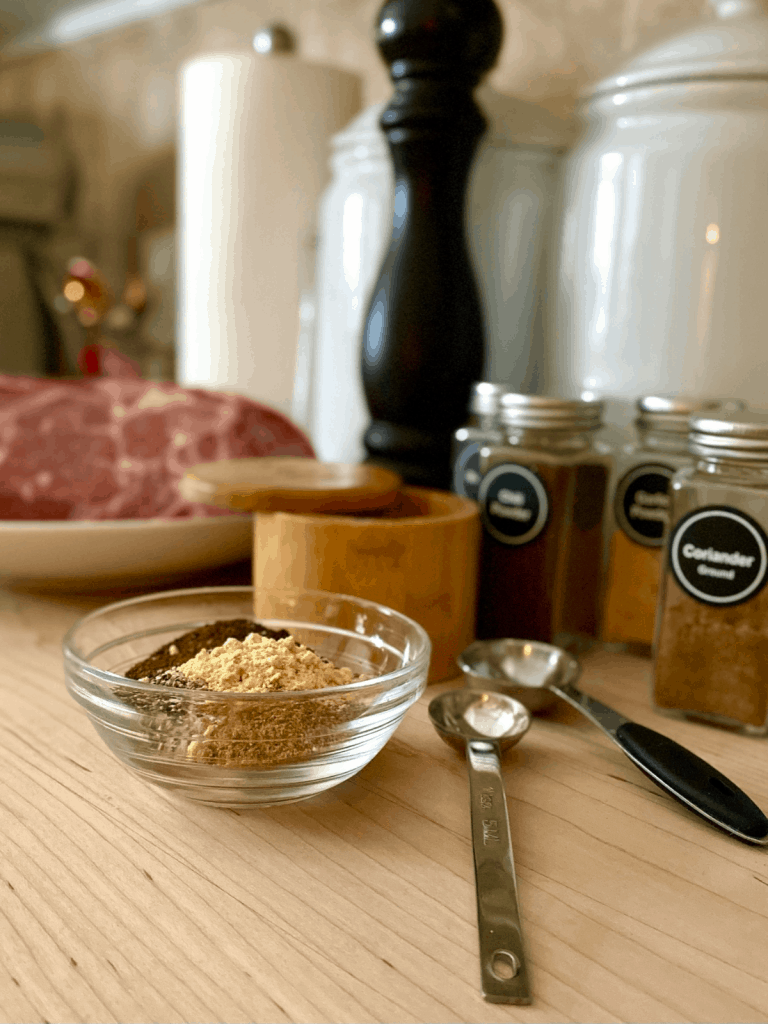
There are also some really great blends available at the grocery store. One of my favorite blends is Urban Herbs Rib Rub, it’s local to me here in Cleveland, if you’re not local and want to try it you can order it online here. Taste your rub before you season the meat. Not all blends contain salt, so if you have a rub without it make sure you add a generous amount of kosher salt, too.
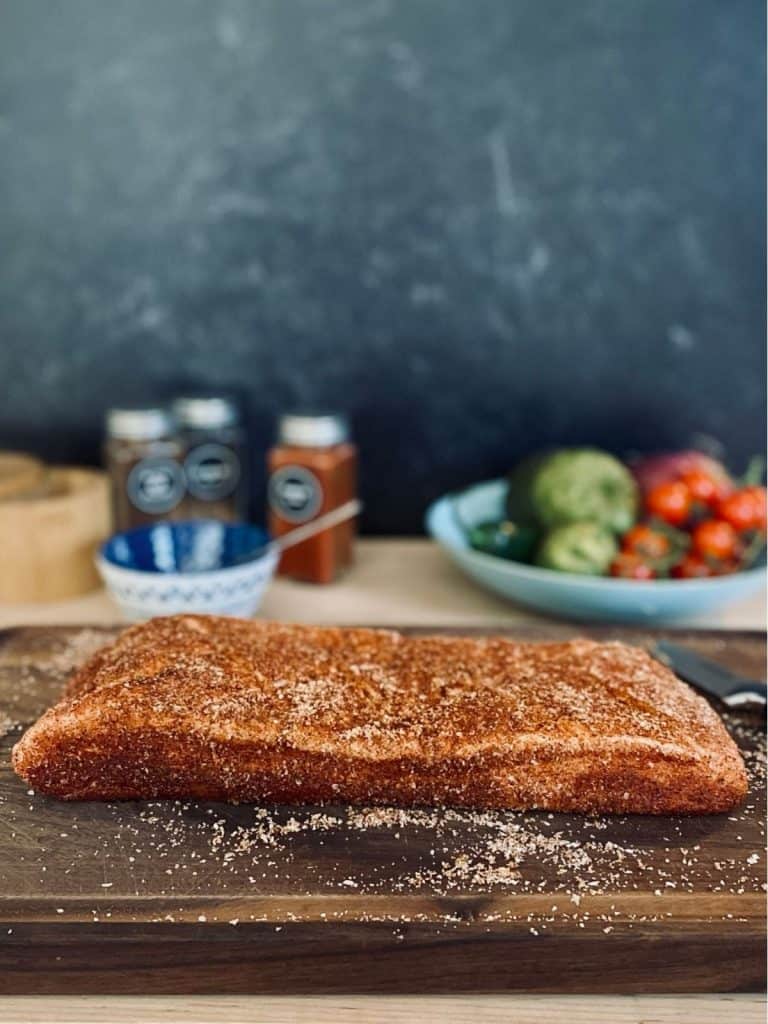
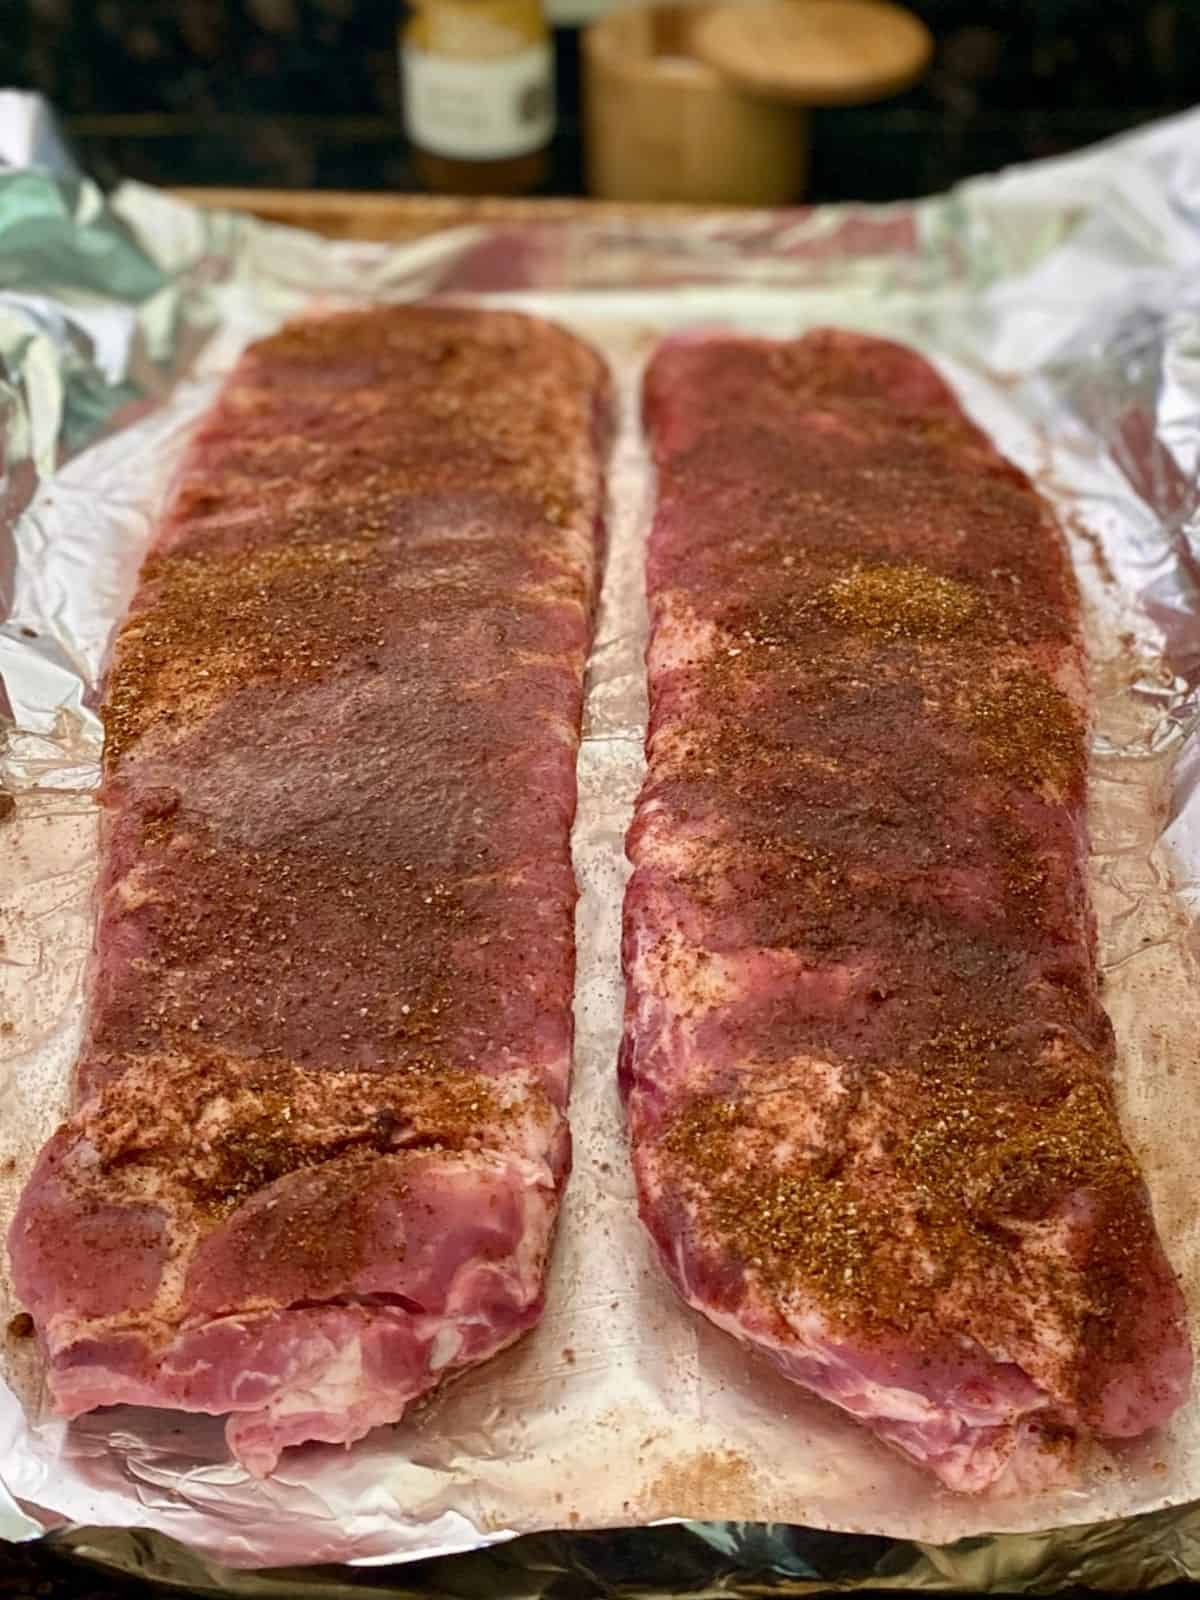
Once you’ve decided on your seasoning, lay your ribs meaty side up on a rimmed baking sheet lined with heavy duty foil (or a double layer of regular foil). Using foil will make cleaning up your pan much easier AND it will keep the heat and moisture inside, ensuring a perfect, juicy rib outcome.
Liberally coat your ribs with seasoning, rubbing it in well. If you’re unsure how much seasoning to use a good starting point and rule of thumb is 1 Tbsp per pound of ribs. Eventually, you won’t need to measure, you’ll just know.
Time To Cook- A Couple Hours In A Slow Oven
You’re going to love how simple and fool-proof this method is!
Now that your ribs are seasoned, pour a little liquid around them to keep them moist. I use 1/4 cup per rack. For the liquid you want something that will compliment the rib flavor. I’ve used beer, apple juice, a mixture of water and cider vinegar (go light on the vinegar if you do this) and this last time I made them, I looked in the fridge and saw a bottle of sparkling apple-pomegranate juice that was left over from Harper’s last sleepover and used that. Because, why not? They turned out really good!
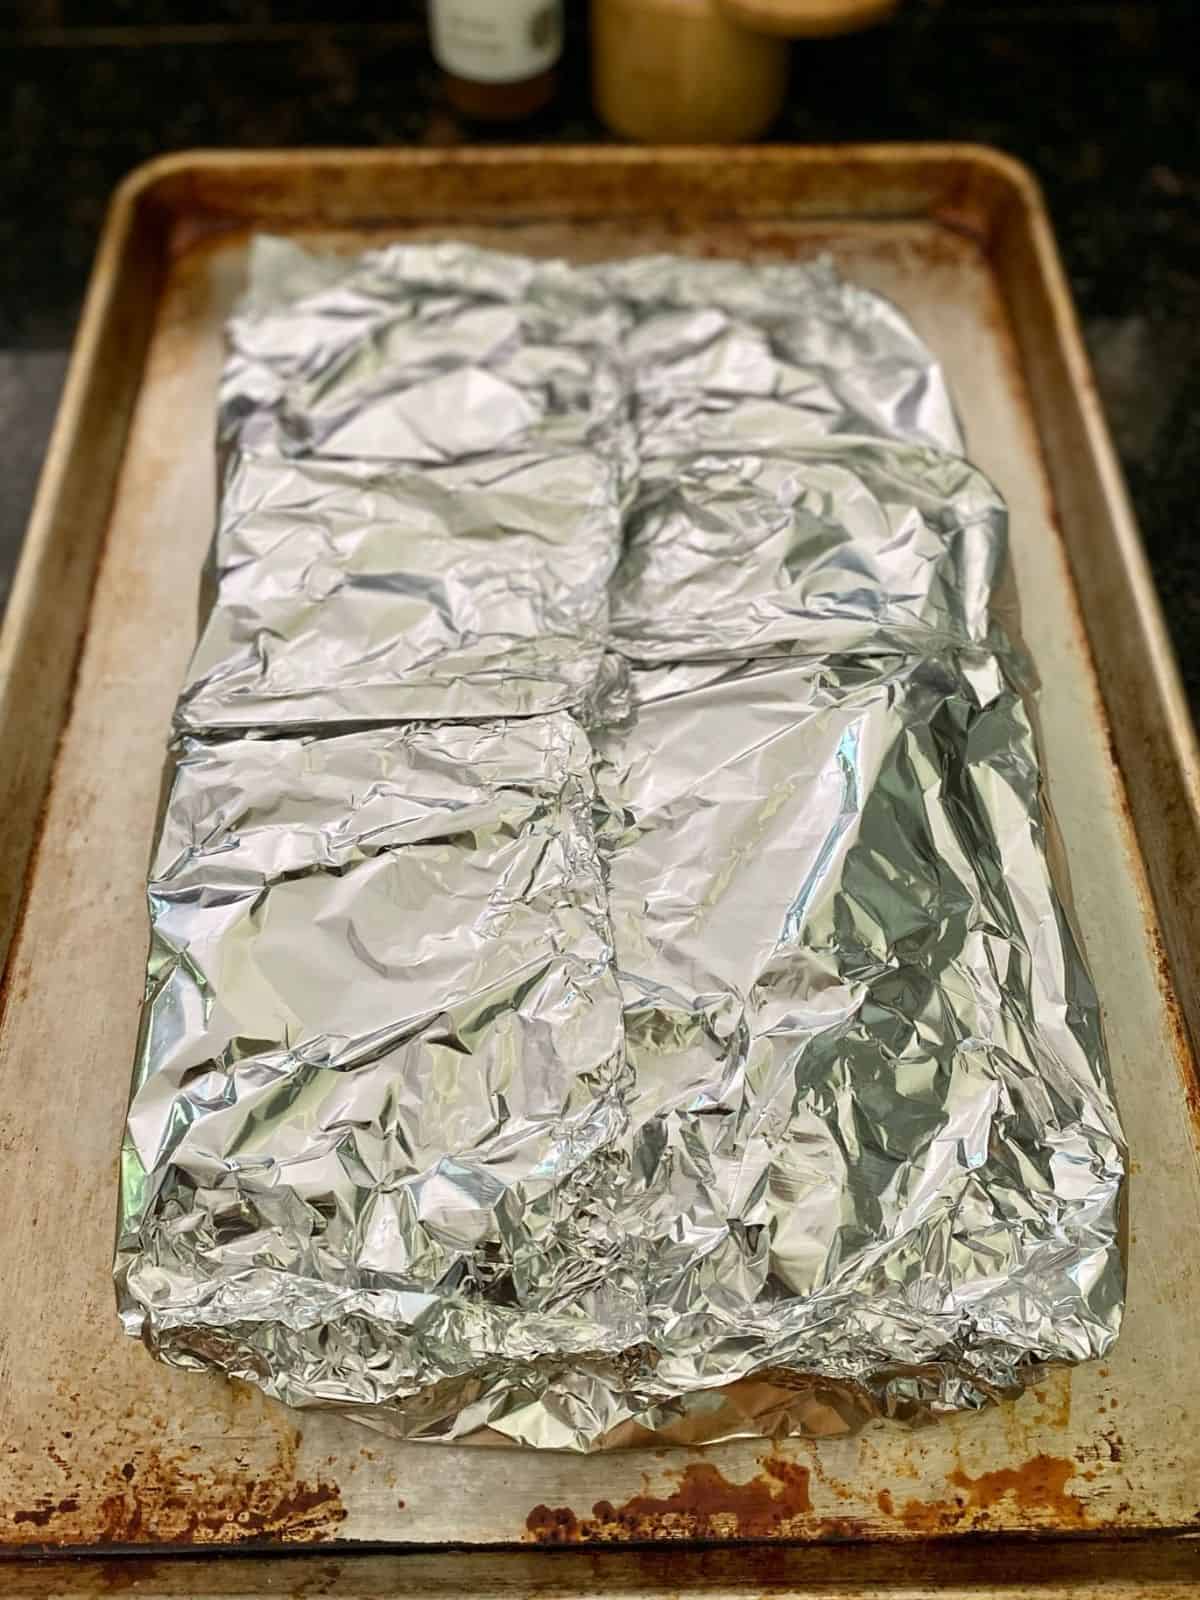
After you’ve added your liquid of choice, seal them up tightly in the foil. If you’re making more than one rack of ribs give them a little space in your pan. I like 2 per baking sheet for even cooking. Place sealed ribs in a preheated 300° f oven. Now, set a timer for 2 1/2 hours and walk away. We’ll check them when the timer goes off, but in the meantime walk the dog, take a nap, get some sun, weed the garden, read a book… 🙂
Or maybe make some sauce?
Mmmmmmmm….BBQ Sauce!
I LOVE BBQ sauce! And there are so many different kinds. There’s sweet, spicy, thick, thin, mustard based, tomato based…the list goes on. BBQ sauce is one of those things that people have lots of opinions about. That’s what I love about food and flavor, there’s always something new to learn and try. Or you can stick with tried and true. Up to you.
Do you have a favorite store bought sauce that you eat as is? Or maybe you buy that bottle and doctor it a little to make it “yours”? OR maybe you like to make a batch from scratch? I’ve done all of the above!
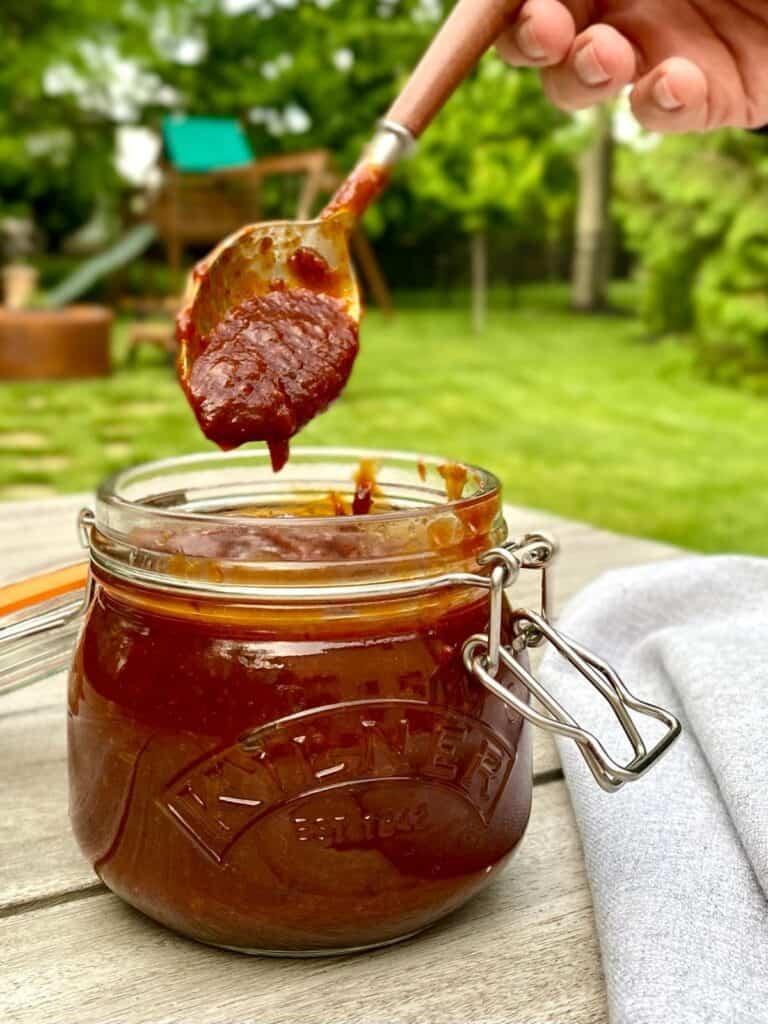
A few days ago, when I made the ribs in this post, I had some rhubarb in the garden that I kept thinking would make a great sauce and came up with this smoky-sweet chipotle-rhubarb BBQ sauce. We all loved it so it’s a definite do-again!
What to serve with these ribs? And How many Should You Make?
While your ribs are cooking, it’s time to talk about the rest of the meal! Here are a few of my favorites to serve with ribs (in addition to juicy watermelon and corn on the cob):
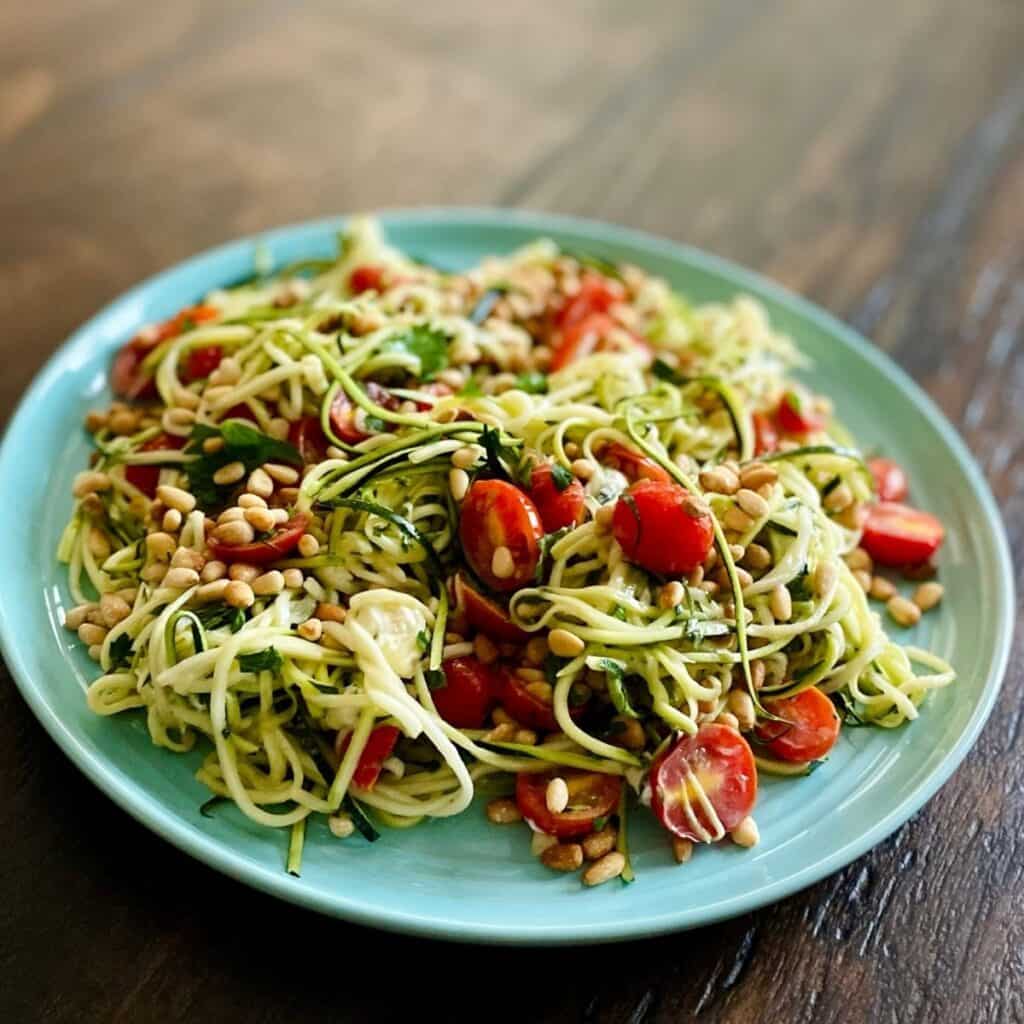
- My julienned zucchini and tomato salad
- These fabulous Crispy herb smashed red skins
- This refreshing lemon tart
Tell me in the comments what your favorite BBQ sides are!
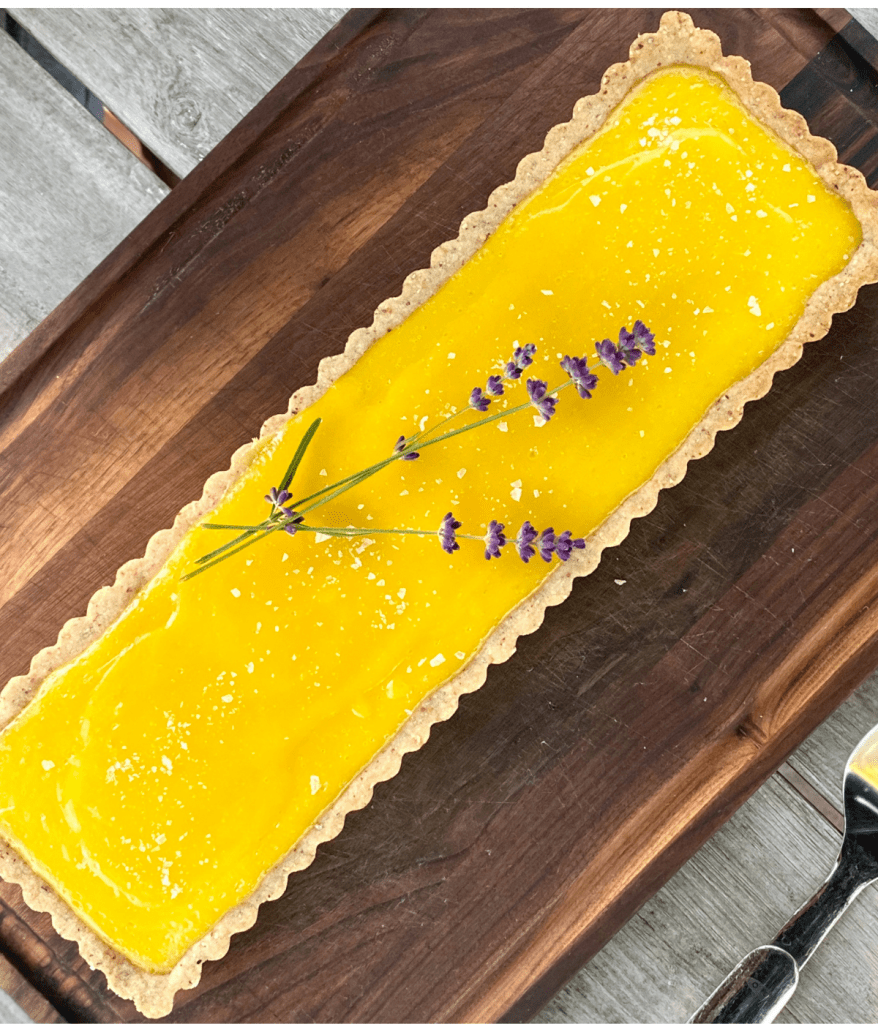
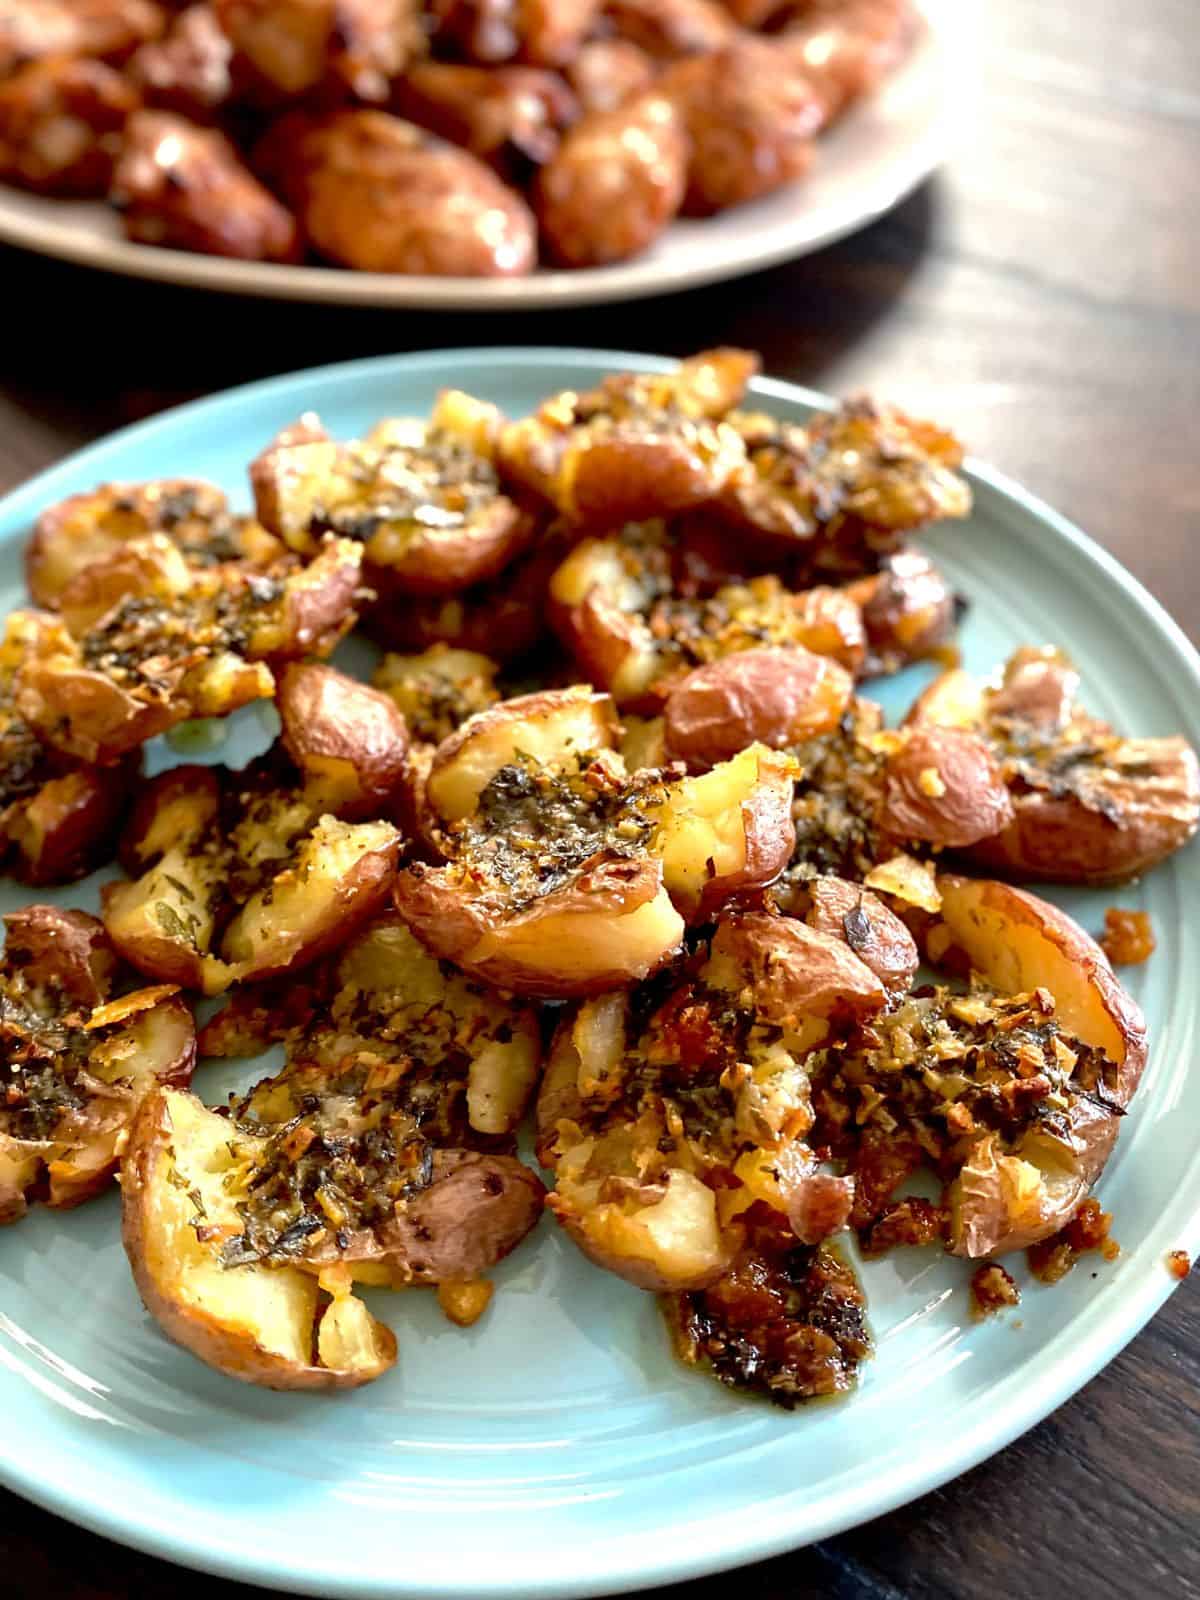
As for how many slabs you’ll need, that’s going to vary depending on how many sides you’re serving and how big everyone’s appetite is. My rule of thumb for these ribs is each slab can serve 3 people (those are 4 bone portions). If you have a larger group, say 10 people, I’d make 4 slabs.
Final Steps To Perfect Ribs
Once your timer goes off check your ribs to see if they’re ready for the next step. Place the pan on top of the stove and carefully open the foil. There’s a lot of steam inside that foil so be careful not to burn yourself. Check the ribs by placing a fork between the center ribs and gently pulling to see if they easily come apart. If there’s any resistance at all, seal them back up and cook another 30 minutes, until your fork test results in tender fall apart ribs.
Use a knife or the side of a metal turner to cut the cooked ribs into 3-4 sections per slab and remove to a large plate. Drain the liquid from the baking sheet. From here you’re either going to finish them on the grill or in the oven. If you’re finishing them in the oven I’d suggest leaving the foil on the pan (you’ll thank me when it’s time to clean up!), if you’re finishing on the grill you can pitch the foil. Either way place your ribs back onto your baking sheet and get your sauce ready.
Finishing On The Grill
Brush ribs with sauce and grill a few minutes on each side, brushing with sauce and turning as needed for desired charring and caramelization of sauce.
Finishing In The Oven
Brush both side of ribs with sauce and broil 6-7 inches from flame, for 3-5 minutes, until desired caramelization of sauce is achieved. Check often because broilers can be tricky and you don’t want to burn the ribs. Alternatively you can also place in a very hot (450 °f) oven for 5-10 minutes, checking every few minutes.
I hope you love these ribs as much as we do! If you make them I’d love to hear about it- leave a comment or tag me on Instagram or fb @breathingandcooking 🙂
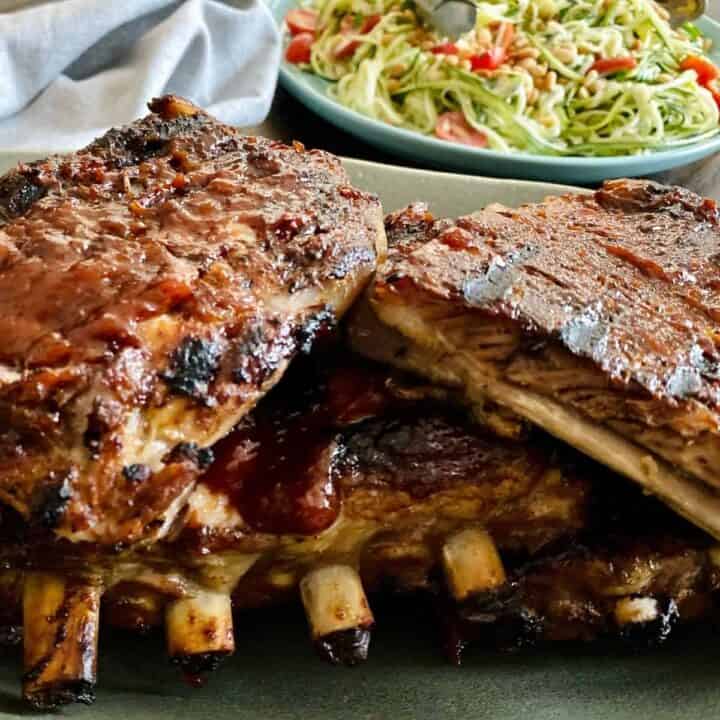
How To Make Fall Off The Bone BBQ Ribs
This oven baked method results in perfect, fall-apart tender ribs you can finish on the grill or under the broiler
Ingredients
- pork spare ribs or St. Louis style ribs (see notes*)
- seasoning rub of choice (1 Tbsp per pound of ribs)
- liquid of choice (beer, apple juice, etc) 1/4 cup per slab
- BBQ Sauce of choice
Instructions
- Place ribs, meaty side up, on rimmed baking sheet lined with heavy duty foil. You want the foil to be long enough that you'll be able to enclose the ribs completely inside.
- Rub seasoning onto all sides of ribs, concentrating the majority of it on the meaty side. Pour liquid around the ribs and pull up the rest of the foil, enclosing the ribs inside and folding and pinching foil to seal tightly.
- Place in a preheated 300° f oven and bake for 2 1/2 hours. After 2 1/2 hours place pan of ribs on top of stove and carefully open foil (be careful- hot steam will come out!). Using a fork placed between the center ribs, pull meat away from the bone gently. If there's any resistance reseal the foil and cook an additional 30 minutes. Ribs are done when they pull apart easily and there's no resistance.
- Drain liquid from pan and cut ribs into 3-4 sections per slab. Finish in oven or on grill:
Finish on Grill-
Brush ribs with sauce and grill a few minutes on each side, brushing with sauce and turning as needed for desired charring and caramelization of sauce.
Finish in The Oven-
Brush both side of ribs with sauce and broil 6-7 inches from flame, for 3-5 minutes, until desired caramelization of sauce is achieved. Check often because broilers can be tricky and you don't want to burn the ribs. Alternatively you can also place in a very hot (450 °f) oven for 5-10 minutes, checking every few minutes.

I’m definitely making this! Can’t wait to taste the sauce!
We just made these Saturday, Erin. ABSOLUTELY perfect recipe. I haven’t made ribs in 20+ years as they were always dry. These turned out spectacular!
HI Matt, I’m so happy to hear they turned out great for you… I’ve had (and made) my share of dry ribs, too, and once I found this method it was a game changer :)! Thank you so much for the review!